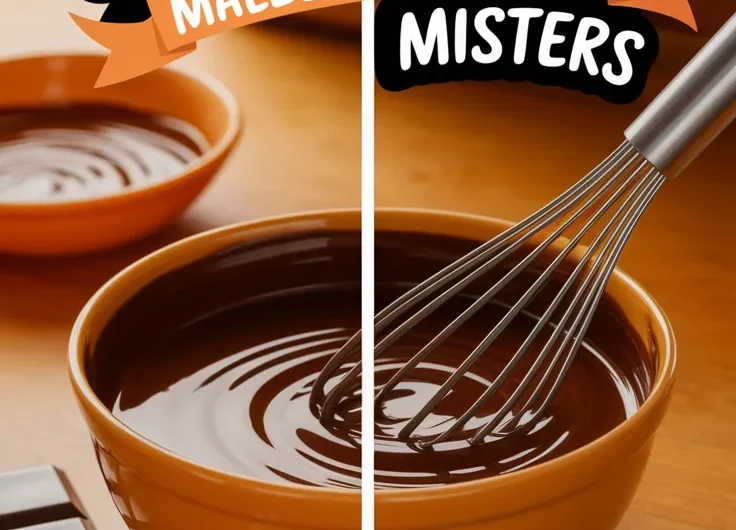
We’ve all been there: craving glossy, snappy chocolate without the fuss of a double boiler. Tempering chocolate in your microwave skips the drama and delivers pro-level results with your trusty kitchen sidekick.
Yes, your microwave can transform lumpy chocolate into a silky, tempered masterpiece. Perfect for dipping strawberries, drizzling cookies, or crafting homemade bars—all without thermometer acrobatics.
We’ll walk through chocolate types, step-by-step melting tricks, and genius fixes for common blunders. You’ll be dipping like a pastry chef before the microwave beeps.
Jump To:
How to Temper Chocolate in the Microwave
Course: DessertCuisine: Global4
5
minutes2
minutes100
kcal12
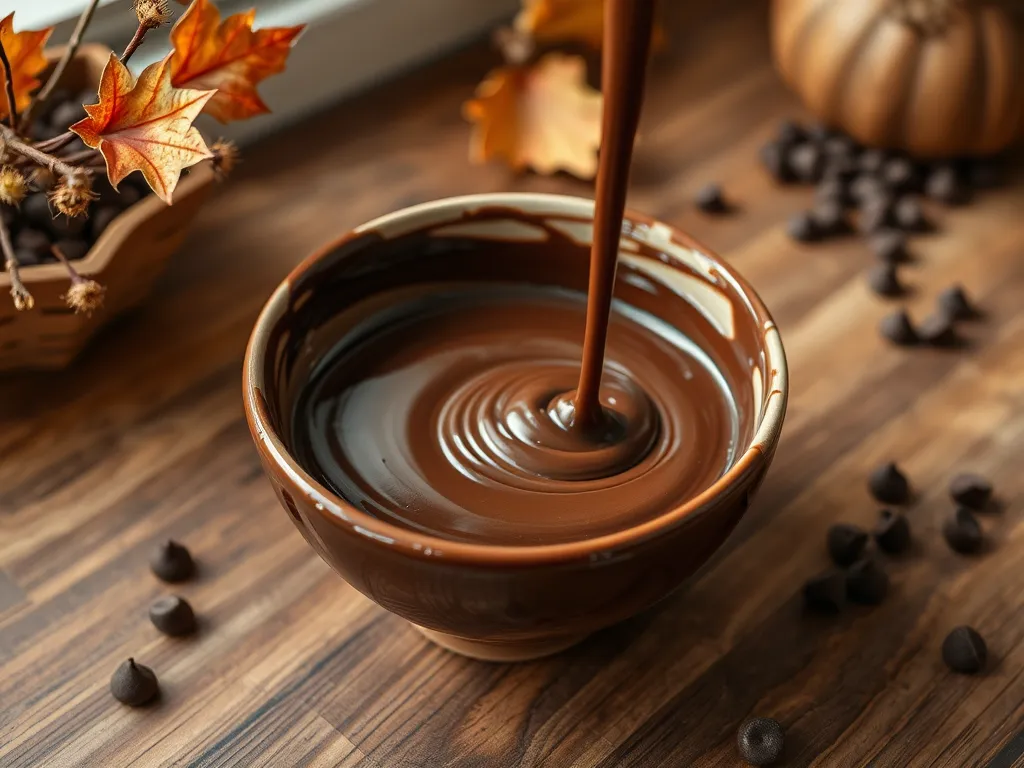
minutesTempering chocolate is essential for achieving that beautiful shine and satisfying snap in candies and confections. While traditional methods require a thermometer and a double boiler, this microwave method simplifies the process greatly. In just a few minutes, you can have perfectly tempered chocolate that can be used for dipping fruits, coating treats, or making molded chocolates.
Ingredients
of high-quality chocolate (dark
milk
or white)
chocolate for seeding (optional
about
Directions
- Chop the chocolate into small, even pieces for consistent melting.
- Place the chopped chocolate in a microwave-safe bowl.
- Microwave the chocolate on medium power for 30 seconds, then stir it well.
- Return the bowl to the microwave and heat in 10-15 second intervals, stirring after each interval until the chocolate is nearly melted.
- Remove any unmelted pieces and stir until smooth.
- If the chocolate is still too warm, add a couple of pieces of solid chocolate to 'seed' the mix.
- Stir until the added chocolate melts completely, cooling the mixture slightly.
- The chocolate should be tempered when it reaches a temperature of around 88°F to 90°F for dark chocolate, or 86°F to 88°F for milk and white chocolate.
- Once tempered, use the chocolate immediately or pour it into molds and let it set at room temperature..
Notes
- Make sure not to overheat the chocolate, as it can seize or become unusable. It's crucial to stir thoroughly between intervals to prevent any hot spots. Using good quality chocolate will yield the best results. This tempering method is perfect for those who want to create beautiful chocolate decorations or dipped treats quickly and easily.
What is Tempering Chocolate?
Tempering chocolate is like giving it a spa day—gentle heating and cooling to align its cocoa butter crystals. When done right, those beta crystals form a stable structure, giving chocolate its snap, shine, and melt-resistant superpowers. Without tempering? You’ll get dull, crumbly chocolate that melts faster than an ice cube in July.
It’s all about temperature control. Dark chocolate needs to hit 113-122°F to melt, then cool to 82-84°F before reheating to 88-90°F. Milk and white chocolate require slightly lower temps. Sounds intense, but your microwave handles this like a champ.
Can You Temper Chocolate in the Microwave?
Absolutely! I once tried impressing my brother Joseph at a family reunion by making 50 chocolate-dipped pretzels for the kids. The stovetop method failed spectacularly (RIP, burnt chocolate). The microwave saved the day—faster, less mess, and zero burnt batches. Sarah and Timmy still ask for “Auntie’s magic microwave chocolate.”
Microwaving works because it heats chocolate evenly in short bursts, preventing scorching. Traditional methods require constant stirring and thermometers, but your microwave does the heavy lifting. Just avoid overheating—chocolate is diva-level delicate, especially when microwaving truffles without ruining their aroma. We’ll tackle that in our step-by-step below.
Ready to turn your microwave into a chocolate-tempering wizard? Let’s explore why this technique matters beyond just pretty drips and snaps. Microwaving ingredients like milk can change their properties in surprising ways, influencing how they blend and taste. This scientific process sheds light on the importance of temperature and molecular behavior in cooking.
Why Temper Chocolate?
Tempered chocolate isn’t just for fancy pastry shops. That satisfying snap when you break a chocolate bar or the glossy coat on your favorite truffle? All thanks to proper tempering. Untempered chocolate stays soft at room temperature and develops ugly gray streaks called “bloom.”
I learned this the hard way making Valentine’s bonbons for my partner. My first batch looked like lumpy mud pies. Once I mastered microwave tempering? Professional-level shine that survived a 75°F kitchen. Your microwave can be that hero too.
Also See: Camping Chili Cheese Fries: Microwave-assembled Recipe!
Best Chocolate for Tempering (With Substitutes)
Dark, Milk, or White Chocolate
Dark chocolate (60-70% cocoa) tempers best due to its high cocoa butter content. Milk chocolate needs more precision—its dairy solids scorch easily. White chocolate? The trickiest, but doable. Stick to brands with real cocoa butter (no “white baking chips”).
For emergencies: Chop up leftover Easter bunnies or fancy chocolate bars. Just avoid anything with mix-ins like nuts or caramel—they’ll sabotage your temper.
Using Chocolate Chips or Couverture
Couverture chocolate (like Valrhona or Callebaut) has extra cocoa butter for fluid melting. But regular chocolate chips work too! Their stabilizers help maintain texture. Add 1 tsp coconut oil per cup if your chips seem too thick.
My niece Mia and I once used semi-sweet chips for rainbow sprinkle-dipped spoons. They set perfectly in 8 minutes. Pro tip: Ghirardelli chips melt smoother than generic brands. If you’re looking for a quick dessert, a 2-minute microwave vanilla mug cake is a fantastic option. Topping it with sprinkles adds a fun and colorful twist that kids love!
Also See: Lazy Microwave Frozen Chicken Nugget and Rice Bowl
How to Temper Chocolate in the Microwave: Step-by-step
Step 1: Finely Chop the Chocolate
Uneven chunks melt at different speeds. Aim for pea-sized pieces—I use a serrated bread knife for clean cuts. Reserve ¼ of the chocolate for later (this “seed” helps stabilize the temper). When melting chocolate chips in the microwave, it’s essential to do so in short intervals to avoid burning. This method ensures they melt evenly and smoothly, perfect for your next recipe.
Step 2: Microwave in Short Intervals
Nuke ¾ of your chocolate in a dry glass bowl at 50% power. Start with 30 seconds for dark, 20 for milk/white. Chocolate burns at 115°F—if you smell it, abort mission. For a more controlled approach, consider using a piping bag to melt chocolate chips without needing a double boiler. This method allows for easy pouring and reduces the risk of overheating the chocolate.
My microwave’s sweet spot: 3 bursts of 25 seconds for 8oz dark. Yours may vary. Patience beats burnt chocolate every time. It’s fascinating how some foods have their own preferences when it comes to cooking methods. For instance, there are 9 foods that taste much better when microwaved than when baked.
Step 3: Stir Between Heating Bursts
Stirring redistributes heat and prevents hot spots. Use a silicone spatula—wooden spoons hold moisture. If lumps remain, let residual heat melt them. Add reserved “seed” chocolate now.
Perfectly melted chocolate should flow like warm honey. Too thick? Add ½ tsp cocoa butter. Too thin? More seed chocolate. A great way to achieve that smooth consistency quickly is through the microwave melt method, especially if you’re making chocolate-dipped pretzels.
Step 4: Test the Temper
Spread a dab on parchment. If it sets in 3-5 minutes with a glossy finish and crisp snap, you’re golden. Still tacky? Microwave 5 more seconds and retest. Using parchment paper in the microwave can help with easy cleanup and prevent sticking. Simply place the parchment beneath your food to enjoy a hassle-free cooking experience.
At my cousin’s bridal shower, we tested 14 batches. The winner? Chocolate that hardened faster than Aunt Linda’s opinion on crop tops. It’s amazing how quickly microwaves can transform ingredients. For a delightful twist, try making 2 minute microwave chocolate covered strawberries that are sure to impress guests or satisfy a sweet craving.
Now that you’ve nailed the technique, let’s tackle those “oops” moments. (Spoiler: Burnt chocolate isn’t the end—we’ve got resurrection hacks.)
Common Mistakes &Amp; How to Fix Them
We’ve all botched a batch—like that time I turned $15 Valrhona into chalky rubble. But fear not! These fixes will salvage your chocolate (and pride).
Overheating Chocolate
Chocolate burns faster than toast. If yours smells smoky or clumps like playdough, you’ve hit the danger zone (over 115°F for dark, 110°F for milk/white). Solution: Toss in 1 tbsp unmelted chocolate pieces and stir aggressively. No luck? Add ½ tsp vegetable oil to regain silkiness.
Prevent it next time: Use 50% power and never exceed 30-second intervals. My microwave’s “melt chocolate” button? A lying scoundrel. Manual bursts win.
Inadequate Stirring
Lazy stirring creates hot spots and grainy texture. I learned this making Hanukkah gelt—my nephew called it “sandy chocolate.” Fix it: Stir for 30 seconds after each heat burst, scraping bowl sides. If lumpy, let sit 2 minutes—residual heat often smooths it.
Pro move: Use a silicone spatula instead of spoons. Its thin edge scrapes every micron of melted goodness. Bonus: fewer dishes to lick.
Using Wet or Cold Bowls
Water is chocolate’s nemesis. Even a damp bowl makes it seize into cement chunks. Rescue mission: Stir in 1 tsp warm coconut oil or cocoa butter per 4oz chocolate. It won’t fully restore temper but makes dip-able sludge for rice crispy treats. When unsure, it’s best to properly tempered chocolate to ensure a smooth finish.
Prevent seizing: Dry bowls with paper towels (dishcloths shed lint). Chill your glass bowl? Let it sit at room temp first. A 5-second microwave pre-warm helps too, especially when using glass bowls for tempering chocolate in the microwave.
Mastered these fixes? Let’s talk keeping that tempered chocolate camera-ready for days (yes, days!).
Now It’s Your Turn to Shine!
Grab that microwave-safe bowl and start tempering like a pro. With patience and practice, you’ll master glossy, snap-perfect chocolate in no time.
We’d love to hear about your chocolate adventures—did you dip strawberries or craft custom bars? Share your sweet successes (or hilarious fails) with us!