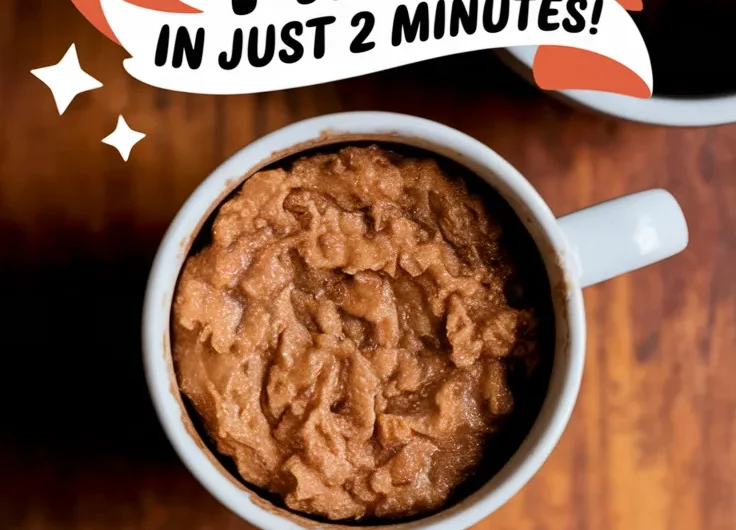
Craving cookie dough but worried about raw eggs? This edible mug recipe skips risky ingredients and delivers spoonable joy in 120 seconds flat. Bonus: no oven preheating marathons required.
We use heat-treated flour (don’t worry, we’ll explain how) and microwave-safe mugs to create a single-serving treat that’s customizable with your favorite mix-ins. Chocolate chips? Caramel swirls? Consider it your playground.
Below, we break down mug safety, texture tweaks, and even vegan swaps so you can nail this recipe on the first try.
Jump To:
2-Minute Microwave Cookie Dough Mug (Edible)
Course: DessertCuisine: American1
2
minutes1
minute300
kcal3
minutesSkip the waiting time for baking cookies and dive straight into the deliciousness of cookie dough with this easy microwave recipe. Perfect for any occasion, this edible cookie dough can be made in just 2 minutes and is a delightful treat that everyone will love.
Ingredients
unsalted butter
softened
granulated sugar
brown sugar
vanilla extract
of salt
all-purpose flour
milk
chocolate chips . optional
Directions
- In a microwave-safe mug, combine 2 tablespoons of softened unsalted butter, 2 tablespoons of granulated sugar, and 1 tablespoon of brown sugar, and mix well until creamy.
- Next, add 1/4 teaspoon of vanilla extract and a pinch of salt, then stir to combine.
- Gradually mix in 4 tablespoons of all-purpose flour until fully incorporated.
- Add 2 tablespoons of milk, and stir until the dough reaches a smooth consistency.
- Finally, fold in 2 tablespoons of chocolate chips if desired.
- Microwave the mug on high for about 30 to 40 seconds, watching closely, until the dough is warm but not overcooked..
Notes
- Ensure not to overcook the cookie dough in the microwave; it should be warm and gooey. Feel free to customize by adding nuts, sprinkles, or other mix-ins according to your preference. This recipe is not only quick but also perfect for satisfying sweet cravings without the fuss of baking!
What is a Microwave Cookie Dough Mug?
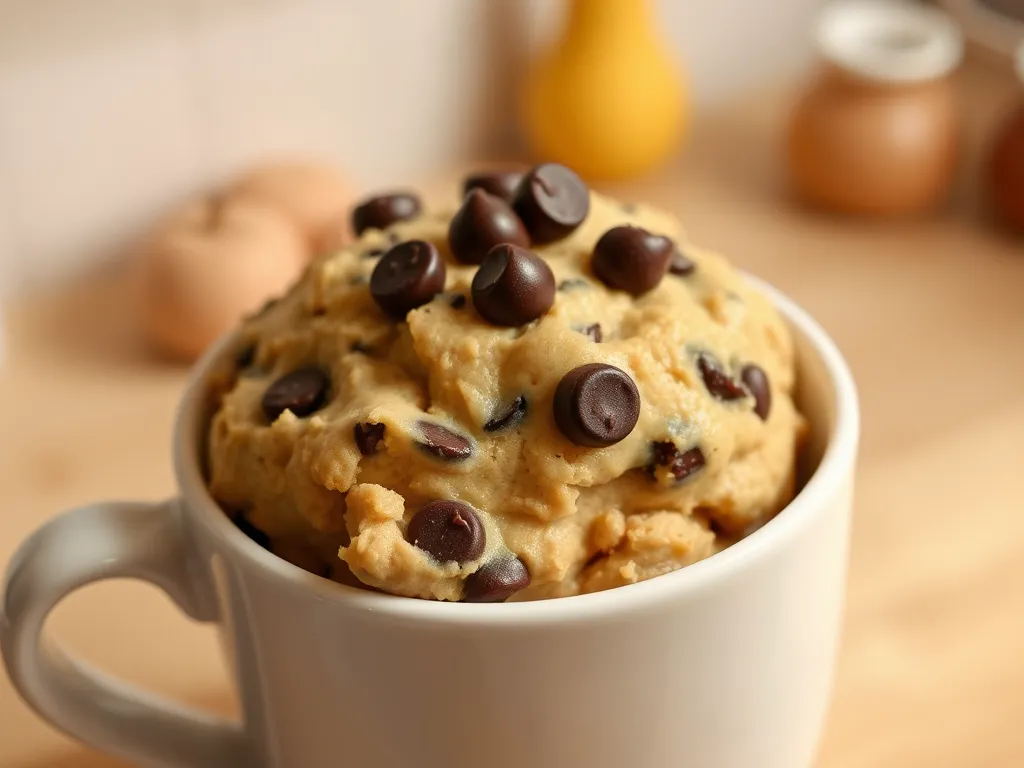
Imagine cookie dough you can whip up solo in a mug and eat straight from the microwave without guilt. Our version skips raw eggs and uses heat-treated flour (more on that later) for safety. It’s a single-serving hug in ceramic form – soft, spoonable, and begging for mix-ins.
John once challenged me to make dessert during a movie trailer. By the time Optimus Prime finished transforming, he was scraping the mug’s sides. That’s the beauty here: speed meets snackability.
What Does Edible Cookie Dough Taste Like?
Close your eyes. Remember sneaking raw dough as a kid? This tastes like that – minus the “don’t eat that!” lecture. The brown sugar and butter base delivers caramel warmth, while chocolate chips add cool, melty contrast. Vanilla? The VIP flavor booster.
Sarah calls it “cookie clouds.” Timmy argues it’s “chocolate chip dip.” We call it a truce-maker during sibling standoffs. The texture? Thick enough to cling to your spoon but soft enough to vanish faster than leftovers at a teen sleepover. To elevate the enjoyment, consider warming up a cookie butter dip in the microwave for a sweet, gooey treat. Blending cookie butter with a dash of cream in the microwave creates a delightful dip that’s perfect for pairing with fruits or pretzels.
Ready to transform your mug into a mini bakery? Let’s break down the ingredients that make this magic possible. If you’re looking for a quick and easy dessert, consider trying a lazy microwave instant pancake mix mug cake. This simple recipe is perfect for satisfying your sweet tooth without much effort.
Ingredients for Microwave Cookie Dough Mug
Let’s raid your pantry. You likely have 90% of these items already – we’re keeping it simple with swaps for dietary needs. Pro tip: use a 12-oz mug (think standard coffee mug) to prevent overflow drama.
Butter (or Vegan Butter Substitute)
Softened butter creates that classic dough texture. Room temp is key – cold butter won’t blend smoothly. Using a microwave is a quick method to soften butter effectively. For vegan versions, we’ve had success with Earth Balance sticks (not tub spreads – too watery).
Sugar Alternatives (Brown Sugar, Coconut Sugar)
Brown sugar adds moisture and molasses depth. Swap 1:1 with coconut sugar for a lower glycemic index option. Avoid powdered sugar – it’ll turn your dough into paste.
Heat-treated Flour & Safe Substitutes
Raw flour can harbor bacteria. Zap ¼ cup all-purpose flour in your microwave for 1 minute at 50% power (stir every 15 seconds). Let it cool. Gluten-free? Almond flour works but reduces chewiness.
Milk & Dairy-free Options
Whole milk adds richness, but any milk works. Oat milk blends seamlessly – almond milk can make dough slightly gritty. Avoid canned coconut milk (too fatty).
Chocolate Chips & Mix-in Variations
Semi-sweet chips are classic, but let’s get wild. Crushed pretzels + sea salt = sweet-salty bliss. M&Ms? Yes. Leftover birthday sprinkles? Mandatory. Just keep mix-ins under 2 tbsp to avoid density. For a quick and fun snack option, consider making microwave pretzel bites that combine that same sweet and salty flavor in a deliciously chewy twist. These pretzel bites are perfect for satisfying those cravings in no time.
Also See: 2-minute Microwave Pesto Egg Mug (Keto)
How to Make a Microwave Cookie Dough Mug
No stand mixers here – grab a fork and let’s channel your inner pastry chef. Total active time: 4 minutes (including microwave breaks for Instagram stories).
Step 1: Cream Butter and Sugar
Mash 1 tbsp butter with 1 tbsp brown sugar until it looks like wet sand. No clumps left! Lazy hack: melt butter slightly if you forgot to soften it, but let it cool before adding sugar. A quick way to melt butter is using the microwave, ensuring it becomes smooth and easy to work with in your recipes. Just be cautious not to overheat it, as that can cause splattering and a mess in the microwave.
Step 2: Incorporate Milk, Vanilla, and Salt
Add ½ tsp milk, ¼ tsp vanilla, and a pinch of salt. Mix until glossy – this emulsifies the fats. Overdo the milk? Sprinkle in extra flour later to compensate.
Step 3: Mix in Heat-treated Flour
Fold in 3 tbsp treated flour gradually. Stop when dough forms Play-Doh consistency. See flour specs above? Do NOT skip the heat treatment – salmonella isn’t a fun mix-in.
Step 4: Add Chocolate Chips
Stir in 1-2 tbsp chips. Reserve a few for topping – they’ll pool deliciously when microwaved. Pro move: chop a chocolate bar for varied melt pockets. When melting chocolate chips, using the microwave can be a quick and effective method. Just be sure to do it in short intervals to prevent burning.
Step 5: Microwave Timing by Wattage
| Microwave Wattage | Time |
|---|---|
| 600-800W | 45-50 seconds |
| 900-1100W | 30-35 seconds |
Watch closely after 25 seconds – dough should puff slightly but stay pale. Overcooking turns it rubbery. When in doubt, undercook – residual heat continues cooking.
Also See: Crispy 2-minute Microwave Sweet Potato Chips (No Oil)
Can You Microwave a Coffee Mug Safely?
Not all mugs survive microwaves. I learned this the hard way when my favorite polka-dot mug sparked like a Fourth of July finale.
Mug Material Guidelines
Use plain ceramic or glass mugs without metallic paint/gilding. Check the bottom for “microwave-safe” labels. Thin porcelain? Risk of cracking. Test new mugs with water for 30 seconds first. Choosing the right material is crucial, especially when it comes to using a microwave. This is where microwave-safe ceramic mugs shine, providing a safer option for heating your drinks.
Avoiding Overheating Risks
Microwave in 15-second bursts if your appliance lacks wattage settings. Stop immediately if you hear cracking – that’s your mug crying uncle. Let it cool 1 minute between zaps. No matter how tempting, make sure your microwave is safe to use for cooking any food, especially delicate items like cookie dough.
Now that your mug’s cleared for takeoff, let’s nail the perfect cook time without summoning the smoke alarm.
How Long to Microwave Cookie Dough Mug
Timing is everything. Our base recipe suggests 30-50 seconds, but your microwave’s personality (read: wattage) matters. My sister’s ancient 600W unit needs 55 seconds for dough that’s warm but still spoonably soft.
Adjusting Time for Desired Texture
Want gooey center vibes? Try 25 seconds at 1100W. Prefer cake-like structure? Push to 40. Microwaves heat unevenly, so rotate your mug halfway if you spot lopsided rising. Pro tip: track results in your phone notes – “Mug 5: 35 sec = perfect” beats guesswork.
Testing Doneness Without Overcooking
Look for slight puffing and a matte surface. Insert a clean toothpick – moist crumbs are good, wet batter means more zaps. Remember, it keeps cooking post-microwave! I once ignored carryover heat and created a dough hockey puck. Learn from my tears.
Mastered timing? Let’s troubleshoot the oops moments – because nobody wants sad dough.
Common Mistakes & Fixes
We’ve all been there. My first attempt resembled Elmer’s glue – edible, but barely. These fixes salvage texture disasters. When working with hot glue, melting glue sticks in a microwave can be an easy and effective method. Just be sure to monitor the glue closely to avoid overheating.
Rubbery Dough (Overmixing)
Overworking the flour’s gluten creates chew akin to pencil erasers. Mix until just combined – lumps are friends. Use a folding motion with your fork. If it’s already tough, add ½ tsp milk and gently re-mix.
Dry or Crumbly Texture (Too Much Flour)
Did you pack flour into the measuring spoon? Spoon flour lightly into the spoon, then level. Rescue parched dough with ¼ tsp milk increments until it clumps. Crumbly = tragic. Fixable = victory.
Uneven Cooking (Mug Size Tips)
Skinny mugs create tall dough columns that cook slower. Use wide, shallow mugs (12oz+) for even heat spread. No perfect mug? Pause mid-cook to stir edges toward the center. No one wants half-raw, half-charred dough. If you’re craving a quick treat, consider making a microwave cookie dough mug for a delightful, warm dessert in minutes.
Fixed the fails? Time to customize your dough like a pastry Picasso.
Recipe Variations & Substitutes
This recipe’s a chameleon. My niece once swapped chips for crushed Oreos – mind blown. Dietary restrictions? We’ve got you.
Gluten-free or Oat Flour Option
Replace all-purpose flour with 3 tbsp oat flour (blitz oats in a blender) for nutty flavor. Bob’s Red Mill 1:1 GF flour also works – add ½ tsp extra milk. Texture stays delightfully dense.
Peanut Butter or Nut-free Swaps
Replace ½ tbsp butter with creamy peanut butter. Nut-free? SunButter adds similar richness without the allergen risk. Avoid natural drippy brands – they make dough oily. For a delicious twist, consider using microwave peanut butter, which melts quickly and blends seamlessly into recipes for a smooth consistency.
Adding Sprinkles or Caramel Bits
Fold in 1 tbsp rainbow sprinkles for birthday vibes. Soft caramel bits melt into gooey pockets – freeze them first to prevent disappearing act during mixing. Pro tip: top with flaky salt post-microwave. This works especially well when using microwaved caramel for that extra gooey texture.
Customized your dream dough? Let’s talk storage hacks so you can prep now and devour later (or…now).
Now It’s Your Turn to Indulge!
With just a mug and a microwave, you’re minutes away from warm, gooey cookie dough bliss. We’ve covered every trick—from heat-treating flour to nailing that 800W vs. 1200W timing difference.
Grab your favorite mix-ins and give it a whirl! The hardest part? Waiting those 30 seconds for it to cool before diving in with your spoon. Let us know which variation you loved most—classic chocolate chip or your wild custom creation.