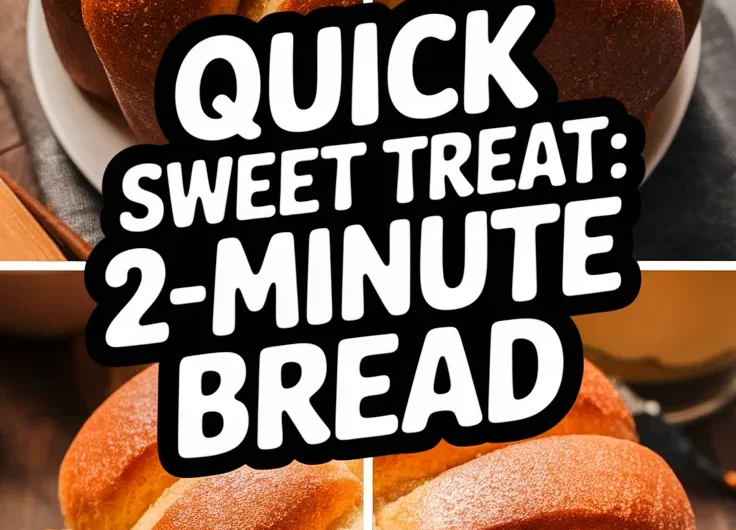
Imagine pulling apart a warm, buttery milk bread swirled with cinnamon sugar—without waiting hours for the dough to rise. Our microwave-proofing method cuts proofing time by half, delivering that iconic fluffy texture in a fraction of the usual wait.
This recipe is perfect for sudden cravings or last-minute guests, requiring minimal effort and zero oven preheating. Seriously, even your microwave can’t believe it’s this handy.
Below, we’ll walk you through creating this cozy treat, from kneading the dough to nailing that cinnamon-sugar swirl—all using your microwave’s hidden talents.
Jump To:
Cinnamon Sugar Milk Bread (Microwave Proofing)
Course: BreakfastCuisine: American6
10
minutes5
minutes150
kcal25
minutesIf you love the smell of freshly baked bread but dread the long waiting times, this microwave proofing recipe for cinnamon sugar milk bread is for you. Achieving that fluffy texture is easier than you think with microwave proofing, allowing you to enjoy homemade goodness in a fraction of the time.
Ingredients
all-purpose flour
sugar
salt
instant yeast 2 1/4 teaspoons
ground cinnamon
warm milk
melted butter
sugar for cinnamon sugar topping
ground cinnamon . for topping
Directions
- In a large mixing bowl, combine the flour, sugar, salt, instant yeast, and ground cinnamon.
- In a separate bowl, mix the warm milk, melted butter, and egg until well combined.
- Add the wet ingredients to the dry ingredients and mix until a dough forms.
- Knead the dough briefly in the bowl until smooth.
- Cover the bowl with a damp cloth and place it in the microwave for 10 minutes to proof.
- After proofing, punch down the dough and shape it into a loaf.
- Grease a microwave-safe loaf pan and place the shaped dough inside.
- Mix the 1/4 cup sugar with 1 tablespoon cinnamon to create the topping.
- Sprinkle the cinnamon sugar mixture over the top of the loaf.
- Cover the loaf pan loosely with a microwave-safe lid or plastic wrap.
- Microwave the loaf on high for 5 minutes.
- If your microwave has a turntable, ensure the loaf is centered.
- After cooking, let the bread rest in the microwave for 10 minutes before removing.
- Carefully take the loaf out of the pan, let it cool slightly, slice, and serve warm..
Notes
- For best results, let the bread cool slightly before slicing to maintain its structure. You can substitute the all-purpose flour with whole wheat flour for a nuttier flavor. Add raisins or nuts to the dough for extra texture. This cinnamon sugar milk bread can be stored in an airtight container for up to 3 days.
What is Cinnamon Sugar Milk Bread?
Cinnamon Sugar Milk Bread is a cloud-like, buttery loaf layered with caramelized cinnamon sugar. Think of it as the lovechild of classic milk bread and cinnamon rolls—minus the oven wait. My grandma baked hers the old-school way, letting dough rise for hours near her wood stove. But when John craved it during a summer camp trip (with only a microwave and a dream), we cracked the code for speedier proofing.
This version uses your microwave’s gentle warmth to activate yeast rapidly, creating that signature airy crumb in under 30 minutes. No campfire required—just a mug of coffee and your trusty microwave.
Key Ingredients for Cinnamon Sugar Milk Bread
Essential Ingredients & Substitutes
You’ll need bread flour for structure (all-purpose works, but your swirls might be less defined). Whole milk adds richness, though oat milk keeps it dairy-free without sacrificing tenderness. Active dry yeast is non-negotiable—check its expiration date unless you want hockey puck bread.
- Cinnamon Sugar Mix: 1/4 cup granulated sugar + 1 tbsp cinnamon. Brown sugar adds deeper caramel notes.
- Butter: Salted butter balances sweetness. Coconut oil works, but expect a subtle tropical twist.
- Egg: For binding. Flax eggs (1 tbsp ground flax + 3 tbsp water) mimic the texture surprisingly well.
Grandma swore by fresh yeast cakes, but we’ve found instant yeast (proofed at 75-80°F in the microwave) delivers identical fluffiness. Just don’t tell her we said that.
Ready to turn your microwave into a proofing powerhouse? Let’s break down why this method works like a charm for milk bread. Microwaving milk can dramatically change its properties, making it easier for baking purposes. This is due to the way microwaves heat liquids, affecting the fat and protein structures in the milk.
Why Microwave Proofing Works for Milk Bread
Microwave proofing works because it creates a warm, humid environment that yeast adores. Traditional proofing relies on ambient heat, which can be inconsistent—like that time I tried rising dough near a drafty window and got a sad, flat brick. Your microwave traps steam from the dough’s moisture, maintaining the ideal 75-80°F range for rapid yeast activation. However, this warm, humid environment can also inadvertently promote issues like mold growth if the microwave isn’t kept clean and dry, leading to a damp kitchen crisis. Regular maintenance is essential to prevent mold from taking hold in your kitchen space.
This method slashes proofing time from 1-2 hours to just 20-30 minutes. The enclosed space prevents surface drying, giving milk bread its signature pillowy texture. Plus, it’s energy-efficient—no need to preheat your entire oven for a tiny loaf! For those looking for even quicker bread options, easy 90 second oat bread is a fantastic choice. This microwave recipe offers a delicious alternative that fits perfectly in a busy schedule.
Also See: 3 Mind-blowing Microwave Pasta Hacks You Have to Try
Step-by-step Microwave Proofing Method
Preparing the Dough for Microwave Proofing
After kneading, shape your dough into a smooth ball. Place it in a microwave-safe glass bowl lightly coated with oil (metal warps, plastic melts—trust me, I’ve mourned both). Cover with a damp paper towel to lock in moisture.
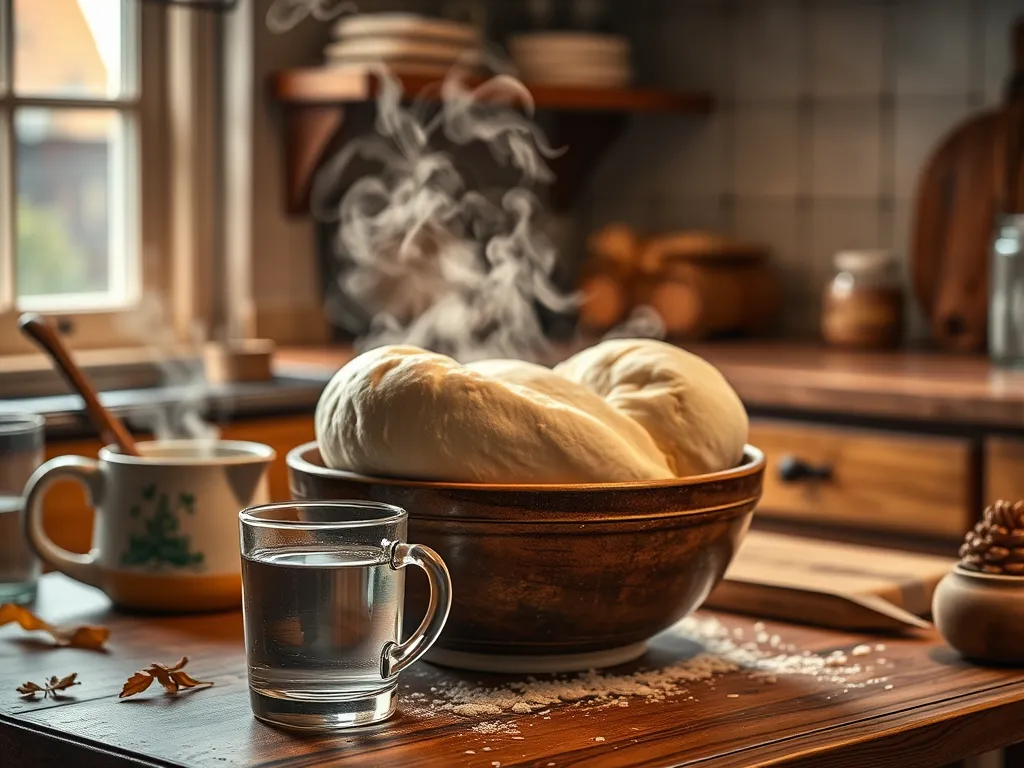
Microwave a mug of water for 2 minutes on high. Remove the mug, then immediately place your covered dough bowl inside. The residual heat and steam mimic a professional proofer. No fancy equipment needed—just clever repurposing! For a quick treat, consider whipping up a 2 minute microwave cookie dough mug, which allows for a delicious dessert in no time.
Timing and Temperature Tips
Proof for 10-minute intervals, checking dough expansion each time. It should double in size with a gentle fingerprint spring-back. If your microwave runs cold, reheat the water mug for 30 seconds midway.
| Microwave Wattage | Initial Proof Time |
|---|---|
| 900-1100W | 20-25 mins |
| 700-900W | 25-30 mins |
Overproofed dough collapses like a deflated balloon. If this happens, punch it down, reshape, and restart. We’ve all been there—consistency comes with practice!
Also See: Quick & Delicious: 2-minute Apple Cinnamon Mug Cake
Baking Cinnamon Sugar Milk Bread in the Microwave
Layering the Cinnamon Sugar Filling
Roll proofed dough into a ½-inch thick rectangle. Spread softened butter evenly—cold butter tears dough, while melted pools. Sprinkle your cinnamon-sugar mix like confetti, leaving a 1-inch border. Roll tightly, pinching seams to trap swirls. If you want a quick treat, consider cooking cinnamon rolls in the microwave for a fast and delicious option. Microwaving them can give you a soft, gooey delight in just a few minutes.
For extra layers, fold the rolled dough into thirds (like a letter), then re-roll. This creates those Instagram-worthy cinnamon veins. Pro tip: add a pinch of cornstarch to the mix—it thickens juices, preventing sogginess. For a quick treat, try making a microwave cinnamon roll cup. It’s an easy way to enjoy that warm, cinnamon goodness in just a few minutes.
Adjusting Microwave Power Settings
Bake at 50% power for 2-3 minutes. High heat cooks unevenly, leaving raw centers—a lesson learned after John bit into a “molten lava” loaf. Rotate the dish halfway if your microwave has hot spots.
- 900W: 2 mins 30 sec
- 1100W: 2 mins
The bread is done when it sounds hollow when tapped. If unsure, insert a toothpick—crumbs should cling slightly, as residual heat continues cooking. For a quick and easy option, making bread in a microwave can be a great alternative; it saves time and still yields delicious results. Microwave bread offers a fantastic way to enjoy fresh, warm bread in just a few minutes.
Now that your kitchen smells like a cinnamon wonderland, let’s explore how this quick-baked beauty stacks up against traditional oven versions.
How Does Cinnamon Sugar Milk Bread Taste?
Picture biting into a cloud that’s been dusted with cinnamon-sugar fairy magic. The bread itself is supremely soft and slightly sweet, with layers that peel apart like edible origami. Each buttery swirl delivers a caramelized crunch—John once compared it to “cinnamon toast crunch’s sophisticated cousin.” The delightful taste of cinnamon often inspires recipes, like a cinnamon roll dip that can be made in the microwave. This quick and easy treat captures that same comforting flavor in a fun, shareable format.
Microwave baking keeps the crumb moist without drying out edges, something our oven-baked attempts struggled with during that rainy camping trip. The steam from proofing lingers in the loaf, creating a texture somewhere between brioche and pillowy dinner rolls. It’s comfort food with a PhD in coziness. Many dishes, including some classic comfort foods, benefit from the microwave’s ability to enhance moisture and flavor. In fact, there are 9 foods that taste better microwaved than baked, showcasing the microwave’s true potential.
Common Mistakes & How to Fix Them
Dough Not Rising Properly
If your dough resembles a stubborn rock, check three things: yeast freshness, microwave temperature, and moisture. Expired yeast won’t budge—test it in warm water with a sugar pinch. If no bubbles form within 10 minutes, replace it.
Ensure your microwave isn’t too hot. Over 90°F kills yeast (it’s not about how hot it can get overall). Use a thermometer: after heating the water mug, the interior should feel like a warm hug (75-80°F). No thermometer? Stick your hand in—if you yelp, it’s too hot.
Overcooking in the Microwave
Microwaves have mood swings. A 1100W model can turn golden bread into charcoal in seconds. Always bake at 50% power and set timers in 30-second bursts. If the top browns too fast, cover it with a microwave-safe plate. Baking bread in a microwave can be a quick and effective method. With the right technique, you can achieve fluffy, delicious bread in just a fraction of the time compared to traditional baking.
| Issue | Fix |
|---|---|
| Dry edges | Place a cup of water beside the bread while baking |
| Dense center | Reduce power to 30%, extend cooking by 1 minute |
Burnt cinnamon sugar is a tragedy. If your filling scorches, mix 1 tsp cornstarch into the sugar next time—it stabilizes the caramelization.
Storing & Reheating Microwave-baked Milk Bread
Store leftover bread in an airtight container at room temp for 2 days. For longer freshness, wrap slices in foil and freeze for up to 1 month. Grandma’s hack: tuck a lettuce leaf in the container—it adds humidity without sogginess (just replace it daily).
Reheat single servings in the microwave at 20% power for 15 seconds. For crispy swirls, use a toaster oven at 300°F for 3 minutes. Avoid high heat—it turns that tender crumb into bread pudding texture. Trust me, we’ve tested… extensively.
Now that you’re a microwave milk bread maestro, let’s explore how to tweak this recipe for dietary needs or flavor adventures! A delicious microwave bread recipe can be a fun and quick way to satisfy your cravings. Experimenting with different ingredients in your bread can lead to unique tastes and textures.
Ready to Bake Your Cinnamon Sugar Milk Bread?
Now that you’ve got all the tips and tricks for microwave-proofing and baking this sweet, fluffy bread, it’s time to put them to the test. With just a few simple ingredients and your trusty microwave, you’ll have warm, cinnamon-scented goodness in no time.
Don’t forget to share your results with us—we’d love to hear about your microwave baking adventures! Whether you stick to the classic recipe or try one of the tasty variations, this bread is sure to become a quick favorite.