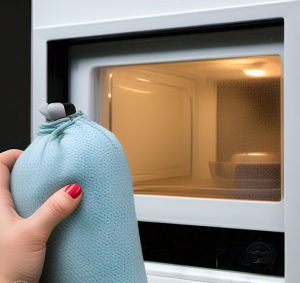
Craving cheesecake but dreading oven preheating? We’ve got your back. These microwave mini cheesecake bites deliver creamy indulgence in under 10 minutes—no baking degree required.
Portion control? Sorted. Each bite-sized treat is a single-serving escape from dessert FOMO. (Yes, you can eat just one… or three. We won’t judge.)
This guide walks through ingredients, microwave tricks, and pro tips for flawless cheesecake bites every time.
Jump To:
Mini Cheesecake Bites (Microwave Set)
Course: DessertCuisine: American12
10
minutes2
minutes150
kcal42
minutesIf you're looking for a quick and satisfying dessert, these mini cheesecake bites are the perfect solution. With traditional cheesecake flavors simplified for the microwave, you can enjoy these treats in no time. Perfect for gatherings or a personal sweet snack, they are sure to impress anyone with just the right balance of flavors.
Ingredients
graham cracker crumbs
butter melted
cream cheese 8 oz
granulated sugar
vanilla extract
egg
toppings (fruit
chocolate sauce
whipped cream).
Directions
- In a medium bowl, combine the graham cracker crumbs and melted butter, stir until well blended.
- Press the mixture firmly into the bottom of a microwave-safe muffin tin or silicone mold to form the crust.
- In a separate mixing bowl, beat the softened cream cheese with granulated sugar and vanilla extract until smooth.
- Add the egg and mix until fully combined and creamy.
- Spoon the cheesecake mixture over the crusts in the muffin tin, filling each cup about 2/3 full.
- Microwave the muffin tin on high for about 1-2 minutes, or until the edges are set but the center is slightly jiggly.
- Allow the mini cheesecakes to cool at room temperature for about 10 minutes, then refrigerate for at least 30 minutes to fully set.
- Carefully remove the cheesecakes from the tin, serve chilled, and top with your favorite toppings if desired..
Notes
- For a richer flavor, consider adding a teaspoon of lemon juice to the cream cheese mixture. You can also experiment with flavored extracts like almond or coconut. These mini cheesecakes store well in the refrigerator for a few days, making them a great make-ahead dessert option. Customize the toppings to suit your preferences, whether it's fresh fruit, nuts, or a drizzle of sauce.
What Are Mini Cheesecake Bites?
Imagine traditional cheesecake shrunk down to single-serve cuteness with zero oven drama. These bites combine a buttery crust (often graham cracker) and creamy filling—all cooked in microwave-safe cups or molds. My mom Linda once whipped up a batch during a rain-soaked picnic, proving they’re the ultimate “plan B” dessert.
Unlike their baked cousins, microwave versions skip the water bath and hour-long bake. We’re talking 5-8 minute magic with a texture somewhere between New York cheesecake and fluffy mousse. Aunt Clarice still argues they’re “cheating,” but she always asks for seconds.
What Do Mini Cheesecake Bites Taste Like?
Close your eyes. The first bite hits with tangy cream cheese softened by sweet vanilla, followed by a sandy crunch from the crust. Microwaving creates a softer set than baking—think silk pillow, not brick. Linda’s secret? A pinch of lemon zest to “wake up” the richness without overpowering. For many foods, the microwave can enhance flavors and textures in surprising ways, much like how certain dishes taste even better when microwaved than baked.
Texture varies by vessel: silicone molds yield jiggly, almost custard-like centers, while glass ramekins give firmer edges. At last year’s family picnic, Clarice mistook them for gourmet patisserie treats. (We still haven’t told her they’re microwave-made.)
Ready to raid your pantry? Let’s break down the ingredients that make these bites both flexible and foolproof.
Ingredients for Microwave Mini Cheesecake Bites
Let’s talk building blocks. Our base requires just 5 essentials: cream cheese, sugar, egg, vanilla, and a crust. But here’s where it gets fun—we can twist each component based on dietary needs or pantry raids. (Confession: I once subbed crushed Oreos during a graham cracker shortage. Zero regrets.)
1. Cream Cheese Alternatives &Amp; Substitutes
Full-fat Philadelphia is our gold standard, but Greek yogurt or ricotta work in a pinch. For dairy-free? Blend ½ cup soaked cashews with 2 tbsp coconut oil until smooth. Texture shifts slightly—expect a lighter bite versus classic density. My cousin Dave’s vegan version uses kite hill cream cheese, which fooled even Aunt Clarice. With the rise of innovative cooking methods, microwave yogurt has become a popular alternative for those seeking a quick and easy way to enjoy freshly made yogurt at home.
2. Sugar Alternatives &Amp; Texture Tips
Granulated sugar gives structure, but powdered sugar prevents graininess. Swapping in ¼ cup maple syrup? Reduce other liquids by 1 tbsp. For keto bites, erythritol blends work if you add ½ tsp cornstarch to combat crystallization. Pro tip: room temperature cream cheese is non-negotiable—cold cheese creates lumpy batter. When experimenting with sweeteners like xylitol, it’s important to pay attention to how they crystallize in microwave environments. Proper techniques can help achieve the right texture and prevent unwanted graininess.
3. Crust Options &Amp; Microwave-safe Variations
Graham crackers reign supreme, but try:
- Biscoff cookies (1/3 cup crumbs + 1 tbsp melted butter)
- Pretzel crumbs (salty-sweet magic)
- Oat flour (1:1 swap for gluten-free)
Avoid parchment liners—they trap steam. Stick to microwave-safe glass ramekins or silicone molds.
Also See: Microwave Caramel Latte Cake: A Decadent Treat
How to Make Mini Cheesecake Bites in the Microwave
Time to channel your inner mad scientist. My first attempt resembled a cratered moon—until I nailed these steps. Now? Flawless domes every time.
Step 1: Preparing Microwave-safe Containers
Grab 4-oz ramekins or silicone cupcake molds. Lightly grease with butter—no one likes a cheesecake that moonlights as glue. Press 1.5 tbsp crust mix into each, using a shot glass to compact. Pre-microwave empty crusts for 15 seconds to set. (Game-changer!) For a quick and delicious dessert, consider making a 2 minute microwave cheesecake mug. It offers all the creamy goodness of cheesecake in a fraction of the time.
Step 2: Mixing Ingredients for Even Consistency
Beat 8 oz softened cream cheese until smooth. Add ¼ cup sugar, 1 egg, and 1 tsp vanilla. Scrape the bowl sides every 30 seconds—stray lumps lead to sad, uneven bakes. Pour filling over crusts, leaving ¼ inch headspace. Tap molds gently to release bubbles. For a quicker result, consider melting the cream cheese in the microwave for a smooth blending process. This method is especially helpful when needing cream cheese for quick desserts.
Step 3: Microwaving Time &Amp; Power Settings
Here’s the make-or-break moment. 70% power for 90 seconds prevents rubbery texture. If your microwave lacks power settings, do 30-second bursts with 10-second rests. Centers should jiggle like Jell-O, not slosh. Overcooked? Top with berries to hide cracks. It’s also important to note that certain foods are commonly microwaved incorrectly, leading to texture issues and uneven heating. Avoid mistakes by discovering which five foods people often microwave wrong, and perfect your technique.
Step 4: Cooling to Prevent Cracking
Let bites rest in the microwave for 5 minutes post-cooking. Transfer to fridge for 20 minutes—gradual cooling stops tectonic-level cracks. Patience pays: rushing this step once cost me three ramekins and a spoon. (RIP.)
Also See: Cheap Microwave Grilled Cheese in a Mug – Ready in Minutes!
Microwave Cooking Times for Different Variations
Not all vessels play nice with microwaves. Through trial (and error), here’s our cheat sheet. Be cautious, as certain items can lead to unexpected explosions. When it comes to kitchens, some experiments with microwaves can go horribly wrong.
1. Classic Vanilla Cheesecake Bites (Glass Ramekins)
Glass heats slowly but evenly. 2 minutes at 70% power. Edges will puff slightly—don’t panic! They deflate into creamy perfection while cooling.
2. Chocolate Swirl Cheesecake Bites (Silicone Molds)
Silicone conducts heat faster. 1 minute 10 seconds at 50% power. Swirl in 1 tsp melted chocolate before microwaving. Check at 60 seconds—overcooked chocolate turns chalky. When melting chocolate in the microwave, be sure to do it in short intervals to prevent burning. This method allows for easy control over the melting process, ensuring smooth, melted chocolate every time.
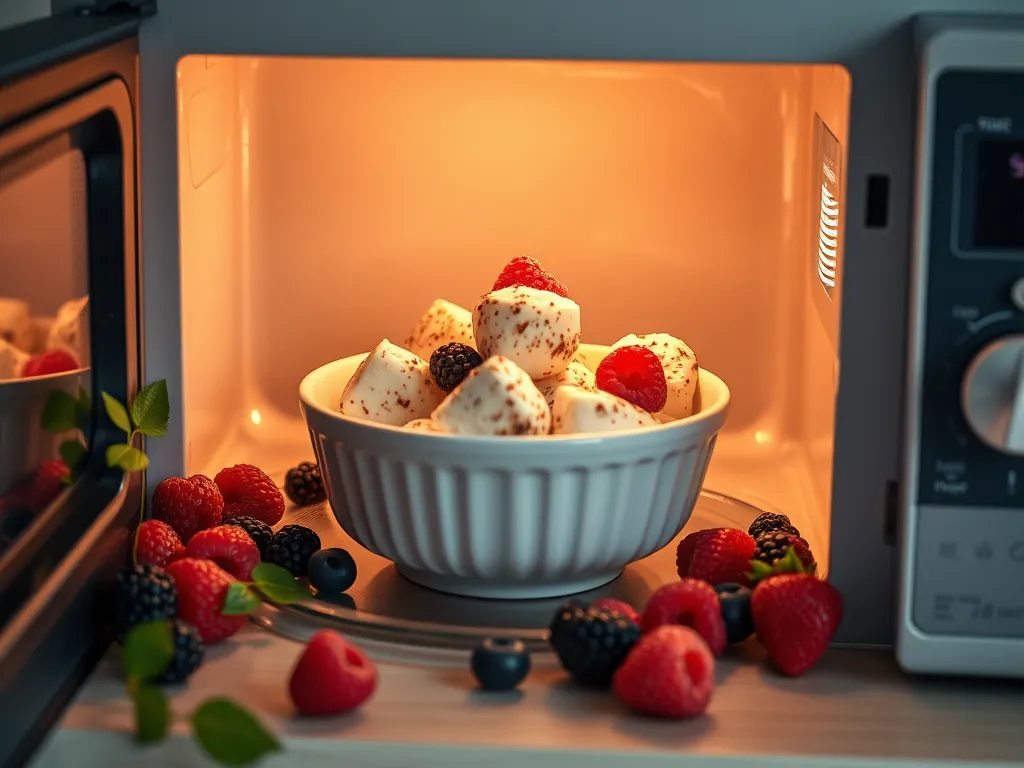
3. Fruit-topped Cheesecake Bites (Mason Jars)
Pint-sized jars need extra time. 2 minutes 30 seconds at 60% power. Add fresh berries post-cooling—microwaved fruit becomes jam (tasty, but messy).
Now that we’ve nailed the cooking times, let’s ensure your bites stay fresh longer than Aunt Clarice’s gossip. Up next: storage hacks that keep textures pristine.
How to Store Microwave Mini Cheesecake Bites
Got leftovers? (Unlikely, but let’s pretend.) Store cooled bites in airtight containers for up to 3 days. Layer them with parchment paper—cling wrap smushes those precious swirls. My roommate once stacked them sans paper. We had cheesecake lasagna.
Freezing works wonders! Pop individual bites into freezer bags for 2 months. Thaw overnight in the fridge or 20 seconds at 30% power. Pro tip: freeze toppings separately. Blueberries turn into icy marbles if frozen together.
Common Mistakes &Amp; How to Fix Them
We’ve all had cheesecake fails. Here’s how to salvage glory from the culinary abyss.
1. Overcooking &Amp; Texture Adjustments
Rubbery bites mean overcooking. Next time, reduce power to 50% and cook in 15-second increments. Salvage current ones by blending with whipped cream for a mousse. My college dorm microwave once produced hockey pucks. We repurposed them as “cheesecake croutons.”
2. Crust Sogginess Prevention
Soggy bottoms happen when steam gets trapped. Fix: pre-microwave crusts solo for 10 seconds to set them. If already soggy? Scrape off filling, re-crisp crust for 8 seconds, then reassemble. Aunt Clarice calls this “cheesecake surgery.” It’s a handy trick, similar to one used to fix soggy microwave pizza crusts.
3. Ingredient Substitution Ratios
Swapping Greek yogurt for cream cheese? Use 1:1 but add 1 tsp cornstarch per ½ cup yogurt. Sugar substitutes need adjustments too—erythritol requires 25% less liquid. My keto friend learned this the hard way. Her first batch could’ve doubled as pancake batter. For a quick and tasty option, try making a 2 minute microwave Greek yogurt pancake mug. It’s a simple way to enjoy pancakes without the fuss of a full breakfast.
Can You Microwave Cheesecake Bites?
Absolutely—that’s the whole magic! But only use microwave-safe vessels like glass ramekins or silicone. Ceramic mugs? Test first—some contain metal flakes. My pal Greg nuked a “microwave-safe” thrift store cup once. Let’s just say his cheesecake had… metallic notes.
Reheating leftovers? 10 seconds at 30% power max. Overdo it, and you’ll melt the structural integrity. (Yes, that’s a scientific term we just invented.)
Now that we’ve navigated storage and fixes, let’s talk about the fun part: crowning these bites with showstopping toppings. Spoiler: crushed peanut butter cups count as “gourmet” here. These toppings can easily be whipped up in the kitchen, and if you’re craving something sweet, consider trying a microwave peanut butter cup mug for a quick treat. It’s a simple way to enjoy the classic flavor in just a few minutes!
Now It’s Your Turn to Whip Up These Bites!
With just a microwave and a few simple ingredients, you can create creamy, dreamy cheesecake bites in minutes. Whether you’re craving classic vanilla or adventurous chocolate swirl, these mini treats deliver big flavor with minimal effort.
Don’t forget to experiment with toppings and crusts – that’s half the fun! Once you nail the technique, you’ll have an impressive dessert ready faster than it takes to preheat an oven.