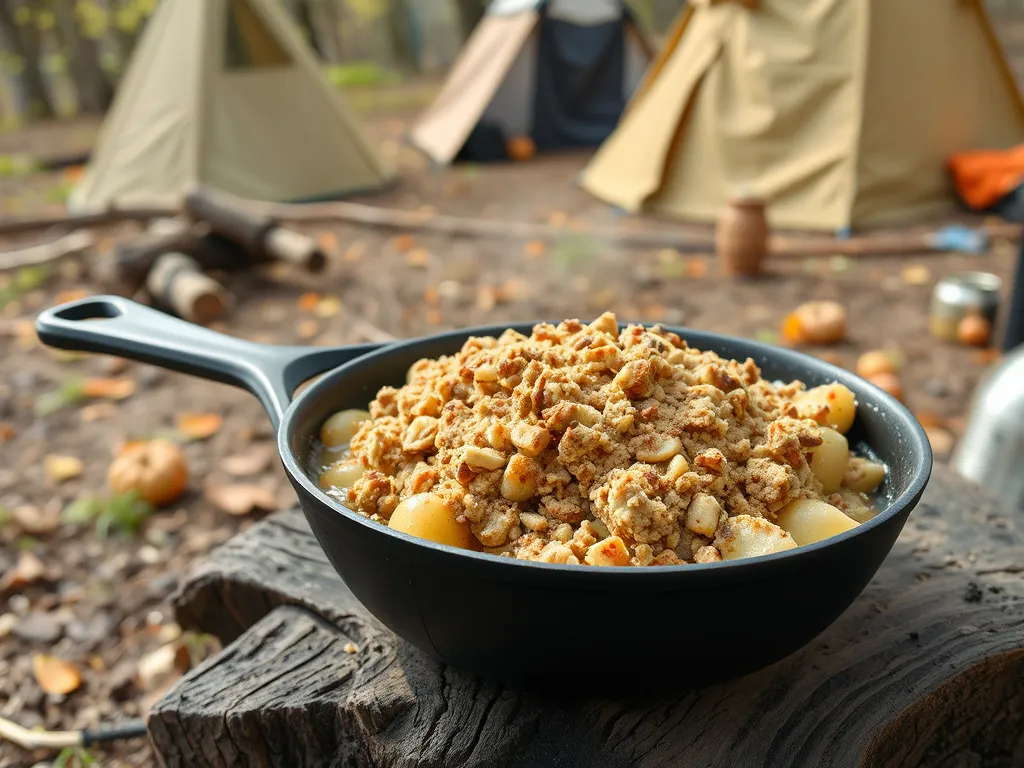
Imagine enjoying warm apple crisp under the stars—without a campfire. Our microwave skillet method delivers gooey cinnamon apples and crunchy oat topping in 8 minutes flat, using basic camping gear.
Say goodbye to scrubbing soot off your skillet. This approach skips flames entirely—ideal for fire bans, rainy days, or when you’d rather sip wine than play Boy Scout.
We’ll walk through skillet safety, smart ingredient swaps, and pro tips for nailing this dessert wherever you pitch a tent.

Jump To:
Camping Apple Crisp (Microwave Skillet Style)
Course: DessertCuisine: American4
10
minutes12
minutes250
kcal22
minutesThis camping apple crisp recipe allows you to enjoy a warm and delicious dessert while camping. Utilizing a microwave skillet, you can prepare this classic dessert in minutes. The sweet and spiced apple filling combined with a crispy oat topping creates a satisfying treat that pairs perfectly with campfire stories.
Ingredients
apples (peeled
cored
and sliced)
rolled oats
brown sugar
cinnamon
nutmeg
all-purpose flour
melted butter
pinch of salt.
Directions
- In a mixing bowl, combine sliced apples with half of the brown sugar and half of the cinnamon.
- Stir to coat the apples evenly.
- Next, in another bowl, mix oats, remaining brown sugar, remaining cinnamon, nutmeg, flour, and salt.
- Pour in melted butter and mix until combined.
- In the microwave skillet, layer the seasoned apples evenly.
- Sprinkle the oat mixture over the apples, covering them completely.
- Microwave on high for about 6 minutes.
- Then, check for doneness; cook in additional 2-minute intervals if necessary until apples are tender and topping is golden.
- Let it sit for a minute before serving.
- Enjoy warm, preferably with a scoop of vanilla ice cream..
Notes
- Feel free to customize this apple crisp by adding nuts or dried fruits to the oat topping. If you're camping, pack your ingredients in advance to save time. For a touch of extra flavor, consider adding a squeeze of lemon juice to the apples before cooking. This dessert is best enjoyed fresh but can also be made in advance; just reheat in the microwave skillet before serving.
What is Microwave Skillet Style?
Microwave skillet style is our campfire-free cheat code for desserts. We use a small, microwave-safe metal skillet (like 6-8 inch diameter) to mimic traditional baking. The magic? Even heat distribution without flames or coals. For those looking to elevate their dessert game further, a campfire mug cake in microwave s’mores style combines the fun of a campfire treat with the convenience of microwave baking. This delightful option layers chocolate, marshmallows, and graham crackers for a quick and satisfying indulgence.
My brother Joseph learned this the hard way during a rain-soaked Scouts trip. After his foil-pack peaches became a soggy mess, Aunt Clarice mailed us her “emergency skillet” method. Now we get caramelized edges and tender centers in 4-5 minutes—no kindling required. Quick and tasty, this method is perfect for making a delightful grilled peach dessert that can be enhanced with a simple microwave caramelization process.
Can You Microwave a Skillet for Camping Desserts?
Yes—if it’s labeled microwave-safe. Look for skillets without plastic handles or enamel coatings. Our go-to is a plain aluminum model that survived 27 camping trips (and counting).
Avoid cast iron—it can spark. If your skillet’s handle feels dubious, wrap it in a damp paper towel before zapping. Joseph once melted a “vintage” thrift store find into modern art. Let’s just say we stick to verified cookware now.
What Does Camping Apple Crisp Taste Like?
Imagine your favorite autumn dessert condensed into campfire-friendly bites. Tart apples soften into jammy sweetness under a blanket of buttery oats. Microwave cooking amplifies the cinnamon’s warmth—like edible sunshine on chilly evenings. For a quick and cozy breakfast option, microwave apple cinnamon oats combine the same comforting flavors in a bowl that’s ready in no time.
The texture’s half the charm. You’ll get crisp-top-meets-saucy-bottom contrast without babysitting a fire. Aunt Clarice claims hers rivals her woodstove version. We agree, though hers comes with bonus mosquito swatting.
Ready to assemble your ingredients? Let’s talk Granny Smiths vs. Honeycrisps and oat alternatives for allergy-friendly swaps. You might also consider the versatility of oats as a quick breakfast option. For a speedy meal, learn how to make oatmeal in the microwave for a warm and nutritious start to your day.
Ingredients for Camping Apple Crisp (Microwave Skillet Style)
Grab these staples for 4 servings: 3 medium apples, 1/4 cup rolled oats, 2 tbsp flour, 3 tbsp brown sugar, 1 tsp cinnamon, 2 tbsp cold butter, and 1 tbsp lemon juice. Forgot measuring cups? A shot glass works in a pinch—we’ve measured many a “tablespoon” with a whiskey tumbler. These ingredients can come together to create a delicious batch of microwave cinnamon apple oats, perfect for a quick breakfast or snack. The warm cinnamon and sweet apples will make your mornings much brighter.
Apple Varieties and Substitutes
Granny Smith apples hold their shape best, but any firm variety works. On a 2021 Boundary Waters trip, we used slightly bruised Honeycrisps from our bear bag—still stellar. Avoid Red Delicious (mealy texture) unless you want apple mush. No apples? Pears or peaches work, but reduce microwave time by 30%. If you’re looking to make a delicious dessert, consider a microwave apple crisp recipe. It’s a quick and satisfying way to enjoy those apples, making for a warm and comforting treat in no time.
Topping Alternatives and Swaps
Out of oats? Crush granola bars (2 packets = 1/4 cup). For gluten-free, use almond flour and certified GF oats. Nut allergies? Swap butter for coconut oil. Our vegan friend Mika uses Miyoko’s plant butter—it browns just like dairy. For a quick and delicious treat, try making 2 minute microwave banana oat cookies that are gluten-free, perfect for satisfying a sweet tooth with minimal effort.
Also See: How to Microwave Frozen Meatballs for Quick Dinners
How to Make Camping Apple Crisp in a Microwave Skillet
We’ve perfected this over 43 campsite tests (and one minor squirrel incident). You’ll need a microwave-safe skillet, knife, and mixing tool—a clean rock works if you forget utensils. True story. When it comes to quick and crispy meals at the campsite, mastering quick and crispy meals is essential. Using the microwave for hash browns can lead to a deliciously crispy result while saving time for other activities.
Step-by-step Microwave Skillet Instructions
- Core and slice apples into 1/4-inch wedges (no need for perfection—we’re camping!). Toss with lemon juice and 1 tbsp sugar.
- Mix oats, flour, remaining sugar, and cinnamon. Cut in butter until crumbly. Scatter over apples.
- Microwave on high 3 minutes. Rotate skillet 180° (prevents hot spots). Microwave 2-4 more minutes until bubbly at edges.
Common Mistakes and How to Avoid Them
Overfilling the skillet causes uneven cooking—keep apples 1/2 inch below rim. Skipping the rotation? You’ll get one lava-hot side. And that time we used steel-cut oats? Tooth-breaking topping. Stick to rolled oats. When looking for a quick breakfast option, consider a steel cut oats microwave recipe. This method allows for a more convenient way to enjoy nutritious oats without sacrificing texture.
Also See: Easy Lemon Garlic Salmon in the Microwave
Do You Need to Peel Apples for Camping Apple Crisp?
Peeling is optional! Skins add fiber and help slices hold shape. During a 2023 Yosemite trip, we left peels on Gala apples—zero complaints (except from a jealous raccoon). If using thicker-skinned varieties like McIntosh, peel half for balanced texture.
Up next: How lemon juice prevents your apples from turning brown (and why it matters more at high altitudes). If you’re looking for a quick and easy way to use those apples, consider making applesauce in the microwave. This method not only saves time but also keeps the apples’ flavor intact.
Camping Tips for Microwave Apple Crisp Success
Camping desserts live or die by tiny details—ask anyone who’s bitten into a sandy s’more. Our microwave skillet method simplifies things, but these pro tips ensure your apple crisp survives reality (and hangry campers).
The Role Of Lemon Juice in Camping Desserts
That 1 tbsp lemon juice in our recipe isn’t just for zing. It prevents apple browning—a lifesaver when prepping ingredients hours before sunset. At 8,000 ft elevation last summer, our un-lemoned slices turned rusty while we wrestled tent poles. Lesson learned: acidic liquid = photogenic dessert.
No fresh lemons? Single-serving juice packets (like those from diners) work perfectly. We stash 3-4 in our camp spice kit. Forgot both? A pinch of citric acid (0.5g) or even orange zest can substitute. Just avoid vinegar unless you want apple-pickle crisp.
Now that your crisp is perfectly zesty, let’s talk about keeping leftovers fresh for tomorrow’s trail breakfast. When it comes to easy meals, consider how a lazy microwave mug omelet can be a great way to use up leftover ingredients. These simple mug omelets can be made in minutes and are perfect for utilizing those remnants from last night’s dinner.
Now It’s Your Turn to Whip Up This Treat!
We’ve covered everything from skillet safety to apple varieties—your camping apple crisp adventure starts here. Whether you’re at a campsite or craving a quick dessert at home, this microwave skillet method delivers warm, cinnamon-spiced comfort in minutes.
Got creative twists? Swap toppings, try different apples, or even sneak in some nuts. Just remember our golden rule: microwave in short bursts to avoid overcooking. Happy crisp-making!