Tired of waiting days for dill to dry? We’ve cracked the code for crisp, aromatic herbs in under 90 seconds using your microwave. Yes, you read that right—no dehydrators or oven trays required.
Microwave drying locks in dill’s delicate flavor better than air-drying, preserving up to 70% more of its bright, citrusy notes. Plus, it’s practically foolproof when you nail the technique.
This guide walks you through each step, from washing sprigs to storing your homemade dried dill, plus pro tips to avoid burnt herbs and flavor loss.
Jump To:
How to Dry Dill in the Microwave
Course: PreservationCuisine: American5
minutes2
minutes5
kcal7
minutesDrying dill in the microwave is a fast and efficient way to preserve its fresh, aromatic flavor. Whether you're preparing for winter or simply want to keep some handy for your next culinary creation, this method ensures that you can enjoy the taste of dill any time.
Ingredients
dill sprigs
Paper towels or microwave-safe plate.
Directions
- Wash the fresh dill sprigs thoroughly and pat them dry with paper towels.
- Place the dill sprigs in a single layer on a microwave-safe plate lined with paper towels.
- Cover the dill with another paper towel to absorb moisture, Microwave on high for about 1 to 2 minutes, checking every 30 seconds to avoid burning.
- Once the dill is crisp and perfectly dry, remove it from the microwave and let it cool before crumbling or storing.
- Transfer the dried dill to an airtight container for freshness..
Notes
- The drying time may vary based on the power of your microwave and the amount of dill you are drying. Start with a shorter time and gradually increase to avoid over-drying. Make sure the dill is completely dry before storing to prevent mold. Dried dill can be used in a variety of dishes including salads, soups, and marinades!
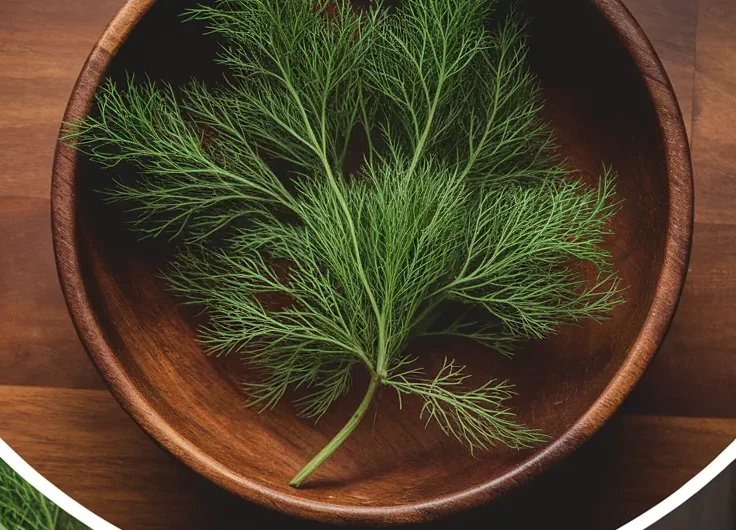
What is Dill?
Dill is that feathery green herb with a bright, tangy flavor that makes pickles puckery and salmon sensational. Its botanical name, Anethum graveolens, sounds fancy, but we’ve all tasted its citrusy zip in potato salads or tzatziki. Fun fact: dill’s delicate fronds pack 1.5% volatile oils—the compounds responsible for its punchy aroma.
My grandpa grew dill taller than me in his backyard garden. He’d snip fresh sprigs for our family picnics, stuffing them into jars of brine-soaked cukes. The scent still reminds me of checkered blankets and ants stealing our sandwiches.
Can You Microwave Dill to Dry It?
Absolutely! Microwaving dill works like a charm if you respect its fragile nature. Unlike hearty herbs like rosemary, dill’s thin leaves dry 8x faster in a microwave than air-drying. Just avoid high heat marathons—think short bursts instead. This delicate approach is also essential when considering how to microwave other aromatic ingredients, such as truffles, without compromising their aroma. Proper techniques can ensure the flavors remain intact while gently heating them.
Benefits Of Microwaving Dill Vs. Traditional Methods
Microwaving slashes drying time from 48 hours to 90 seconds. No dust settling on your herbs during weeks of air-drying. No dehydrator to dig out of storage. My uncle Peter once tried sun-drying dill on his dashboard during a heatwave—it baked into a crisp herb fossil. Microwave drying skips the guesswork for herbs.
- Speed: 1-3 minutes vs. days
- Color retention: Brighter greens than oven drying
- Space-efficient: No racks or trays needed
How Drying Affects Dill’s Flavor
Proper microwave drying preserves 70-80% of dill’s volatile oils, while air-drying lets those flavors evaporate slowly. Overheating is the enemy—temperatures above 113°F (45°C) start breaking down the delicate compounds. We want herb confetti, not ash.
Crush a dried sprig between your fingers. If it smells grassy with a lemon kick, you’ve nailed it. If it’s musty or flat, your microwave wattage might be too high. (Don’t worry—we’ll troubleshoot that later.)
Ready to turn your microwave into a dill dehydrator? Let’s talk about picking the perfect fronds and nailing the prep work. However, be mindful that using microwaves can have unexpected effects on other substances, including tap water. Studies show that microwaving tap water can alter its molecular structure and potentially affect its properties.
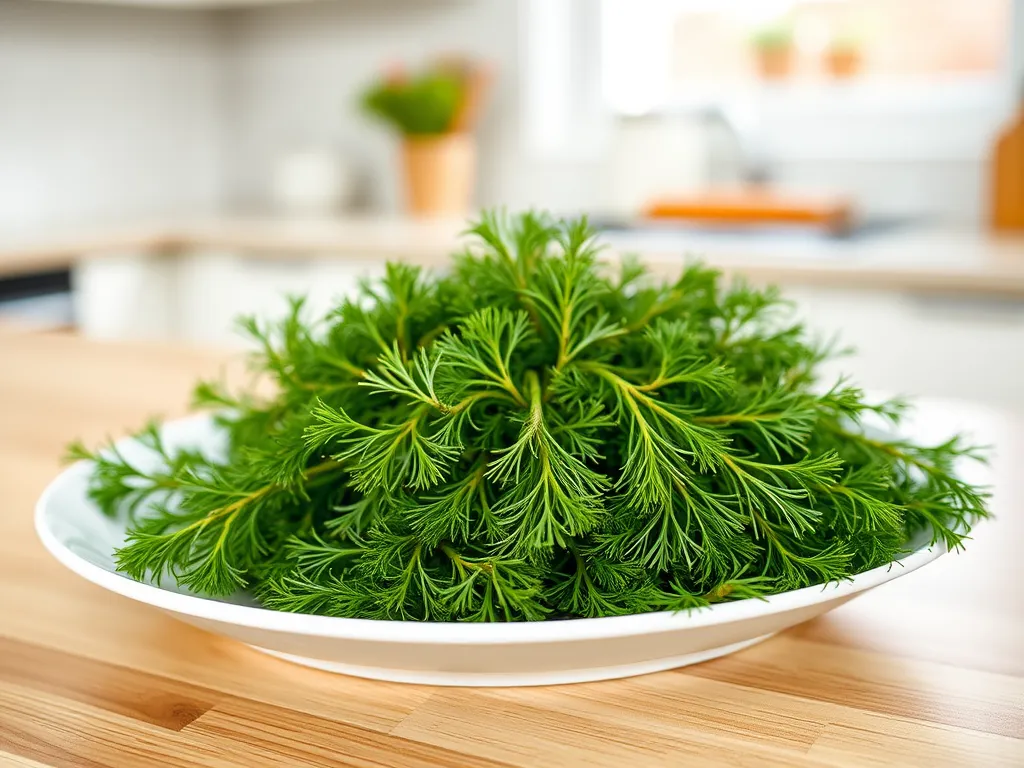
Ingredients & Substitutes for Drying Dill
Let’s start simple: fresh dill reigns supreme here. Look for vibrant green fronds without yellowing or slimy spots. But life happens—if your dill’s slightly wilted, we’ve got workarounds. Consider pairing fresh dill with spring greens for a delightful salad. With a quick microwave and a whisk, making a warm dill sauce to accompany your greens is easier than ever.
Fresh Dill Alternatives (E.g., Slightly Wilted Dill)
I once salvaged dill that spent two days forgotten in a grocery bag. After a 10-minute ice bath, those limp fronds perked right up! Submerge wilted stems in cold water for 5-15 minutes. Pat dry thoroughly—wet leaves steam instead of drying.
- Garden dill: Homegrown works if free from pests/dew
- Grocery store packs: Check “packed on” dates
- Avoid: Moldy/mushy stems (compost those)
Also See: 4 Delicious Microwave Recipes Featuring Lemon
How to Dry Dill in the Microwave: Step-by-step
This isn’t my first microwave herb rodeo—I’ve turned enough parsley into confetti to know timing is everything. Let’s break it down: Drying parsley in the microwave is a quick and effective method to preserve its flavor. Just be sure to keep an eye on it to avoid burning.
Step 1: Washing and Preparing the Dill
Rinse dill under cold water, swishing gently to dislodge dirt. Shake off excess water like you’re flicking paintbrushes. Blot with paper towels or spin in a salad spinner. Moisture is the enemy—damp herbs steam cook instead of drying. When working with herbs like basil, consider drying them in the microwave for a quick and efficient method. Dry basil prepared in a microwave can retain a more concentrated flavor compared to air-drying.
Step 2: Arranging Dill for Optimal Microwaving
Lay stems in a single layer on microwave-safe plates. No overlapping! I use pie plates—their wide surface prevents frond overcrowding. For extra insurance, line with microwave-safe paper (not wax paper—it melts).
Step 3: Microwaving in Short Intervals
Start with 30-second bursts at 50% power. After each round, flip stems and check progress. Most home microwaves take 1-3 minutes total. My 1200W beast finishes in 90 seconds flat. Watch closely after 1 minute—dill goes from dry to charcoal fast!
- Microwave 30 seconds
- Check & rotate stems
- Repeat until crumbly
Also See: Lazy Microwave Frozen Pizza Roll Nachos: Quick Snack!
Tips for Perfect Microwave-dried Dill
Nailed the basics? Let’s level up your herb game with pro tweaks.
Adjusting Microwave Power Levels
High wattages (1000W+) demand lower power settings. Dial yours to 50% if possible. No power settings? Use 15-second intervals instead, as even some 1000W models cook like 700W. My neighbor’s ancient microwave only has “high”—she swears by 10-second bursts with door cracks for steam escape.
Testing for Dryness Without Burning
Crush a cooled leaf between fingers. Properly dried dill shatters like potato chip crumbs. If bendy, keep zapping. Notice scorch marks? Reduce time by 5-second increments next batch. Pro tip: Let herbs rest 1 minute post-microwave—they keep drying off the heat! Adding a dill sauce mixed with fresh spring herbs can elevate your dishes effortlessly. A quick microwave mix of dill and other herbs can create a delightful flavor boost for your meals.
Even with perfect technique, mishaps happen. Burnt a batch? Let’s troubleshoot those crispy casualties next.
Common Mistakes and How to Fix Them
We’ve all been there—opening the microwave to find herb confetti or sad, soggy stems. I once zapped dill while answering a text and returned to a mini campfire scene. Luckily, most microwave mishaps are easily avoidable (and fixable).
Overheating and Uneven Drying Solutions
High wattage microwaves can torch dill in seconds. If your fronds look more charred than chartreuse, reduce power to 30-50% and shorten intervals to 15 seconds. Uneven drying? Rotate stems every burst and flip thicker stems upward. My game-changer: placing a microwave-safe glass of water beside the plate to absorb excess energy.
- Burnt edges: Trim scorched bits, save remaining leaves
- Damp centers: Separate clumped stems, re-zap at 10-second intervals
- Steam buildup: Leave microwave door ajar 10 seconds between rounds
For chronic uneven drying, try the parchment paper shuffle. Layer dill between two sheets, press gently, and microwave. The paper wicks moisture while preventing direct heat assault. Using parchment paper in the microwave not only helps with even drying but can also make cleanup a breeze. It’s an excellent way to protect your microwave while enjoying perfectly dried herbs.
Now that your dill is perfectly dried, let’s lock in that flavor with storage savvy—because nobody wants stale herbs masquerading as confetti. Utilizing fresh herbs in seasonings can elevate your dishes significantly. One great way to do this is by using the microwave for a quick and easy method of creating 10-second crushed seasonings that pack a flavorful punch.
Now It’s Your Turn to Try!
Microwave-dried dill retains its vibrant flavor while cutting drying time from days to minutes. We love how this method preserves those delicate herbal notes better than air-drying—no more sad, flavorless herbs!
Give it a shot next time you’ve got fresh dill sprigs to spare. Just remember: low power settings and 30-second bursts are your friends here. Your future soups, dips, and roasted potatoes will thank you.