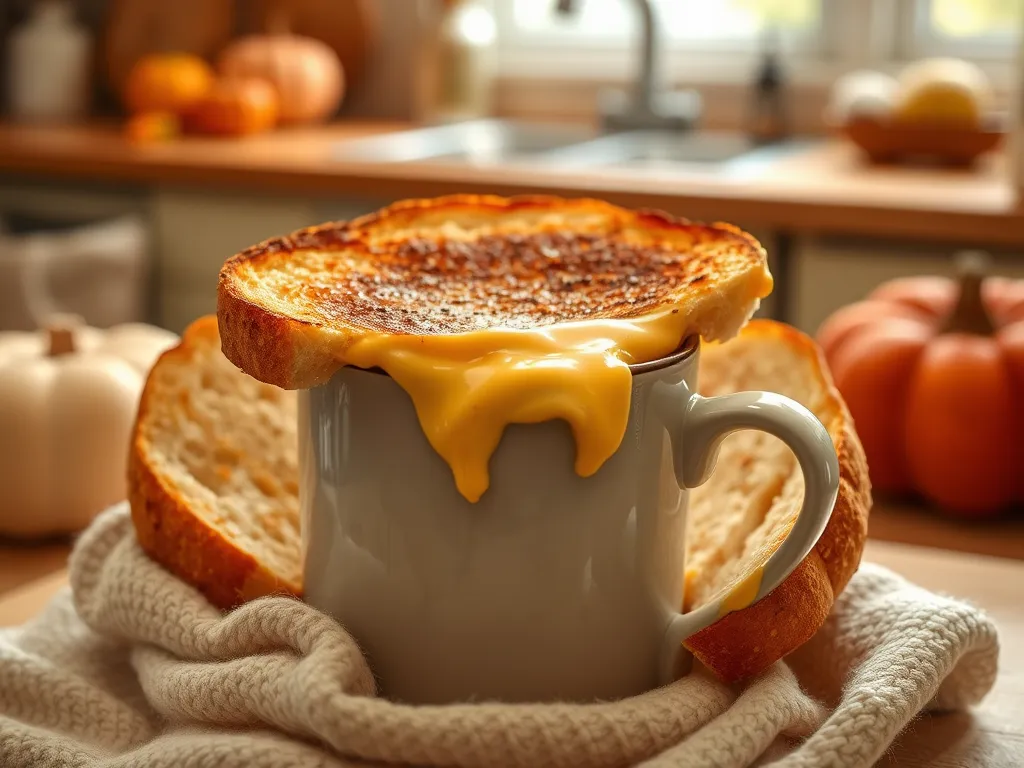
Craving a gooey grilled cheese but short on time and cash? This mug version takes just 90 seconds and uses ingredients you already have.
Skip the skillet and messy cleanup—your microwave does all the heavy lifting here. Bonus: no pans to scrub while your stomach’s growling!
We’ll share bread hacks, cheese melt secrets, and how to dodge the dreaded sogginess. Let’s turn your mug into a mini comfort zone.

Jump To:
Cheap Microwave Grilled Cheese in a Mug
Course: SnackCuisine: American1
2
minutes2
minutes300
kcal4
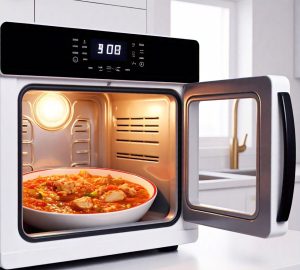
minutesGrilled cheese sandwiches are a classic comfort food, but making them usually requires a stove and pan. With this microwave version, you can whip up a cheesy treat in no time. This recipe is ideal for those looking for a quick meal or snack without breaking the bank. Just gather your ingredients and let the microwave do the work!
Ingredients
of bread
of cheese cheddar or your choice
of butter or margarine
optional: seasonings like garlic powder or pepper.
Directions
- Start by spreading butter on one side of each slice of bread.
- Place one slice of bread, butter side down, in a microwave-safe mug.
- Layer one slice of cheese on top of the bread in the mug.
- Top with the second slice of bread, butter side up.
- Microwave the mug on high for about 1-2 minutes, keeping an eye on the cheese as it melts.
- Check after 1 minute; if the cheese isn't fully melted, continue microwaving in 15-second intervals until gooey.
- Carefully remove the mug from the microwave (it will be hot), let it sit for a few seconds to cool, and then enjoy your delicious grilled cheese right from the mug..
Notes
- Feel free to experiment with different types of cheese or add-ins like cooked bacon, herbs, or tomatoes for extra flavor. This recipe is all about convenience so you can customize it to suit your taste. Ensure your mug is microwave safe and be cautious of hot contents when removing it from the microwave.
Why Make Grilled Cheese in a Microwave?
Picture this: my kids Sarah and Timmy burst through the door after school, ravenous and impatient. Our microwave became the MVP, delivering melty sandwiches faster than our toaster ever could. No stove supervision required – perfect for tiny chefs-in-training.
At our last family game night, my mom Linda raised an eyebrow when I microwaved her sandwich. One bite later? “Well butter my biscuit, this beats my old skillet method!” High praise from someone who’s made grilled cheese since the Nixon administration.
Ingredients for Microwave Mug Grilled Cheese
You need just three basics: bread, cheese, and fat. Total cost per serving? About $0.75 using generic brand cheddar and wheat bread. We’ve made this with gas station napkins as plates – no judgment here. With a little creativity, those ingredients can become a delicious and cheap microwave egg cheese sandwich that’s perfect for any time of day.
Bread Alternatives & Cheese Substitutes
- Bread: Sandwich slices, bagel halves, English muffins, or leftover biscuit chunks (Timmy’s favorite)
- Gluten-free: Rice cakes or corn tortillas work surprisingly well
- Cheese: Pre-shredded mixes melt fastest, but deli counter ends (75% off!) work too
Sarah once used gummy bears during a “sweet grilled cheese” phase. Stick to semi-soft cheeses – we’ve learned from sticky mistakes! For a fun and quick twist on the classic sandwich, consider grilled cheese roll ups. These delicious treats are easily made in the microwave, turning simple ingredients into a delightful snack in just minutes.
Butter or Oil Options
| Fat Type | Best For | Cost per Use |
|---|---|---|
| Butter | Classic flavor | $0.10 |
| Margarine | Dairy-free | $0.05 |
| Olive oil | Healthier option | $0.15 |
We’ve even used fast food ketchup packets as grease in a pinch. Pro tip: A light spritz of cooking spray prevents nuclear-level mug scrubbing later. It’s especially helpful when you cook bacon in a mug for added convenience.
Now that your ingredients are prepped, let’s nuke this thing into existence…
How to Make Grilled Cheese in a Mug: Step-by-step
We’ve burned (literally) through 47 attempts to perfect this method. Follow these steps unless you enjoy scrubbing cheese cement from your microwave walls.
Step 1: Layering Bread and Cheese
Start with a microwave-safe ceramic mug – glass gets nuclear hot. Tear one bread slice into nickel-sized pieces to fill the mug’s bottom. Add 1 tbsp shredded cheese, then repeat layers.
My neighbor Dave learned the hard way: never use whole bread slices. They create steam pockets that lead to Chernobyl-level cheese explosions. Crusts optional – our dog Bingo votes yes.
Step 2: Microwaving Time and Power Settings
Nuke on 70% power for 45 seconds – full power turns bread into shoe leather. If your microwave lacks power settings (looking at you, 1998 dorm models), do 30 seconds + 15 second bursts.
Our 1200W unit makes perfect melts, but adjust based on your microwave’s age. Grandma Ethel’s 700W antique? Add 20 seconds and pray to the kitchen gods. Surprisingly, a 1000W model can sometimes cook like a 700W one due to power loss. This can affect cooking times and results, so it’s essential to keep that in mind while using your microwave.
Step 3: Achieving Melted Cheese Without Sogginess
Let it rest 60 seconds post-nuking – this lets steam escape and cheese thicken. Stir gently with a fork to distribute gooeyness.
If it resembles wet cement, you overpacked the mug. Next time, leave ½ inch space at the top for proper heat circulation. Yes Timmy, that means fewer goldfish crackers mixed in.
Also See: Microwave Mango Lime Mug Cake in Minutes!
What Does Microwave Mug Grilled Cheese Taste Like?
Imagine your favorite diner grilled cheese took a steam bath – softer texture but same nostalgic flavor. The cheese stays creamier longer since microwave heating prevents oil separation.
Sarah describes it as “grilled cheese soup in bread bowl form.” High praise from a kid who once licked ketchup off a school table.
Texture Comparison to Traditional Grilled Cheese
No crispy butter crust here – the microwave version leans steamy and pudding-soft. Bread stays tender rather than toasty.
But here’s the kicker: day-old bread works better than fresh. Stale slices absorb less moisture, preventing that dreaded microwave sogginess. There’s also a quick trick to revive stale bread in a flash. Just wrap it in a wet paper towel and microwave it for 30 seconds for a fresh-tasting slice!
Also See: Colorful Veggie Ratatouille Via Microwave
Common Mistakes & How to Fix Them
We’ve made every error possible so you don’t have to. Consider this your grilled cheese insurance policy.
Overcooking or Undercooking in the Microwave
Burnt cheese smells like regret. If your sandwich emerges looking like lava, add 1 tsp milk and microwave 10 more seconds to revive creaminess.
Undercooked? Your bread likely wasn’t torn small enough. Pop it back in 10-second bursts, stirring between each. Pro tip: Use a flashlight to check for unmelted cheese pockets.
Choosing the Wrong Mug Size or Material
That oversized novelty beer mug? Disaster waiting to happen. Use 8-12 oz mugs – we repurpose old coffee cups missing their saucers.
Metal-accented “cutecups” spark like Fourth of July. Stick to plain ceramic or tempered glass. When in doubt, do the microwave plate test: nuke the empty mug 30 seconds. If it’s cool, you’re golden. Using a microwave-safe ceramic mug is important to avoid those sparks and ensure safe heating of your drinks.
Now that you’re a mug grilled cheese master, let’s talk about keeping your creations edible past lunchtime…
Now It’s Your Turn to Try!
Making a cheap microwave grilled cheese in a mug is ridiculously easy—just layer, microwave, and enjoy that gooey goodness in minutes. Whether you’re craving a classic or want to experiment with herbs, veggies, or even a sweet twist, this method delivers quick satisfaction without breaking the bank.
Got a favorite cheese combo or a clever hack? Whip it up and let us know how it turns out. Happy microwaving!