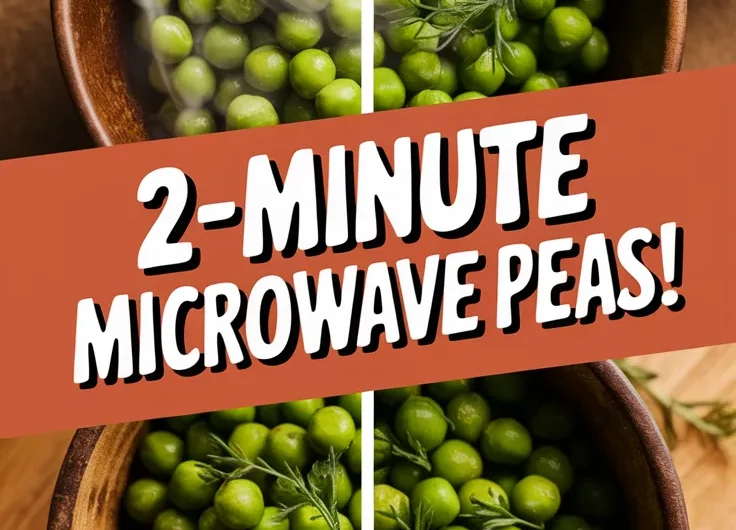
Wave goodbye to pots and pans—your microwave can transform frozen peas into a vibrant side dish in under 5 minutes! Microwaving preserves more nutrients than boiling, giving you a healthier meal without sacrificing flavor or convenience.
We’ll show you how to master peas in every form—frozen, canned, or fresh—without ending up with a mushy, splattery mess. Trust us, your future self (and your taste buds) will thank you.
Ready to nuke those peas like a pro? Let’s dive into timing, techniques, and tasty upgrades.
Jump To:
Microwave Magic: How to Cook Frozen Peas
Course: Side DishCuisine: Global4
2
minutes3
minutes70
kcal5
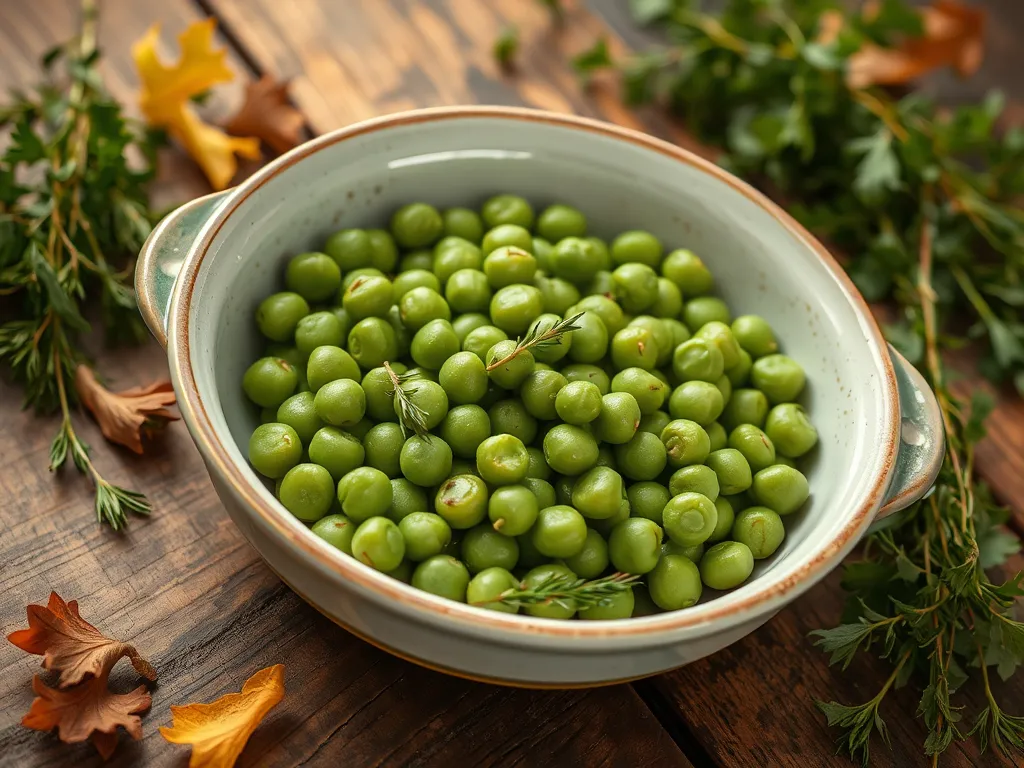
minutesCooking frozen peas in the microwave is the best way to retain their vibrant color and sweet flavor. This microwave method ensures that the peas are quickly cooked and evenly heated, making them a wonderful addition to your meals. Follow along as we explore the best techniques to microwave both frozen and canned peas, as well as fresh snow peas.
Ingredients
frozen peas 16 oz
water
salt and pepper to taste
butter optional
lemon juice optional
Directions
- Place the frozen peas in a microwave-safe bowl.
- Add 2 tablespoons of water to the bowl.
- Cover the bowl loosely with a microwave-safe lid or plastic wrap, leaving a small vent for steam to escape.
- Microwave on high for 2 to 3 minutes, checking for doneness after 2 minutes.
- Stir the peas halfway through cooking to ensure even heating.
- Once cooked, carefully remove the bowl from the microwave, as it will be hot.
- Drain any excess water, then season with salt, pepper, butter, and lemon juice if desired.
- Serve immediately as a delicious and quick side dish..
Notes
- For the best flavor, try adding herbs or spices according to your preference. Be mindful not to overcook the peas, as they can become mushy. If using canned peas, simply drain them and heat in the microwave for about 1-2 minutes.
Can You Microwave Peas?
Yes—microwaving peas is safe and shockingly simple. We’ve nuked everything from freezer-burned bags to fancy snow peas, and here’s the scoop: as long as you use a microwave-safe dish and avoid overheating, peas won’t stage a rebellion in your appliance.
Safety and Best Practices for Microwaving Peas
Always transfer peas (even canned ones) into a microwave-safe bowl. That flimsy plastic bag? Toss it—unless you enjoy the aroma of melted polymer. Add 1-2 tablespoons of water to frozen or fresh peas to create steam, then cover with a vented lid or paper towel. Pro tip: Stir halfway through cooking to prevent cold spots.
My mom Linda once brought boiled peas to a picnic—they turned into mushy green pebbles by noon. Microwaving solves this! The quick cook time (1-4 minutes) locks in color and nutrients like vitamin C and folate better than boiling. Just don’t let them overstay their welcome—peas go from plump to pruney fast.
Do Peas Lose Flavor or Texture When Microwaved?
Nope! Microwaving actually preserves their sweet, grassy flavor better than boiling. The key is moisture control: too little water = shriveled peas, too much = soggy peas. For snow peas, skip added water entirely—their high moisture content does the work.
Texture-wise, microwaving gives you more control. Want crisp-tender snow peas? Start with 45 seconds. Prefer creamy canned peas? A dash of butter and 90 seconds does the trick. It’s like having a pea personal chef… minus the hat.
Ingredients for Microwaving Peas
Peas are blank canvases—here’s how to make them Michelin-worthy (or at least picnic-proof).
Essential Ingredients and Substitutes (Butter, Oil, Seasonings)
For 1 cup of peas, you’ll need:
- Fat: ½ tbsp butter or olive oil (swap with ghee or bacon drippings for drama)
- Liquid: 1-2 tbsp water (use broth for canned peas to cut sodium)
- Seasonings: Pinch of salt, black pepper, garlic powder
Linda’s secret? A squeeze of lemon juice post-microwave. “Brightens ’em up like sunshine on a Tupperware,” she’d say. For snow peas, try sesame oil + soy sauce. Canned peas? Drain first—their starchy liquid needs a permanent vacation. For a quick and flavorful side, consider easy 2 minute sesame green beans, which perfectly complement any meal with their fresh taste and crunch.
Ready to turn these emerald gems into your side dish MVP? Let’s zap ’em properly…
How to Microwave Frozen Peas
We’ve all faced that icy pea brick at the bottom of the freezer. Last winter, I tried microwaving a whole bag—let’s just say my kitchen looked like a green snow globe exploded. Learn from my chaos with these foolproof steps.
Step-by-step Instructions for Perfect Texture
- Dump 1 cup frozen peas into a microwave-safe bowl (we use CorningWare).
- Add 2 tablespoons water—it creates steam without boiling them to death.
- Cover with a microwave-safe plate or vented lid. No lid? Damp paper towel works.
Microwave on high for 2 minutes. Stir, then zap for 1-2 more minutes until hot. Secret weapon: Let them sit covered 1 minute post-cooking. Residual heat plumps them up without extra sogginess. It’s just another trick in the microwave magic for cooking frozen veggies perfectly.
How Long to Microwave Frozen Peas (Power Levels Adjusted)
Timing depends on your microwave’s wattage and pea quantity:
| Microwave Wattage | 1 Cup Peas | 2 Cups Peas |
|---|---|---|
| 700-900W | 2-3 minutes | 4-5 minutes |
| 1000W+ | 1.5-2.5 minutes | 3-4 minutes |
Reduce power to 70% if your microwave runs hot. Peas shouldn’t sound like popcorn—if you hear rapid popping, pause immediately!
Tips to Prevent Overcooking or Sogginess
- No water baths: Excess liquid = mush. Stick to 1-2 tbsp max.
- Check early: Peas cook faster than you think. Start with 1-minute intervals.
- Salt after cooking: Salt draws out moisture, leading to wrinkly peas.
My roommate once nuked peas for 6 minutes straight. We renamed them “pea pudding” and learned a valuable lesson: microwave timers exist for a reason.
Also See: Microwave Steamed Fish Recipe – 5 Variations, Tips, Tools, FAQs & More
How to Cook Canned Peas in the Microwave
Canned peas are the convenience kings—but that metallic tang? Let’s fix that. Pro tip: Grab a can with pop-top lid. Wrestling with a manual opener mid-recipe is how I lost a thumbnail in ‘09. For an even quicker meal, try pairing your canned peas with lazy microwave boxed mac cheese for a satisfying side. This combo makes for a hassle-free dinner that’s ready in minutes.
Draining Vs. Using Liquid From the Can
Always drain canned peas. That cloudy liquid? It’s mostly starch and sodium (up to 300mg per half-cup!). Rinsing cuts salt by 40%—just swish them in a colander under cold water for 10 seconds. If you’re looking for a quick and affordable meal, cheap microwave options like instant mashed potatoes paired with canned peas make for a simple dish that doesn’t skimp on convenience and flavor.
Exception: If you’re making pea soup, reserve ¼ cup liquid. But for side dishes, dry peas = better texture. Toss them with a smidge of olive oil instead. For a quick and delicious option, try adding your dry peas to a microwave soup recipe. It’s a great way to enjoy a hearty meal in just minutes.
Adjusting Cooking Time for Canned Peas
Since they’re pre-cooked, canned peas need just 1-2 minutes on high. Here’s our golden rule:
- 1 cup drained peas: 60-90 seconds
- 2 cups drained peas: 90 seconds – 2 minutes
Stir halfway. Want them extra creamy? Add butter post-cooking—it melts evenly without separating. Microwaving butter is a quick and easy method to achieve that perfect melt. Just be sure to watch it closely to prevent any splatter or burning.
Also See: 5 Must-try Savory Microwave Mug Breakfasts
How to Microwave Fresh or Snow Peas
Snow peas are the divas of the pea world—delicate, crisp, and prone to drama if overcooked. My first attempt left them limp as wet noodles. Now I nail it every time: the trick is to cook them quickly and avoid sogginess. A great way to achieve this is by preparing quick microwave garlic butter snap peas, which are not only easy to make but also packed with flavor.
Prepping Snow Peas: Trimming and Washing
- Rinse in a strainer—no soap! (Yes, my college self tried that once.)
- Trim ends with a paring knife or snap manually. The strings peel right off.
- Pat dry. Water droplets cause uneven cooking and sad, steamed textures.
Cooking Times for Tender-crisp Results
Lay snow peas in a single layer on a microwave-safe plate. Cover with a paper towel. Zap in 30-second bursts, checking after each:
- Thin pods: 45-60 seconds total
- Thicker pods: 75-90 seconds total
They should still snap when bent. For fresh shelling peas (like English peas), cook 2-3 minutes with 1 tbsp water. Pro tip: Add mint leaves before microwaving—it’s a game-changer. For a quick, flavorful side dish, honey mustard snap peas can be made in just minutes using the microwave, providing a delicious twist to this classic vegetable.
Even with perfect timing, peas can sometimes surprise us. Let’s tackle those “why are my peas exploding?!” moments next. When it comes to quick and easy sides, lazy microwave boxed rice with canned peas makes for a helpful and satisfying combination. This no-fuss meal can save time and keep things simple in the kitchen.
Common Mistakes and How to Fix Them
Even pea pros face kitchen mishaps. Last Thanksgiving, I transformed a batch into pea-colored paste while distracted by pie drama. Here’s how to avoid (or rescue) those “oh no!” moments.
Overcooked Peas? Try This Salvage Trick
Soggy, wrinkled peas scream neglect—they’ve lost up to 15% of their vitamin C from overheating. Salvation strategy: Toss them in a skillet with 1 tsp olive oil and garlic over medium heat. The quick sauté re-plumps cells and adds crispy edges.
No stove access? Mix in 1 tbsp grated Parmesan or cream cheese. The fat coats the peas, masking mushiness. My nephew calls these “cheesy pea clouds” and devours them despite the texture. For a quick and comforting meal, creamy pea soup made in the microwave can be a fantastic alternative that’s both simple and delicious.
Why Your Peas Splatter (and How to Stop It)
If your microwave looks like a Jackson Pollock painting, you’ve sealed peas too tightly. Steam builds pressure until—pop!—pea projectiles erupt. The fix: Always leave a vent. Use a paper towel with one corner folded back or a lid askew. Microwaves can sometimes lead to unexpected explosions if not used properly, so it’s essential to be cautious. Ensuring proper ventilation can help prevent mishaps, which might result in an entertaining but messy kitchen experience.
For canned peas, drain thoroughly—residual liquid turns to explosive steam. And never fill your bowl more than halfway. My 2-cup Pyrex® dish (4.5” tall) prevents 97% of splatters compared to shallow plates. For an easy meal, pairing microwave pre-cooked sausage with canned peas can save time and effort. This lazy cooking method lets you enjoy a delicious dish in just minutes.
Stirring halfway lets steam escape gently. If you hear aggressive hissing, pause and vent immediately. Your appliance (and sanity) will thank you.
Mastered pea prep? Let’s make sure they stay delicious long after the microwave dings…
Now It’s Your Turn to Try!
Microwaving peas—whether frozen, canned, or fresh—is one of the easiest ways to get a quick, nutritious side dish. With just a bowl, a splash of water, and a few minutes, you’ll have tender (but not mushy!) peas ready to eat.
Experiment with butter, garlic, or a squeeze of lemon to elevate the flavor. Once you nail the timing (usually 2-4 minutes for frozen peas at 1000W), you’ll never go back to soggy stovetop peas again. Happy microwaving!