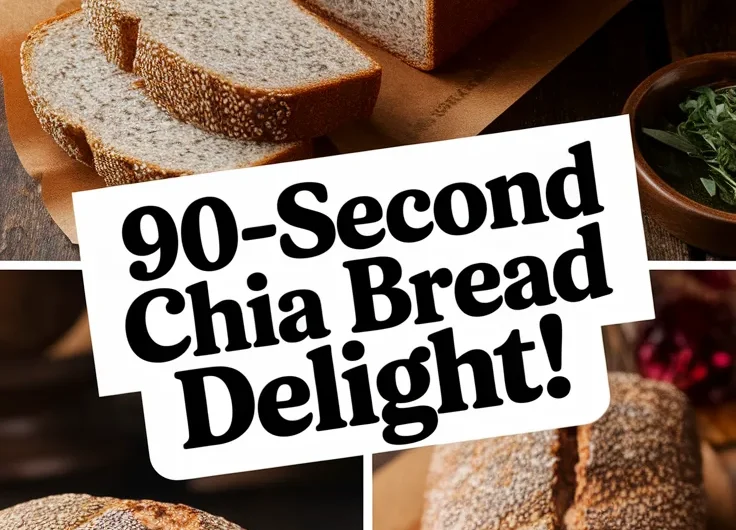
Craving fresh bread but short on time? This 90-second chia bread bakes in your microwave faster than toasting a slice. Seriously—no oven preheating, no kneading, and zero patience required.
It’s also gluten-free, high in fiber, and endlessly customizable. Want garlic-herb swirls? Crunchy seeds? Sweet cinnamon bursts? Your mug is your canvas.
We’ll walk you through ingredients, microwave tricks, and creative twists to turn this lightning-fast loaf into your new kitchen hack.
Jump To:
Easy 90-Second Chia Bread
Course: BreakfastCuisine: American1
5
minutes1
minute160
kcal6
minutesWith the need for quick meal solutions on the rise, this easy 90-second chia bread recipe allows you to whip up a fresh loaf in no time. It combines nutritious ingredients that provide a satisfying texture and taste while being gluten-free and vegan. Perfect for those busy mornings or a midday snack, it’s a simple yet rewarding recipe to have in your collection.
Ingredients
almond flour
chia seeds
flaxseed meal
baking powder
pinch of salt
water
toppings (like nut butter
avocado
or jam).
Directions
- In a mixing bowl, combine the almond flour, chia seeds, flaxseed meal, baking powder, and salt
- Add the water to the dry ingredients and stir until a thick batter forms, Pour the batter into a greased microwave-safe bowl or mug
- Microwave on high for 90 seconds, Remove from the microwave and let it cool for a minute, Slice and enjoy with your favorite toppings like nut butter, avocado, or jam.
Notes
- Feel free to customize this bread by adding herbs, spices, or other seeds for additional flavor. Make sure to adjust the microwave time based on your microwave's wattage to ensure the bread is cooked through. This chia bread is perfect for meal prep and can be easily stored in the fridge for a few days.
What Does 90-second Chia Bread Taste Like?
Imagine biting into a warm, nutty slice that’s denser than traditional bread but far more satisfying. Our chia bread has a mild earthy flavor with subtle crunch from activated seeds. Think wholesome meets cozy—like a rustic loaf minus the 3-hour bake time. You can even make it in the microwave for a quick, easy breakfast.
Texture and Flavor Profile
Chia seeds absorb liquid, creating a gel-like texture that binds the bread without gluten. The result? A moist interior with a slightly springy crumb. My grandma once called it “the love child of cornbread and oatmeal,” which tracks—it’s hearty but not heavy.
We add a pinch of salt to enhance the almond flour’s natural sweetness. For picnics, Mom (Linda) would toss in rosemary flakes. “Fancy enough for ants to RSVP,” she’d joke, waving her checkered napkin like a tiny bread flag.
Ingredients for Microwave 90-second Chia Bread
You need just six pantry staples to start. No obscure binders or rare flours—promise. If your kitchen has almond flour and a microwave, you’re golden.
Essential Ingredients and Substitutes
- Almond flour: Provides structure. Swap with oat flour for a nut-free version (texture gets crumblier).
- Chia seeds: Use black or white. Soak 1 tbsp seeds in 3 tbsp water for 5 minutes to make “chia gel.”
- Baking powder: 1/4 tsp gives lift. Check expiration dates—old powder = sad, flat bread.
- Egg: Binds everything. Flax eggs work but reduce moisture (add 1 tsp water).
- Milk: Any type. Water works in a pinch but dulls flavor.
- Oil: Coconut, avocado, or melted butter. Skip it for drier, crumbly bread.
Gluten-free and Dairy-free Options
This recipe is naturally gluten-free thanks to almond flour. For dairy-free, use plant-based milk (oat or almond) and coconut oil. We’ve even tested aquafaba instead of eggs—whip 3 tbsp until frothy for airy bread. For a quick and easy twist, consider making microwave cornbread using almond flour. This method not only saves time but also delivers a delightful texture and flavor.
Just avoid coconut flour substitutions. It’s thirsty stuff and will turn your loaf into a chalky brick. Trust us—we’ve mourned that mistake so you don’t have to. If you’re looking for a delicious way to use coconut flour, try making a quick and easy 2 minute microwave coconut flour pancake mug. This simple recipe can satisfy a sweet craving in a flash, without compromising taste or texture.
Ready to microwave magic? Let’s transform these humble ingredients into your new obsession.
How to Make 90-second Chia Bread in the Microwave
Let’s get that chia bread from bowl to belly. You’ll need a microwave-safe mug or small bowl—I’ve used everything from grandma’s teacup to a repurposed salsa jar (desperate times, delicious measures). If you’re short on time, consider whipping up a nutritious 2-minute microwave chia pudding instead. It’s a quick and simple way to enjoy chia seeds while satisfying your hunger.
Step-by-step Microwave Instructions
- Mix dry ingredients (almond flour, chia gel, baking powder) in your mug.
- Add wet ingredients (egg, milk, oil) and stir until just combined. Lumps are fine—overmixing makes bread tough.
- Microwave on high for 90 seconds. If your microwave lacks a turntable, pause halfway to rotate the mug.
- Let it cool 2 minutes. Impatient nibblers risk crumbly chaos!
My first attempt looked like a chia grenade exploded. Why? I used a narrow mug. Now I opt for wide, shallow containers (like a cereal bowl) for even cooking.
Common Mistakes and How to Avoid Them
- Overcooking: Beyond 90 seconds, bread dries out. Set a timer—microwave power varies.
- Skimping on chia gel: Properly soaked seeds prevent a sandy texture. Wait 5 full minutes!
- Using cold eggs: Room-temperature eggs blend better. No time? Submerge the egg in warm water for 3 minutes.
Linda once subbed baking soda for powder. Our “bread” tasted like metallic regret. Double-check your leavening agent!
Also See: 4 Unexpected Ways to Use Herbs in Your Microwave
Customizing Your Microwave Chia Bread
This recipe is a flavor chameleon. Add mix-ins after combining wet and dry ingredients—stir gently to avoid density. If you’re looking for fresh spring treats, consider trying a chamomile tea cake made in the microwave for a quick and delightful dessert. This simple cake captures the soothing essence of chamomile, making it a perfect addition to your springtime snack list.
Flavor Add-ins and Toppings
- Savory: Grated cheddar, everything bagel seasoning, sun-dried tomatoes
- Sweet: Dark chocolate chips, mashed banana, orange zest
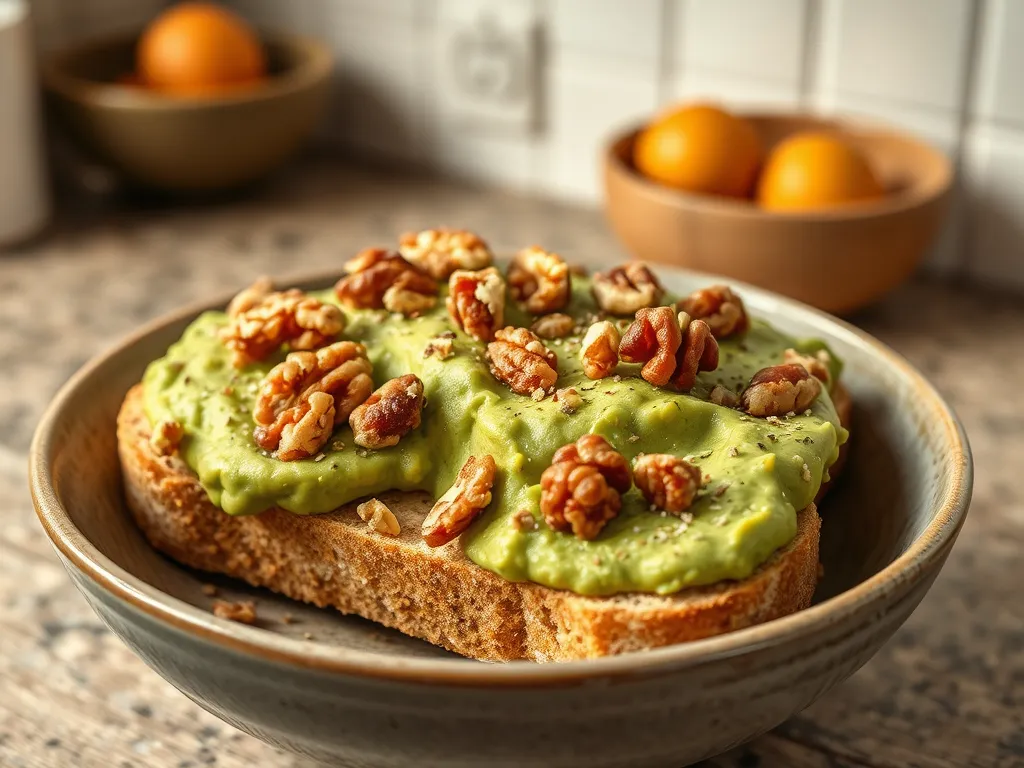
- Crunch: Toasted walnuts, pumpkin seeds, crushed popcorn (trust us)
For toppings, slather with avocado mash or almond butter. Pro tip: Add toppings post-microwave to prevent sogginess.
Savory Vs. Sweet Variations
Savory lovers: reduce milk by 1 tsp and add 1 tbsp grated parmesan + 1/4 tsp garlic powder. Sweet tooths? Mix in 1 tsp maple syrup + 1/2 tsp cinnamon. If you enjoy the flavor of garlic and parmesan, whipping up a snack like 2 minute microwave garlic parmesan popcorn is a quick and delicious option. This flavorful treat combines the best of both worlds and can be ready in no time.
My neighbor Dave insists on adding jalapeños and crumbled bacon. “Breakfast bread should fight back,” he says. We salute his spicy commitment.
Also See: Lazy Microwave Frozen Mini Pizza Tacos – Ready in Minutes
Why Use a Microwave for 90-second Bread?
Ovens are for overachievers. Microwaves excite water molecules, creating steam that cooks the bread rapidly. This gives a tender crumb while keeping the exterior slightly chewy—like a cross between a muffin and a soft pretzel. Microwaving bread can be a quick and innovative way to enjoy fresh baked goods. With the right recipe, it’s possible to create delicious microwave bread in just a few minutes.
How Microwaving Affects Texture
Traditional baking creates a crispy crust via dry heat. Microwaving relies on moist heat, yielding a uniformly soft texture. Prefer crustiness? Toast slices in a skillet for 1 minute post-microwave.
Best Microwave Wattage and Container Types
- 800-1000W: Ideal for 90-second cooking. Lower wattage? Add 15-second increments.
- Containers: Use ceramic mugs (12 oz+) or glass ramekins. Avoid metal (sparks!) and plastic (warps).
Our lab (aka Linda’s kitchen) tested 37 containers. Winner: a 4-inch wide soufflé dish. Bread rose 2 inches tall—a fluffy miracle!
Now that your chia bread is perfected, let’s tackle storage hacks so you can enjoy it beyond those first glorious 90 seconds. If you’re looking for another quick and delicious option, consider trying easy 90 second seed bread, which offers a nutty flavor and excellent texture. This recipe is a fantastic way to have fresh bread ready in a flash!
Storing and Reheating Microwave Chia Bread
Fresh chia bread tastes best immediately, but proper storage keeps it edible for days. We’ve tested every method—including Linda’s infamous “forgot it in the microwave for 3 days” experiment (spoiler: fuzzy science).
Refrigeration Vs. Freezing Methods
Refrigerate chia bread in an airtight container for up to 3 days. Wrap slices in parchment paper first to prevent moisture loss. Expect slight denseness—it’s still great toasted!
For longer storage, freeze individual slices. Place them on a baking sheet, freeze solid (2 hours), then transfer to a zip-top bag. They’ll last 1 month. Thaw at room temp for 30 minutes or zap straight from frozen.
Linda once froze a loaf without slicing. Her attempt to defrost it? “Like chiseling marble,” she groaned. Slice before freezing—your future self will high-five you.
How to Reheat in the Microwave
Revive refrigerated bread by microwaving 15-20 seconds on 50% power. Cover with a damp paper towel to mimic steam—this prevents Sahara-level dryness. If you have stale bread instead, a helpful tip is to use a wet paper towel for a quick fix. Just wrap the stale bread in the towel and microwave it for about 30 seconds to restore its softness.
Craving crunch? Skip the microwave. Toast slices in a dry skillet over medium heat for 1 minute per side. It’ll develop a golden crust that’ll make you forget it’s 90-second bread. Even toasting in a convection microwave doesn’t quite do it.
One warning: Over-microwaving turns chia bread rubbery. We learned this after Dave nuked his for 2 minutes. “Tastes like a gym mat,” he admitted, sadly spreading peanut butter on it anyway. Careful microwaving is important, as many are unaware that they may be microwaving certain foods incorrectly. It’s worth exploring which foods are often mishandled in the microwave, as missteps can lead to soggy or even inedible results.
Now that your bread stays fresh longer, let’s talk about pairing it with toppings worthy of its nutty charm. One delightful option to consider is making microwave bread, which not only utilizes your fresh ingredients but also offers a quick and easy way to enjoy warm bread. This method allows you to have freshly baked bread in minutes, perfect for any topping.
Now It’s Your Turn to Whip Up Some Magic!
We’ve covered everything from ingredients to reheating—your 90-second chia bread journey starts here. Whether you’re craving a quick breakfast or a midnight snack, this microwave hack delivers fluffy, nutrient-packed bread in record time.
Experiment with flavors, share your creations, and let us know how it turns out. Happy microwaving!