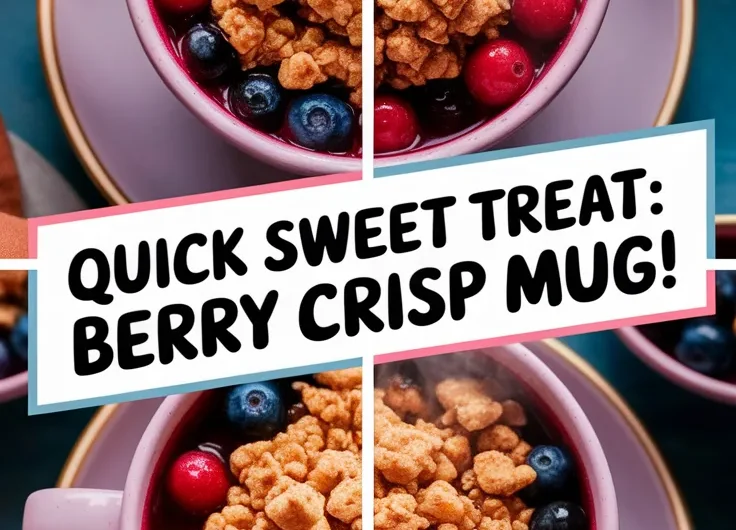
Craving dessert but short on time? This Microwave Berry Crisp Mug transforms into a warm, fruity treat in just 5 minutes.
We love how it skips the oven entirely, delivering a buttery oat crunch over juicy berries faster than you can preheat a baking sheet.
Below, we’ll walk you through choosing the best berries, nailing the crisp-to-fruit ratio, and adapting it to any microwave wattage.
Jump To:
Microwave Berry Crisp Mug
Course: DessertCuisine: American1
5
minutes1
minute250
kcal6
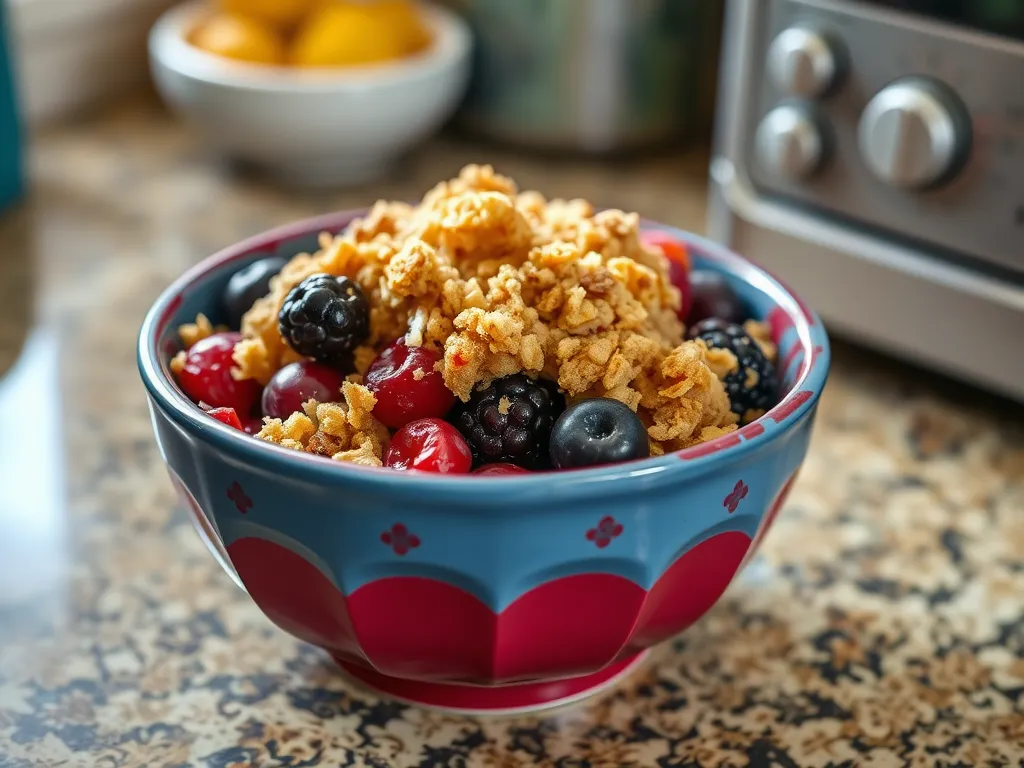
minutesWhen you're craving a warm dessert but short on time, this microwave berry crisp mug is the answer. Made with just a handful of ingredients, it combines sumptuous fresh berries with a delightful oat topping for a sweet and satisfying treat. The convenience of this recipe allows you to whip up a delicious dessert in a matter of minutes.
Ingredients
mixed fresh or frozen berries (like blueberries
raspberries
and strawberries)
rolled oats
brown sugar
flour any kind
melted coconut oil or butter
vanilla extract
pinch of salt
optional: vanilla ice cream or yogurt for serving.
Directions
- In a microwave-safe mug, combine the mixed berries with 1 tablespoon of brown sugar and a pinch of salt.
- Stir gently to combine.
- In a separate bowl, mix together the rolled oats, flour, melted coconut oil, and vanilla extract until the mixture resembles a crumble.
- Sprinkle the oat mixture evenly over the berries in the mug.
- Microwave the mug on high for 1 minute, or until the berries are bubbling and the topping is slightly golden.
- Let it cool for a minute before serving.
- Enjoy it warm, and feel free to top with a scoop of vanilla ice cream or yogurt if desired..
Notes
- Feel free to use any combination of berries that you have on hand. If using frozen berries, there is no need to thaw them beforehand. Adjust the sugar to your taste, especially if your berries are sweet or tart. This single-serving dessert is not only quick to make but allows for endless flavor variations!
What is a Microwave Berry Crisp Mug?
A Microwave Berry Crisp Mug is a single-serving dessert that layers juicy berries with a buttery oat crumble—all cooked in a mug using your microwave. We skip the oven entirely here. The microwave magically softens the fruit and crisps the topping in under 3 minutes.
Think of it as a miniaturized, speed-run version of a classic berry crisp. Traditional recipes demand 45 minutes of baking, but we’ve hacked it into a 5-minute project. Even my kids, Sarah and Timmy, can assemble theirs while arguing over who gets the pink mug.
What Does Microwave Berry Crisp Taste Like?
Imagine warm, syrupy berries bursting with tangy sweetness, topped with a golden, slightly crunchy oat streusel. The contrast is everything—like a cozy hug for your taste buds. The berries soften into a jammy compote, while the topping toasts just enough to mimic oven-baked texture. You can bring a similar comfort to your morning routine with a simple microwave oatmeal recipe. It’s a quick and satisfying way to enjoy a warm breakfast with the same delightful textures and flavors.
Last summer, Uncle Peter challenged us to a picnic dessert showdown. His peach cobbler? Legendary. Our microwave berry crisp mugs? We devoured them straight from the thermos before the ants arrived. Timmy declared it “better than ice cream,” which we know is kid code for “please make this weekly.”
Ready to raid your pantry? Let’s break down the ingredients you’ll need to recreate this fruity magic.
Ingredients for Microwave Berry Crisp Mug
Berries (Fresh or Frozen)
Fresh blueberries, raspberries, or blackberries work beautifully, but frozen berries are our freezer-raid savior. Just thaw them for 2 minutes first—they release more juice, so we’ll add a pinch of cornstarch to thicken the syrupy goodness. Microwaving frozen fruit can be a quick way to soften them, making it easier to blend into recipes. Last week, I used freezer-burned strawberries from 2022 (oops) and still nailed that jammy texture.
Sweetener Alternatives
Granulated sugar is classic, but honey or maple syrup add earthy depth. For a sugar-free twist, monk fruit sweetener keeps it keto-friendly. My neighbor Lisa swears by mashed banana—though her version tastes more like berry bread pudding (still delicious).
Oats and Substitutes
Old-fashioned oats give that iconic crisp chew. If you’re out, crushed granola or quinoa flakes work. Avoid steel-cut oats—they stay stubbornly crunchy. Pro tip: toast oats in a dry pan for 1 minute first to amplify their nuttiness. For a quick healthy breakfast, using the microwave to prepare oatmeal can save you precious time in the morning. Microwaving oatmeal is a fast and nutritious option that still delivers great flavor and texture.
Butter or Oil Options
Melted butter delivers richness, but coconut oil keeps it vegan for our Microwave Berry Crisp Mug. We’ve even used Greek yogurt in a pinch—just expect a cakier top layer. For every 1 tbsp butter, substitute ¾ tbsp oil to prevent sogginess.
Flour and Gluten-free Swaps
All-purpose flour binds the crisp, but almond flour adds protein and a toasty edge. If your berries are extra juicy, add ½ tsp tapioca starch to the filling. My celiac friend Mike approves of oat flour—just check it’s certified gluten-free.
Also See: Quick Microwave Cajun Sunflower Seeds in Minutes!
How to Make Microwave Berry Crisp in a Mug
Step 1: Prep the Berries
Grab a 12-oz microwave-safe mug. Toss ½ cup berries with 1 tsp sweetener and ¼ tsp cornstarch (if using frozen). Smush a few berries against the mug—this creates pockets of gooey syrup. Skip this step, and you’ll get berry soup (tasty, but not crisp). A simple and delicious way to enjoy those berries is by making a microwave mixed berry mug. This quick treat combines all the flavors of freshly cooked berries in just minutes.
Step 2: Mix the Crisp Topping
In a bowl, combine 2 tbsp oats, 1 tbsp flour, 1 tbsp sugar, and 1 tbsp melted butter. Squeeze the mix between your fingers to create clumps—these become golden nuggets during cooking. No clumps? Add ½ tsp more butter. Yes, it’s science. For a quick and satisfying meal, consider adding a spoonful of peanut butter to your oatmeal. This lazy microwave instant oatmeal peanut butter variation offers a delicious twist that’s both convenient and nutritious.
Step 3: Layer and Microwave
Sprinkle the topping over berries—don’t stir! Microwave on high for 60-90 seconds. Watch the magic: berries bubble like lava while the topping puffs up. If your mug overflows (we’ve all been there), place a plate underneath. This delightful fruity explosion can inspire other easy microwave desserts, like a microwave blueberry crumble mug that takes only minutes to prepare.
Step 4: Adjust Cooking Time
Microwaves vary, so check at 60 seconds. Topping should look dry and crumbly. If it’s glossy or damp, add 15-second bursts. Our 1200-watt beast nails it at 75 seconds. Roommate Dave’s 700-watt dinosaur? He microwaves for 2 minutes and lives his best life.
Also See: Microwave Buffalo Cauliflower Bites – Ready in Minutes!
Tips for the Best Microwave Berry Crisp
Avoiding Soggy Toppings
Pat berries dry post-thawing, and keep the topping layer thin. A heaping tablespoon is plenty—it’ll expand like a chia pet in the microwave. If disaster strikes, broil the mug in a toaster oven for 60 seconds to re-crisp.
Microwave Wattage Adjustments
High-wattage microwaves (1000+) cook faster—start at 60 seconds. For lower watts (700-900), begin with 90 seconds. Our cheat sheet: 1000W = 75 seconds, 800W = 90 seconds, 600W = 2 minutes. Write it on your mug with a dry-erase marker. (Okay, maybe just memorize it.) It’s especially handy when you’re making recipes like a microwave berry crisp mug, where timing is key.
Balancing Sweetness
Taste your berries first! Tart blackberries may need 2 tsp sugar, while ripe strawberries can go bare. Top with unsweetened whipped cream to offset syrupiness. My aunt Karen adds lemon zest to the filling—it’s a game-changer for brightening cloying sweetness.
Now that you’ve mastered the technique, let’s talk about keeping leftovers fresh (though we doubt there’ll be any).
How to Store Microwave Berry Crisp
Even if you somehow resist eating the whole mug in one go (we salute your willpower), here’s how to keep leftovers fresh. Spoiler: it involves less drama than hiding cookies from my kids.
Refrigeration Guidelines
Let the crisp cool completely—about 15 minutes—before covering the mug with plastic wrap or transferring it to an airtight container. Refrigerate for up to 2 days. The topping will soften slightly, but the berries stay gloriously jammy.
Pro tip: If you’re a texture purist, store the berry layer and crisp topping separately. My cousin Emily layers them in a Mason jar—berries at the bottom, topping in a tiny baggie on top. Genius. This method makes it easy to prepare a delicious microwave fruit crisp. With just a few minutes in the microwave, you can enjoy a warm and satisfying dessert that combines the juicy berries with a crunchy topping.
Reheating in the Microwave
Remove any plastic wrap and microwave on high for 20-30 seconds. Stop when berries bubble at the edges but before the topping turns into a lava pit. Stir gently to redistribute heat, then let it sit for 1 minute. Microwaving blueberries and strawberries can unlock their natural sweetness and make them a delicious topping. This quick method retains their flavor while making them warm and ready for any dish.
For a crisper revive, broil the mug in a toaster oven for 60 seconds. Works every time, unless your roommate “borrows” the toaster oven… again. Never reheat more than once—berries get mushy, and nobody wants that. If you’re looking for a quicker option, using the microwave can get you a delicious berry crisp in a mug in just a few minutes. This summer, a berry crisp in a mug is the perfect treat for a cozy microwave dessert.
Now that your crisp is safely stashed, let’s jazz things up with berry swaps and crunchy topping hacks. You can also enhance your snacks by exploring the delicious combination of microwave veggie chips and parmesan crisps. This anyday hack for making quick and tasty treats brings an exciting twist to your snacking experience.
Now It’s Your Turn to Whip It Up!
We’ve walked through every step—from berry prep to microwave magic—so you’re fully equipped to create this effortless dessert. The best part? You can tweak ingredients to match your pantry or dietary needs without sacrificing that warm, fruity crunch.
Once you’ve tried your hand at this microwave berry crisp, we’d love to hear how it turned out! Did you go classic with strawberries or adventurous with a triple-berry mix? Tag us on social media with your mug masterpiece.