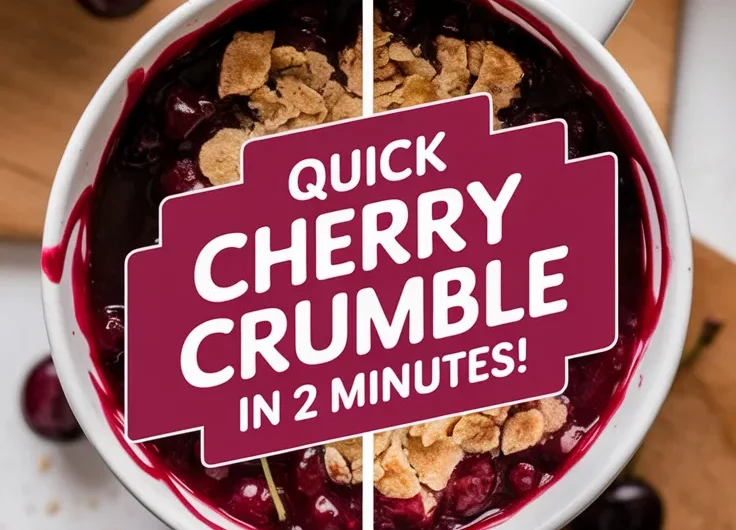
Got a sweet tooth but zero patience? This microwave cherry crumble mug answers your dessert prayers with minimal effort and maximum flavor.
Five minutes is all you need to layer juicy cherries and a buttery oat crumble in your favorite mug—no baking skills required!
We’ll show you how to nail the perfect balance of tart cherries and crispy topping, plus share clever swaps for dietary needs.
Jump To:
Microwave Cherry Crumble Mug
Course: DessertCuisine: American1
5
minutes2
minutes250
kcal7
minutesThis Microwave Cherry Crumble Mug provides the comforting flavors of a traditional crumble dessert in just minutes. Using fresh or canned cherries and a simple crumble topping, this recipe is perfect for anyone who craves something sweet but desires minimal effort. The microwave is a game-changer for quick treats, making this dessert ideal for any occasion or day of the week.
Ingredients
pitted cherries fresh or canned
sugar
cornstarch
all-purpose flour
rolled oats
brown sugar
cold butter
pinch of salt
ice cream . optional for serving
Directions
- In a microwave-safe mug, mix the pitted cherries with sugar and cornstarch.
- Stir well to combine.
- In a separate bowl, mix the flour, rolled oats, brown sugar, and a pinch of salt.
- Cut in the cold butter until the mixture resembles coarse crumbs.
- Spoon the crumble mixture over the cherries in the mug.
- Microwave on high for about 1 to 2 minutes, or until the cherries are bubbling and the topping is golden brown.
- Allow the mug to cool for a moment before enjoying.
- Optionally, serve with a scoop of vanilla ice cream for an extra treat..
Notes
- Feel free to adjust the sweetness of the cherries by adding more or less sugar based on your preference. You can use different fruits such as blueberries or peaches for a tasty variation. Make sure to use a microwave-safe mug to avoid any accidents. This dessert is quick to whip up and makes for a cozy night in or a sweet finish to any meal!
What is a Microwave Cherry Crumble Mug?
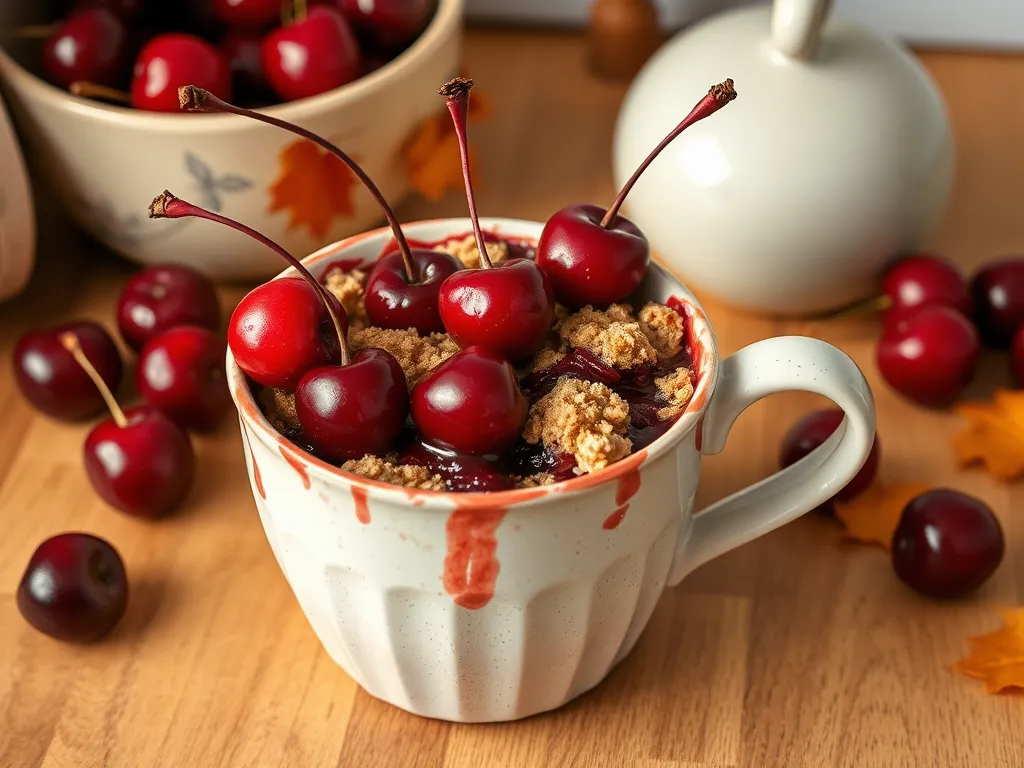
Imagine warm, syrupy cherries bubbling under a golden oat crumble—all cooked in 90 seconds flat inside your favorite mug. That’s the magic of this dessert. My kids Sarah and Timmy once demanded sweets five minutes before bedtime, and this recipe saved us from a sugar-less meltdown! Now, think of a delightful twist: a 2 minute microwave peaches cream oatmeal mug that brings a fruity twist to your quick desserts. It’s just as easy and satisfying, perfect for any time craving!
Defining the Quick Mug Dessert
A microwave cherry crumble mug layers tart cherries with a buttery streusel topping, microwaved until jammy and crisp. Unlike oven-baked versions, it skips preheating and serves one—ideal for late-night cravings. Uncle Peter once mistook mine for a bakery treat at Timmy’s birthday party!
Why Use a Microwave for Cherry Crumble?
Microwaves penetrate the mug evenly, softening cherries faster than conventional baking while toasting the crumble’s edges. We’re talking 600-1200 watts of focused heat versus waiting 30+ minutes for an oven. Perfect for when patience isn’t on the menu.
Ingredients for Microwave Cherry Crumble Mug
This recipe thrives on pantry staples. Just grab a 12-oz microwave-safe mug (we’ll talk materials later) and these ingredients: It’s amazing how versatile a microwave can be, not just for heating leftovers but also for whipping up delicious snacks. One delightful option is a microwave apple cinnamon mug, which combines the classic flavors in a quick and satisfying treat.
Essential Ingredients &Amp; Measurements
- Cherries: ½ cup pitted (fresh, frozen, or canned)
- Flour: 3 tbsp all-purpose
- Oats: 2 tbsp rolled (not instant)
- Butter: 1 tbsp cold, cubed
- Sugar: 1 tbsp brown + 1 tsp for cherries
Cherry Substitutes: Fresh, Frozen, or Canned
No fresh cherries? No drama. Frozen work straight from the bag (add 10 seconds microwaving). Canned? Drain syrup to avoid sogginess. Sarah once swapped in raspberries—tart but tasty! Using microwave frozen fruit can be a convenient solution for many recipes. They heat up quickly and retain most of their nutrients, making them a great option for quick snacks or toppings.
Crumble Topping Alternatives (Gluten-free, Sugar-free)
For gluten-free, use 2 tbsp almond flour + 1 tbsp oat flour. Sugar-free? Swap brown sugar with ½ tbsp monk fruit sweetener. Uncle Peter’s nutty version uses crushed pecans instead of oats! If you’re looking for a quick and satisfying treat, microwave banana oat cookies can be a delicious option. These 2-minute cookies are not only gluten-free but also perfect for a speedy snack.
Now that we’ve got our ingredients sorted, let’s tackle the art of layering and microwaving without turning your crumble into a chew toy.
How to Make Cherry Crumble in a Microwave Mug
Let’s get hands-on! I learned this technique through trial and error—like the time my college roommate microwaved ours into charcoal briquettes. Microwaving can be tricky, but with the right method, it can yield delicious results. We’ll avoid that fate together.
Step-by-step Microwave Instructions
- Prep cherries: Mix ½ cup cherries with 1 tsp sugar in your mug. Nuke 30 seconds to release juices (like mini cherry lava!).
- Make crumble: In a bowl, combine flour, oats, brown sugar, and butter. Mash with a fork until it resembles wet sand.
- Layer & cook: Sprinkle crumble over cherries. Microwave 60-90 seconds at 900W. Watch for bubbling around edges!
Tips for Perfect Texture &Amp; Layering
Cold butter is non-negotiable—it creates air pockets as it melts, giving that crave-worthy crunch. Room temp butter makes sad, dense topping (ask my 2019 self). When melting butter, consider using the microwave for a quick and easy method. Just watch it carefully to avoid splattering or burning, and you’ll have perfectly melted butter in no time.
Press crumble lightly into cherries without compacting. Think “tucking in” rather than “smooshing.” This lets steam escape so your topping stays crisp.
Avoiding Soggy Crumble: Microwave Timing Tricks
Microwaves vary wildly. At 1200W? Start with 45 seconds. 600W? Go 90 seconds. If your mug spins, pause halfway to rotate manually—uneven heating causes mushy spots.
See zero bubbling? Add 10-second bursts. Too much lava-like activity? Stop immediately. Residual heat keeps cooking it post-nuke. When using microwave lava rocks for reheating, it’s essential to manage the heat carefully for even cooking. This technique allows for quick reheating without compromising the quality of your food.
Also See: 5 Unbelievably Good Microwave Candy Recipes
Common Mistakes &Amp; How to Fix Them
We’ve all been there. My neighbor Karen once served crumble that tasted like sweetened cardboard. Let’s sidestep Karen’s mishaps.
Overcooking the Crumble Topping
Burnt edges? Your microwave’s too powerful. Next time, reduce power to 70% or shield edges with a damp paper towel ring. Already charred? Scrape off black bits—they’re bitter, especially on a Microwave Cherry Crumble Mug. Knowing when to adjust temperature is key to avoid overheating.
Using the Wrong Mug Size or Material
A 12-oz ceramic mug is ideal. Too small? Overflow. Too big? Thin layers cook unevenly. Metal accents? Spark city. Glass works but cools faster—eat immediately! For a safe and enjoyable experience, consider using a microwave-safe ceramic mug. An i microwave ceramic mug is specifically designed to withstand heat without compromising its structure, making it a great choice for reheating beverages.
Balancing Sweetness &Amp; Tartness in Cherries
Biting into sour cherries? Toss them with ½ tsp lemon juice + 2 tsp sugar pre-microwave. Too sweet? A pinch of salt cuts cloyingness. Frozen cherries often need extra sugar—taste first!
Also See: Easy 2-minute Lavender Latte Ready in No Time!
What Does Microwave Cherry Crumble Taste Like?
Imagine your favorite diner pie’s rebellious younger sibling—less fuss, same cozy vibes. My book club still thinks I baked theirs in a proper oven!
Texture: Soft Cherries Vs. Crispy Topping
The cherries soften into jammy pockets, while the topping stays crispy for 8-10 minutes post-microwave. Pro tip: Let sit 2 minutes—steam settles, crunch prolongs.
Flavor Pairing Suggestions (Vanilla Ice Cream, Whipped Cream)
Top with vanilla ice cream for hot/cold contrast. Whipped cream? Go unsweetened—the crumble’s already sugary. My weird-but-wonderful combo: drizzle with balsamic glaze. For a delicious twist, try making an easy caprese salad with a microwave balsamic glaze that enhances its flavors beautifully.
Now that you’re a mug crumble maestro, let’s tackle keeping leftovers (if any!) tasting fresh.
Storing &Amp; Reheating Leftover Mug Crumble
Let’s be real—leftovers are unlikely with this dessert. But if you somehow resist licking the mug clean, here’s how to keep it tasty. My husband once hid a portion for later and learned the hard way about soggy toppings!
Best Practices for Refrigeration
Transfer any leftover crumble to an airtight container within 2 hours of cooking. Layer parchment paper between the cherry base and topping to prevent sogginess. Store up to 48 hours—after that, the oats turn chewy and sad.
Want to freeze it? Skip the mug. Use a freezer-safe dish instead. Thaw overnight in the fridge before reheating. Pro tip: Freeze individual portions for emergency cravings! For a quick and satisfying meal, consider the convenience of a lazy microwave frozen chicken pot pie mug—just heat and enjoy.
Can You Re-crisp the Topping in the Microwave?
Microwaves excel at softening, not crisping. To revive leftovers, use a toaster oven at 350°F (175°C) for 3-5 minutes. No toaster oven? Try a 10-second microwave blast followed by 1 minute in an air fryer. To elevate your leftovers even further, consider a simple trick to make microwaved fries taste fried again. By adding a bit of oil and using a high heat setting, those fries can regain their crispy texture.
Stuck with just a microwave? Place a paper towel under the mug to absorb steam. Nuke 15 seconds, let sit 30 seconds, then repeat once. The topping won’t fully crisp but avoids gumminess.
Now that we’ve tackled storage hacks, let’s shake things up with clever recipe twists for every diet!
Now It’s Your Turn to Whip Up This Cherry Crumble!
We’ve covered everything from ingredient swaps to microwave timing tricks—your cherry crumble mug adventure starts here. Whether you’re craving a midnight snack or a quick dessert fix, this recipe delivers warm, gooey satisfaction in minutes.
Grab your favorite microwave-safe mug and let those cherries bubble under that golden crumble topping. Don’t forget the vanilla ice cream on top—trust us, it’s a game-changer. Happy microwaving!