Craving a rich, fudgy brownie but short on time? Our microwave raspberry brownie mug delivers decadent chocolate bliss in under five minutes—no oven required.
Fresh raspberries add a tangy twist that cuts through the richness, creating a flavor combo worthy of a pastry chef (minus the fancy tools).
We’ll share exact measurements, raspberry-layering secrets, and how to dodge common microwave mishaps for a dessert that’s never dry or rubbery.
Jump To:
Microwave Raspberry Brownie Mug
Course: DessertCuisine: American1
5
minutes1
minute350
kcal6
minutesThis microwave raspberry brownie mug is a speedy yet delectable way to satisfy your chocolate cravings without heating up the oven. With minimal ingredients and less than 5 minutes of cooking time, you can enjoy a gooey, fudgy brownie topped with fresh raspberries for an extra burst of flavor.
Ingredients
all-purpose flour
unsweetened cocoa powder
baking powder
granulated sugar
salt
vegetable oil
water
vanilla extract
fresh raspberries plus extra for topping
sugar . optional for dusting
Directions
- In a microwave-safe mug, combine the flour, cocoa powder, baking powder, sugar, and salt.
- Mix the dry ingredients well.
- Add the vegetable oil, water, and vanilla extract to the dry mixture and stir until smooth.
- Fold in the fresh raspberries gently.
- Microwave the mug on high for 60 seconds.
- Let the brownie cool for a minute before indulging.
- Optionally, dust with powdered sugar and add extra raspberries on top before serving..
Notes
- Be careful not to overcook the brownie as the microwave times may vary depending on your device. If you prefer a richer flavor, consider adding a few chocolate chips into the batter. For a more indulgent treat, serve warm with a scoop of vanilla ice cream or whipped cream on top!
What Does a Microwave Raspberry Brownie Mug Taste Like?
Imagine biting into a fudgy, molten-centered brownie with pockets of tart raspberry jam. The microwave’s quick heat creates a dense crumb (think: halfway between cake and truffle) with a glossy crackle-top crust. Those raspberries? They’re not just garnish—their acidity balances the chocolate’s intensity like a tiny fruit superhero.
Last year, my brother Joseph nearly ruined his birthday party by forgetting dessert. We whipped up four mugs of this in 8 minutes flat. The raspberries sank to the bottom during baking, creating a hidden jam layer that made his friends cheer louder than his actual gifts.
Ingredients for Microwave Raspberry Brownie Mug
You likely have everything in your pantry right now. We tested 12 variations to nail these proportions—no weighing scales required! Preparing healthy meals quickly can support weight loss goals, and microwave meal prep is a great way to achieve that.
Essential Ingredients
- 4 tbsp all-purpose flour (spooned, not packed)
- 2 tbsp Dutch-process cocoa powder (higher acidity = richer flavor)
- 3 tbsp granulated sugar (don’t reduce—it prevents dryness)
- 2 tbsp neutral oil (vegetable, canola, or melted coconut)
- 3 tbsp milk (dairy or unsweetened almond)
- 6 fresh raspberries (or 1 tbsp frozen, thawed)
Substitutions and Alternatives
Gluten-free? Swap flour for 2 tbsp coconut flour + 2 tbsp oat flour. For vegan versions, use almond milk and replace sugar with 2 tbsp maple syrup + 1 extra tsp flour. You can also make delicious, quick treats that fit gluten-free needs, like 2 minute microwave banana oat cookies. These cookies are a simple and tasty way to satisfy your sweet tooth while accommodating dietary preferences.
No fresh raspberries? 1 tsp chia seed jam swirled into the batter works wonders. Avoid frozen berries straight from the freezer—their ice crystals create soggy spots. Thaw and pat dry first! Chia seeds can also be easily incorporated into a creamy microwave chia pudding without the worry of exploding seeds, making for a quick and delicious treat.
Ready to turn these ingredients into molten magic? Let’s grab a mug and talk technique.
How to Make a Microwave Raspberry Brownie Mug
Let’s transform pantry staples into a single-serve chocolate marvel. I once tried making this during a power outage using a camping stove—trust me, the melting chocolate in the microwave method is infinitely better. Melting chocolate in the microwave is not only quick but also gives you the perfect consistency for indulgent treats.
Preparing the Mug and Batter
Grab a 12-ounce ceramic mug — anything smaller risks overflow. Make sure it’s microwave-safe. My roommate learned this the hard way when her vintage teacup became a permanent brownie display case.
Whisk dry ingredients first: flour, cocoa powder, and sugar. Add oil and milk, stirring until just combined. Overmixing activates gluten, turning your treat from fudgy to bouncy. Lumps are fine—they’ll vanish during cooking, especially when using microwave for even and quick results, similar to fudgy microwave desserts.
Layering Raspberries and Microwaving
Drop 4 raspberries into the batter, pressing each halfway down with your spoon. This anchors them to prevent a berry avalanche during microwaving. Top with remaining raspberries for a jammy surprise layer. For a delightful dessert twist, consider how these raspberries can elevate a microwave raspberry cheesecake mug. This quick recipe combines the rich creaminess of cheesecake with the bright flavor of raspberries, making it a perfect treat for any time.
Microwave on high for 60-75 seconds (1,000-watt models). If your microwave’s weaker than a polite cough, add 15-second increments. Watch for the center to rise and set—edges should pull slightly from the mug. Microwaves can reach high temperatures quickly, so it’s essential to monitor your food closely. When heating items, always be aware of just how hot microwaves get, as this can affect cooking times and safety.
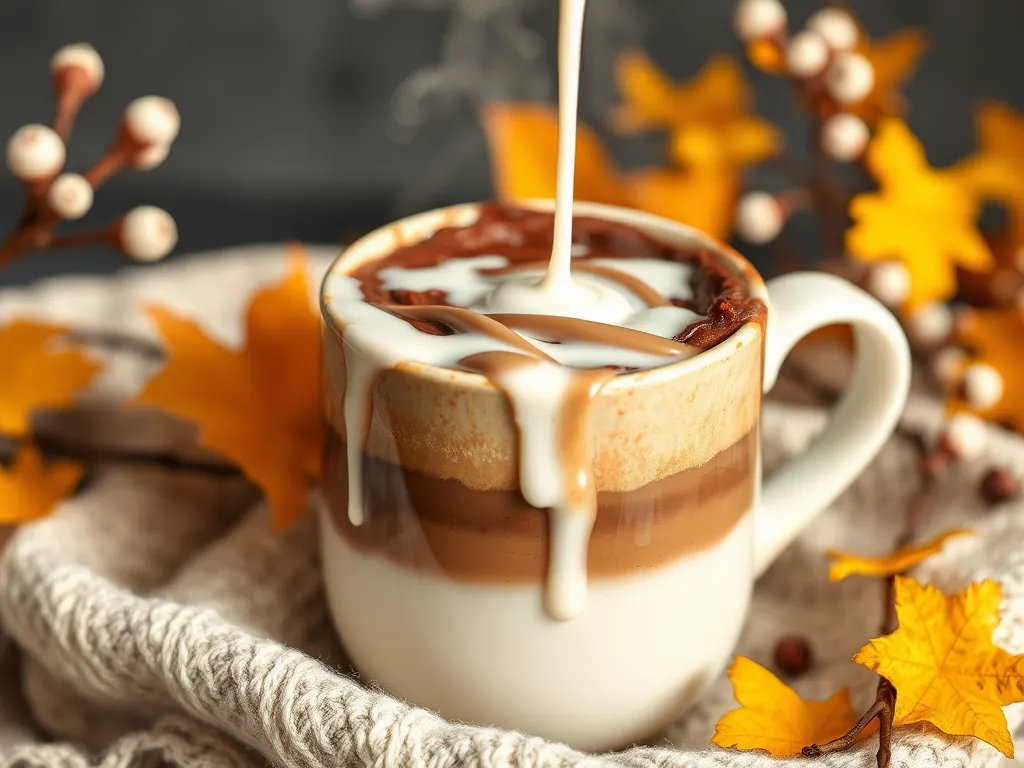
Cooling and Serving Tips
Let it rest 90 seconds—impatient bites lead to scorched tongues (ask my college roommate). Pair with vanilla ice cream melting into the cracks. For aesthetics, dust with powdered sugar using a tea strainer. If you want to experiment further, try microwaving your ice cream for a few seconds to achieve a perfectly soft scoop. Microwaving can help bring out the flavor and make it easier to scoop without the cold struggle.
Pro tip: lick the spoon while waiting. It’s the chef’s privilege—and ensures no batter goes to waste. For those who love pancakes but dislike the mess and hassle of traditional cooking methods, a lazy microwave instant pancake mug is the perfect solution. It allows for quick and easy pancake preparation without the fuss.
Also See: Black Bean Salad – Summer Chill (Microwave Prepped)
Common Mistakes and How to Fix Them
- Overmixed batter: Creates dense texture. Stir just until no dry streaks remain.
- Undersized mug: Batter overflows. Use a mug holding at least 1.5 cups liquid.
- Burnt edges: Caused by overcooking. Stick to 75 seconds max—it keeps cooking post-microwave.
If your brownie emerges Sahara-dry, drizzle with 1 tsp milk and microwave 10 seconds. It’ll revive like a rainstorm in a chocolate desert.
Now that you’ve mastered the technique, let’s tackle keeping leftovers fresh (though we doubt there’ll be any).
Also See: Easy Rum Punch With Beachy Vibes – Microwave Mix
Now It’s Your Turn to Whip Up This Treat!
We’ve walked you through every step—from mixing the batter to nailing that perfect microwave timing. This raspberry brownie mug is your ticket to instant chocolatey bliss with a fruity twist.
Grab your favorite mug and give it a shot! Once you taste that warm, gooey center paired with tart raspberries, you’ll wonder why you didn’t try this sooner. Let us know how your microwave masterpiece turns out.