Ever tried spreading rock-hard butter on toast and thought, “There’s got to be a better way”? There is. Our microwave method softens butter in 20 seconds flat—without turning it into a melted mess.
No more waiting hours for butter to reach room temperature. This technique is your golden ticket to perfect softness for baking cookies, whipping frosting, or slathering on pancakes.
We’ll walk through the exact steps, common pitfalls, and clever alternatives if you’re microwaveless. Let’s rescue that butter!
Jump To:
Soften Butter in 20 Seconds Without Melting It
Course: CondimentCuisine: American1
1
minute102
kcal1
minuteIf you've ever struggled with hard butter right out of the fridge, this microwave hack is exactly what you need. With just a few seconds in the microwave, you can achieve perfectly softened butter, ready to use without the hassle of melting. This technique is ideal for when you're in a hurry but still want to enjoy the creamy texture of room-temperature butter.
Ingredients
of butter 1/2 cup
Directions
- Place the stick of butter on a microwave-safe plate
- Microwave the butter on low power for 10 seconds, check its softness by pressing lightly with your finger
- If it’s still too firm, microwave for an additional 10 seconds
- Repeat if necessary, but do not exceed a total of 20 seconds to avoid melting the butter.
Notes
- Always keep an eye on the butter while microwaving to ensure it doesn't melt. This method works best with standard sticks of butter. For larger quantities, you may need to adjust the time accordingly and experiment a bit.
Why Soften Butter Quickly?
Picture this: my mom Linda once tried baking her famous chocolate chip cookies with cold butter. The dough clumped, the cookies spread like pancakes, and my sister Candice still ribs her about the “cookie puddles” at our family reunion. Properly softened butter creates air pockets crucial for fluffy cakes, chewy cookies, and silky frostings. Microwaving skips the 1-2 hour wait, letting you bake spontaneously without texture disasters.
Cold butter won’t cream properly with sugar, leading to dense baked goods. Melted butter alters hydration levels, making recipes greasy or tough. Our 20-second method hits the Goldilocks zone: spreadable but not oily. Trust us, your snickerdoodles will thank you.
Ingredients and Butter Alternatives
Stick with unsalted butter for precise baking control (salted varies by brand). European-style butter (82-86% fat) softens slower than American (80% fat) due to less water. For dairy-free needs, coconut oil or plant-based spreads work, but check their labels. Margarine often contains more water, which can affect results. When it comes to desserts, quick microwave almond butter cups make a delicious and easy treat that can elevate any recipe. These little cups combine sweetness and nutty flavor, perfect for satisfying a sweet tooth in no time.
Butter Substitutes for Softening
- Coconut oil: Substitute 1:1, but it melts faster. Microwave in 10-second bursts.
- Vegan butter: Brands like Miyoko’s or Earth Balance mimic dairy butter’s texture. Watch for added gums that may require shorter microwaving.
- Ghee: Already clarified, so it softens evenly but lacks water for leavening. Best for sauces, not baking.
Pro tip: If using margarine, deduct 15% microwaving time to avoid soup-ification. Now that we’ve buttered up the basics, let’s tackle the microwave magic. It’s important to remember that not all foods should be microwaved in the same way. Some common items, when microwaved incorrectly, can lead to less-than-desirable results.
The Microwave Method: Step-by-step
We’ve all been there—impatiently zapping butter only to end up with a melted swamp. With our method, you’ll nail the soft-but-solid sweet spot. Let’s break it down like a cookie crumb. While you perfect your butter technique, consider how delicious a cookie butter dip made in the microwave can be. This sweet blend is a quick and tasty treat that combines the goodness of cookie butter with a creamy texture perfect for dipping.
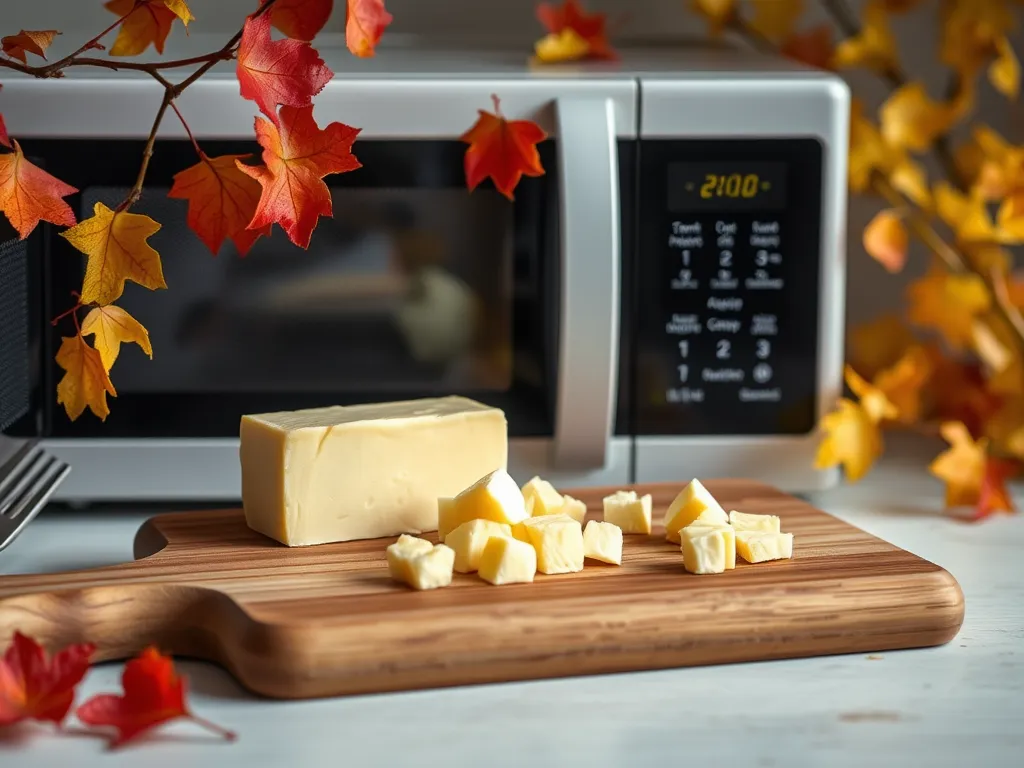
Step 1: Prep the Butter
Remove butter from its wrapper and slice into 1-tablespoon pats (about ½-inch thick). Uniform pieces soften evenly. Pro tip: Use a ruler if you’re Type A like my sister Candice. No ruler? A standard butter wrapper has tablespoon marks—channel your inner MacGyver. This precise cutting technique is essential for creating a delightful spring herb butter spread. When blended in the microwave, it allows the flavors of fresh herbs to infuse the butter smoothly, resulting in a delicious condiment for your spring dishes.
Arrange pieces on a microwave-safe plate in a single layer. Avoid stacking unless you enjoy butter hot spots. Glass plates work best—they distribute heat better than plastic. When using a glass plate in the microwave, ensure it fits properly and is designed for microwave use to prevent any hazards. The right glass plate can significantly enhance your cooking experience by ensuring even heating.
Step 2: Microwave Power and Timing
Set your microwave to 30-50% power (most models have a “power level” button). Full blast liquefies butter faster than snow in July. For a standard 1000W microwave, using the highest power setting can significantly increase the temperature of your food in a short amount of time. This is crucial for ensuring even cooking and avoiding cold spots.
| Butter Amount | Time |
|---|---|
| 1 stick (½ cup) | 20 seconds |
| ½ stick (¼ cup) | 10 seconds |
No power settings? Use 5-second bursts instead. Trust us—patience pays in pliable butter.
Step 3: Check and Adjust Consistency
Press a clean finger into the butter. Ideal softness leaves a ¼-inch indentation without sinking. Too firm? Microwave at 10% power for 3-second intervals. Too melty? Chill for 2 minutes and retest. For a quick meal option, consider trying a butter chicken recipe in the microwave. This simple method can yield delicious results in a fraction of the time.
Resist stirring unless making frosting—agitation can separate fats. If edges melt, simply fold them into the center while cooling. This same approach can be applied when working with microwave frosting, where gentle mixing helps achieve a smooth consistency. Microwaving frosting can quickly warm it, making it easier to spread on your favorite treats.
Also See: 2-minute Microwave S’mores Dip – No Campfire Needed!
Common Mistakes When Microwaving Butter
Mistake #1: Using high power. Butter’s low water content heats unevenly, creating lava-like pockets. We once turned $6 Kerrygold into a science experiment—learn from our grief. When melting butter in the microwave, it’s best to start at a lower power setting to ensure even melting and avoid those pesky hot spots.
Mistake #2: Not cutting the butter. Whole sticks take 3x longer to soften, risking partial melting. Smaller pieces = faster, even results. If you’re in a hurry, using the microwave to soften butter can be a great solution. Just remember to use a low power setting to achieve the best results without melting it completely.
Mistake #3: Walking away. Microwaves vary—peek every 5 seconds after the 15-second mark. Your cat won’t alert you when it starts bubbling or sense any damage. This is especially important when trying to soften butter without melting it.
Also See: Pineapple Salsa With Beach Twist – Quick Chili
Tips for Perfectly Softened Butter
- Use room-temperature plates. Cold dishes extend microwaving time.
- Rotate the plate mid-zap if your microwave has hot spots (most do).
- For baking, aim for 65-67°F—butter should dent easily but hold its shape.
Fun fact: Butter sticks are designed to have 1-inch markings for easy measuring. Thank the American Dairy Association in 1907 for that win!
Now that your butter’s ready to rock, let’s talk about keeping it soft without going full liquid. Because nobody wants to re-soften butter twice.
Now It’s Your Turn to Try!
With these quick microwave tricks, you’ll never have to wait hours for softened butter again. Just remember to use short bursts of low power (30-50%) and check every 5-7 seconds to avoid butter puddles.
We’d love to hear how your 20-second butter softening adventures go! Whether you’re baking cookies or whipping up frosting, perfectly softened butter makes all the difference.