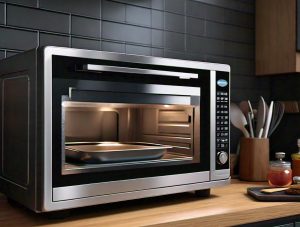
Craving cheesy nachos but short on time? Our Easy 2-Minute Cheese Nachos deliver gooey satisfaction faster than you can say “snack time.”
No oven required—just a microwave and a serious love for melted cheese. Perfect for solo cravings, study breaks, or last-minute game day fixes.
We’ll break down cheese choices, chip survival tactics, and microwave hacks to prevent sogginess. Let’s melt this thing.
Jump To:
Easy 2-Minute Cheese Nachos
Recipe by Lisa MartinCourse: SnackCuisine: Mexican1
1
minute1
minute300
kcal2
minutesThese easy nachos are ideal for those moments when you're craving a quick snack but don't want to spend time in the kitchen. With just a few ingredients and the power of the microwave, you’ll have a delicious plate of cheese nachos ready in just two minutes. Customize your nachos with your favorite toppings for added flavor and fun!
Ingredients
tortilla chips
shredded cheese (cheddar
mozzarella
or your choice)
jalapeños optional
tomatoes optional
cream optional
green onions optional
. optional
Directions
- Place the tortilla chips in a microwave-safe plate or bowl.
- Sprinkle the shredded cheese evenly over the tortilla chips.
- Add sliced jalapeños, diced tomatoes, or any other desired toppings on top.
- Microwave on high for about 30 seconds, or until the cheese has melted.
- Carefully remove the plate from the microwave, as it may be hot.
- Serve immediately with side condiments like sour cream, guacamole, or more toppings as desired..
Notes
- For the best nachos, use a cheese that melts well, like cheddar or mozzarella. Adjust the cooking time based on your microwave's wattage, as some may require a little more or less time. Feel free to experiment with different toppings and combinations to suit your taste. These nachos are a great way to use leftover toppings from other meals!
Best Cheeses for Microwave Nachos
Not all cheeses survive microwave warfare. We’ve learned this through many ooey-gooey (and occasionally tragic) experiments. Let’s talk melt champions. For those who enjoy camping, using the microwave to create cheesy quesadillas can be a game-changer. A perfectly melted cheese quesadilla adds warmth and comfort to any outdoor adventure.
Cheddar Cheese: Melting Master
Cheddar is our MVP—sharp, creamy, and melt-tastic. Shred it yourself for smoother results. Pre-shredded bags often have anti-caking agents that create a grainy texture. My sister Candice once used cubed cheddar during a Netflix binge—let’s just say we ate nachos with cheese shrapnel.
Pepper Jack Cheese: Spicy Kick
Pepper Jack brings heat without requiring chopping jalapeños. Its oils release slowly in the microwave, infusing every chip. Mix with cheddar for a “cheese symphony” (Candice’s term, not ours). Watch microwaving time—overcooking mutes the spice.
Mozzarella Cheese: Stretchy Texture
Want cheese pulls? Low-moisture mozzarella stretches like edible taffy. Combine with cheddar for flavor depth. Mom Linda swears by a 2:1 cheddar-to-mozzarella ratio—her bridge club still talks about “The Great Nacho Night of 2019.”
Dairy-free Cheese Alternatives
Violife or Daiya shreds melt decently at 15-second intervals. Add a splash of plant milk to prevent dryness. Pro tip: sprinkle nutritional yeast post-microwave for a cheesy aroma that tricks your brain.
Choosing Microwave-friendly Tortilla Chips
Your nachos are only as strong as their weakest chip. We’ve tested 14 brands—here’s the crunch.
Thick Vs. Thin Chips: Which Holds Up Better?
Thick restaurant-style chips withstand cheese weight without buckling. Thin chips? They’re the “I’ll just nap for 5 minutes” of snacks—crispy at first, then mysteriously limp. Tostitos Scoops survived Candice’s 45-second melt test. Store-brand thins? Not so much. For a healthier alternative, try making crunchy veggie chips in the microwave. They offer a satisfying crunch without the guilt of traditional snacks.
Seasoned Vs. Plain: Flavor Balance Tips
Lime-flavored chips + cheese = zesty magic. But salty ranch-dusted varieties can overwhelm. Pair bold chips with mild cheeses like Monterey Jack. Plain chips let your cheese shine—ideal for fancy aged cheddars.
Now that we’ve armor-plated your chips and cheese, let’s talk ingredient swaps for dietary twists…
Ingredients & Substitutes
Nachos thrive on customization. Whether you’re dairy-free or calorie-conscious, we’ve got swaps that won’t sacrifice flavor. A great way to enjoy a quick snack is by making cheap microwave canned black bean nachos—perfect for busy days. Let’s talk cheese and chip alternatives that actually work.
Cheese Substitutes: Vegan or Low-fat Options
Violife’s vegan cheddar shreds melt surprisingly well at 800W—just add a dab of olive oil to mimic cheese’s natural fats. For low-fat fans, reduced-fat mozzarella retains stretchiness if microwaved in 10-second bursts. My college roommate once used fat-free “cheese product”… we’re still finding orange blobs on that plate. If you love mozzarella, try cooking mozzarella sticks in the microwave for a quick snack. It’s a delicious way to enjoy melted cheese without the wait of traditional frying methods.
Chip Alternatives: Veggie Chips or Pita
Kale chips turn to green dust under cheese—skip ’em. Sweet potato chips hold up better, offering a sweet-salty contrast. For gluten-free folks, lightly toasted pita wedges work wonders. Pro tip: spray pita with oil before microwaving to avoid cardboard texture. If you’re looking for a healthier snack option, consider trying a microwave potato chips recipe. Making chips in the microwave is a fun and quick way to enjoy a crispy treat without the added fat of frying.
Also See: Cheap Microwave Canned Soup With Instant Farro
Layering for Perfect Microwave Melting
Microwave nachos live or die by your stacking strategy. Through trial and error (mostly error), we’ve cracked the code. A good layering technique is essential for achieving that perfect melt. With the right microwave nachos recipe, you can enjoy a delicious snack in just a few minutes.
Single-layer Cheese Method
Spread chips in one even layer on a microwave-safe plate. Sprinkle cheese directly onto each chip—no overlaps! This prevents “steam pockets” that turn chips soggy. My nephew calls this the “Lego method”—every piece gets its cheese brick.
Double-layer Chips and Cheese Technique
Craving height? Layer chips → cheese → chips → cheese. Use thicker mid-layer chips as structural support. Microwave 10 seconds longer than single-layer. Warning: this “nachos skyscraper” approach once collapsed live during my Zoom cooking demo. Delicious chaos.
Also See: Healthy Oat Muffins (Microwave Bake) in Minutes!
Microwave Vs. Oven: Speed Vs. Crispiness
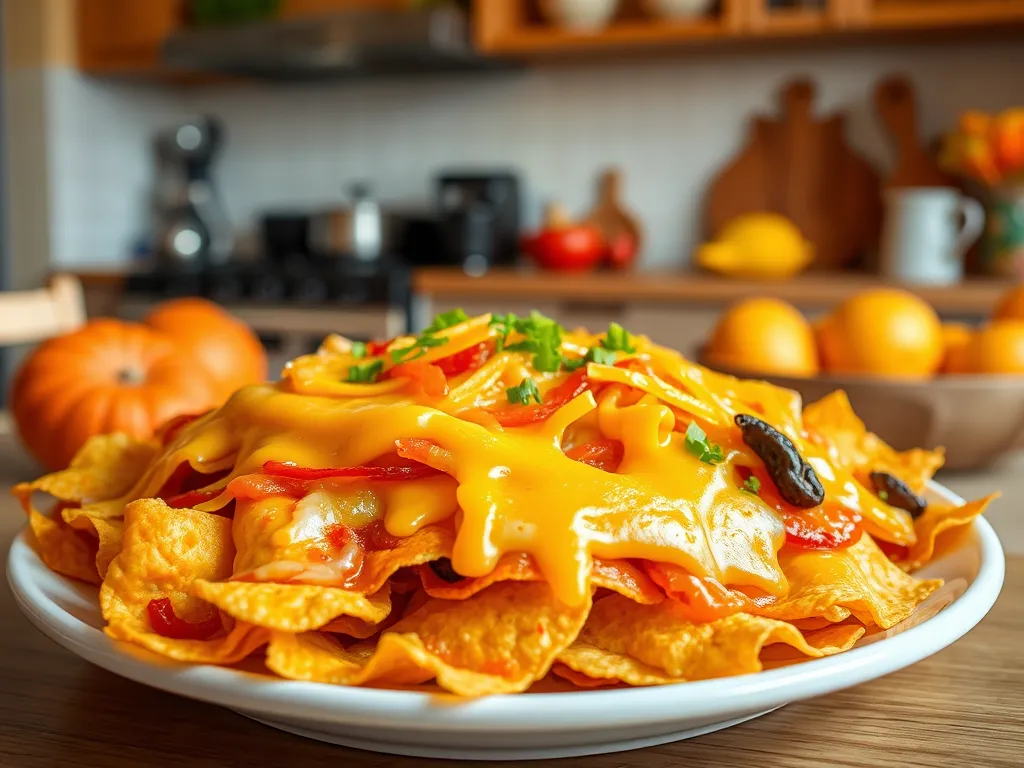
Your appliance choice shapes your nacho destiny. Microwaves zap cheese in 2 minutes flat but can leave chips slightly soft. Ovens at 375°F (190°C) for 8-10 minutes deliver crunchier bases—ideal for group snacking. If you opt for the microwave, layering your nachos properly can enhance the flavor and texture. A quick microwave method makes it easy to whip up a tasty snack in no time.
I microwave when solo-craving, but bust out the baking sheet for friends. Pro hybrid move: microwave first, then broil 1 minute for crisp edges. Just don’t walk away—ask my smoke detector about that. Interestingly, there are also foods that taste even better when microwaved compared to baked. Exploring those microwave-friendly options can make solo snacks and group meals a lot more enjoyable.
Now that we’ve nailed the melt-crisp balance, let’s get tactile with step-by-step zapping…
Step-by-step Microwave Instructions
Let’s turn chips and cheese into molten glory. Follow these steps closely—your future self (and taste buds) will thank you.
Step 1: Arrange Chips and Cheese Evenly
Grab a microwave-safe plate (not plastic ones) and spread chips in one layer—no overlapping! Sprinkle cheese directly onto each chip. Skipping this caused my 2021 nacho disaster where three chips fused into a cheese iceberg. Pro tip: leave 1/4″ gaps between chips to prevent steam sogginess.
Step 2: Microwave in 15-second Intervals
Start with 30 seconds at 800W. If your cheese isn’t bubbling yet, add 15-second bursts. I learned the hard way that 60 straight seconds nukes chips into charcoal briquettes. Rotate the plate halfway if your microwave has hot spots—ours once melted cheese into a perfect yin-yang symbol. When making Easy 2-Minute Cheese Nachos, this step is crucial to avoid overcooking.
Step 3: Test Cheese Melt Consistency
Poke a chip with a fork. Ideal cheese should stretch 1-2 inches like pizza pulls. If it snaps? Needs 10 more seconds. If it’s liquid lava, let it sit 20 seconds—it’ll thicken as it cools. My neighbor Dave calls this the “cheese taffy test”—weirdly accurate. For a quicker option, consider making microwave mozzarella sticks, which can be perfectly gooey in just a few minutes. They provide that delicious stretchy cheese experience without the hassle of frying.
Microwave Time and Power Settings
Not all microwaves play nice. Here’s how to decode yours.
Adjusting Wattage for Optimal Results
High-wattage microwaves (1000W+) cook faster but risk rubbery cheese. At 700W, add 10-15 seconds per layer. Use this cheat sheet:
| Wattage | Single Layer Time | Double Layer Time |
|---|---|---|
| 600-800W | 45-55 seconds | 70-80 seconds |
| 800-1000W | 30-40 seconds | 50-60 seconds |
My sister’s 1200W beast once vaporized a plate in 22 seconds. We now call it “The Cheese Annihilator.”
Common Mistakes and Fixes
Nacho fails happen—but they’re preventable. Let’s troubleshoot.
Avoiding Rubbery Cheese (Don’t Overcook!)
Overheated cheese proteins tighten up, creating a texture akin to pencil erasers. Stop microwaving when cheese is glossy and slightly jiggly—it’ll firm up off the heat. My college dorm’s fire alarm was triggered not by smoke, but by the stench of burnt mozzarella.
Preventing Soggy Chips: Quick Serve Tip
Condensation is the enemy. Remove nachos from the microwave immediately—letting them sit steams the chips into mush. Blot excess grease with a paper towel (channel your inner nacho sommelier). Pro move: serve on a wire rack for airflow. Candice uses a hair dryer on “cool” setting. It works. However, it’s important to be cautious with using microwaves, as moisture can lead to mold growth in your kitchen. If not cleaned properly, your microwave could contribute to a damp kitchen crisis, attracting unwelcome mold.
Now that your nachos are perfectly melted and crisp, let’s dive into saucy companions that’ll make them sing…
Now It’s Your Turn to Melt Some Magic!
With these pro tips, your microwave cheese nachos will be gooey, crispy, and ready in under 2 minutes. We love how customizable this snack is—swap cheeses, experiment with toppings, or try different chips.
Got a favorite nacho hack or funny microwave mishap? We’d laugh (and learn) with you in the comments. Happy microwaving!

