Craving red velvet cake but don’t want to bake a whole batch? Our microwave mug cake delivers that iconic cocoa-kissed flavor in 90 seconds.
No oven, no leftovers—just single-serving decadence with a velvety crumb and cream cheese tang. Perfect for late-night cravings or a sneaky midday treat.
We’ll walk through ingredient swaps, microwave tricks to avoid rubbery disasters, and even dairy-free hacks—because everyone deserves cake emergencies solved swiftly.
Jump To:
Microwave Red Velvet Mug Cake
Course: DessertCuisine: American1
5
minutes1
minute350
kcal7
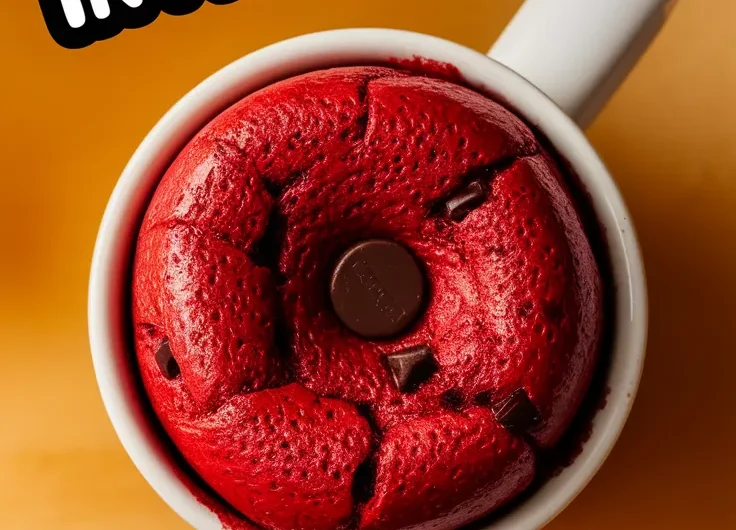
minutesRed velvet cake is a classic treat that can be enjoyed in a matter of minutes with this microwave mug cake recipe. It's rich, chocolatey, and topped with a smooth cream cheese frosting, making it an ideal quick dessert for any time of the day.
Ingredients
all-purpose flour
cocoa powder
baking powder
vegetable oil
milk
red food coloring
vanilla extract
a pinch of salt
for cream cheese frosting: cream cheese
powdered sugar
vanilla extract.
Directions
- In a microwave-safe mug, mix together 4 tablespoons of all-purpose flour, 2 tablespoons of cocoa powder, and 1/4 teaspoon of baking powder.
- Add 2 tablespoons of vegetable oil, 3 tablespoons of milk, 1 tablespoon of red food coloring, 1/4 teaspoon of vanilla extract, and a pinch of salt, then stir until well combined.
- Microwave the mug cake on high for 1 minute, watching closely to avoid overflow.
- Let the mug cake cool for about 1 minute while you prepare the frosting.
- In a small bowl, mix together 2 tablespoons of cream cheese, 1 tablespoon of powdered sugar, and 1/2 teaspoon of vanilla extract until smooth.
- Top the cooled mug cake with the cream cheese frosting and enjoy your delicious treat!.
Notes
- For the best results, do not overcook the mug cake as it can become dry. Feel free to adjust the sweetness of the frosting to your preference. This recipe is perfect for satisfying a quick dessert craving without the hassle of baking a full cake.
What is Red Velvet Cake?
Red velvet cake isn’t just vanilla cake wearing a red costume. We’re talking a subtle cocoa base kissed by tangy buttermilk and vinegar, with that iconic scarlet hue. The original 1930s Waldorf-Astoria version relied on acidic reactions (no food dye!) to create a mahogany tint, but modern recipes embrace vibrant food coloring for drama.
My grandma once spent an entire Sunday trying to replicate the “natural” red using beet juice. Let’s just say her cake looked more like a confused meatloaf. Thankfully, our microwave mug version skips the veggie experiments and gets straight to crimson bliss in minutes.
What Does Red Velvet Mug Cake Taste Like?
Imagine a chocolate cake’s quieter cousin: less sugary, slightly earthy, with a bright tang from buttermilk or vinegar. The cream cheese frosting (non-negotiable in our book) adds a creamy counterpoint. It’s like eating a velvet curtain – if said curtain tasted like heaven’s bakery. When looking for a reliable chocolate cake recipe, consider how the right ingredients can elevate your baking experience to new heights.
At summer camp, my mom Linda would smuggle red velvet cupcakes in her care packages. Our microwave mug cake captures that nostalgic combo of richness and whimsy, though we’ve upgraded from her frosting-smeared Tupperware. Pro tip: eat it warm – the heat amplifies the velvety texture better than any campfire treat.
Hungry yet? Let’s raid your pantry – your mug cake destiny awaits.
Ingredients for Microwave Red Velvet Mug Cake
Grab a 12-oz mug and raid your pantry – we bet you’ve got 90% of these already. Pro tip: Use room-temperature eggs and milk for smoother mixing (but we’ve all used cold ones in a pinch). For a super quick breakfast, consider using a lazy microwave instant pancake mix mug; it’s a convenient way to whip up a delicious pancake in just minutes.
Cake Base Ingredients &Amp; Substitutes
- 4 tbsp all-purpose flour – Swap 1:1 with gluten-free flour if needed
- 2 tbsp granulated sugar – Coconut sugar works, but adds caramel notes
- 1 tsp unsweetened cocoa powder – Dutch-processed deepens the flavor
- ¼ tsp baking powder – Not soda! They’re not interchangeable here
- Pinch of salt – Balances the sweetness
No buttermilk? Make your own by stirring ½ tsp vinegar into 3 tbsp milk. My college roommate once used pickle juice in desperation – let’s not repeat her “zesty” experiment.
Frosting Options &Amp; Alternatives
- Cream cheese frosting – Classic pairing (mix 2 tbsp cream cheese + 1 tsp powdered sugar)
- Greek yogurt + honey – Lighter tang with ½ the calories
- Whipped coconut cream – Vegan? Chill a can of full-fat coconut milk overnight, whip the solids
For a no-frosting hack, drop a white chocolate chip into the batter pre-microwave. It’ll melt into a gooey pocket – like finding cash in last winter’s coat. Make sure to melt chocolate chips properly in the microwave when adding them to any mug cake.
Also See: Top 3 Microwave Risotto Recipes for a Creamy, No-stir Meal
How to Make Red Velvet Mug Cake in the Microwave
Total time: 4 minutes (including the 37 seconds you’ll spend hunting for that one measuring spoon).
Step 1: Mix Dry Ingredients
Whisk flour, sugar, cocoa, baking powder, and salt directly in your mug. Break up cocoa lumps – they’ll create bitter pockets if ignored. Pretend you’re a witch stirring a potion (optional, but highly recommended).
Step 2: Combine Wet Ingredients
Add 3 tbsp milk, 1 tbsp neutral oil (vegetable or coconut), ½ tsp vanilla, and 1 egg yolk. Skip the egg white – it’s the villain behind rubbery textures. Mix until just combined; overworking = tough cake. For a delightful twist on a classic dessert, consider trying a microwave coconut vanilla cake. This quick and easy treat combines the rich flavors of coconut and vanilla, making it perfect for satisfying your sweet tooth in no time.
Step 3: Add Red Food Coloring
Stir in 1-2 tsp liquid red food coloring. Gel works too (use ½ tsp). Want natural color? Use 1 tbsp beet powder, but expect earthier flavor. Pro tip: Add coloring before wet ingredients to avoid stubborn streaks.
Step 4: Microwave Timing and Techniques
Nuke at 800W for 70-90 seconds. Microwave weaker than your willpower? Add 10-second increments. Cake should rise slightly and look set on top – a damp center means 5 more seconds. It keeps cooking post-microwave, so resist overdoing it! For a quick treat, consider trying out a TikTok hack to bake a cake in just 2 minutes without using an oven.
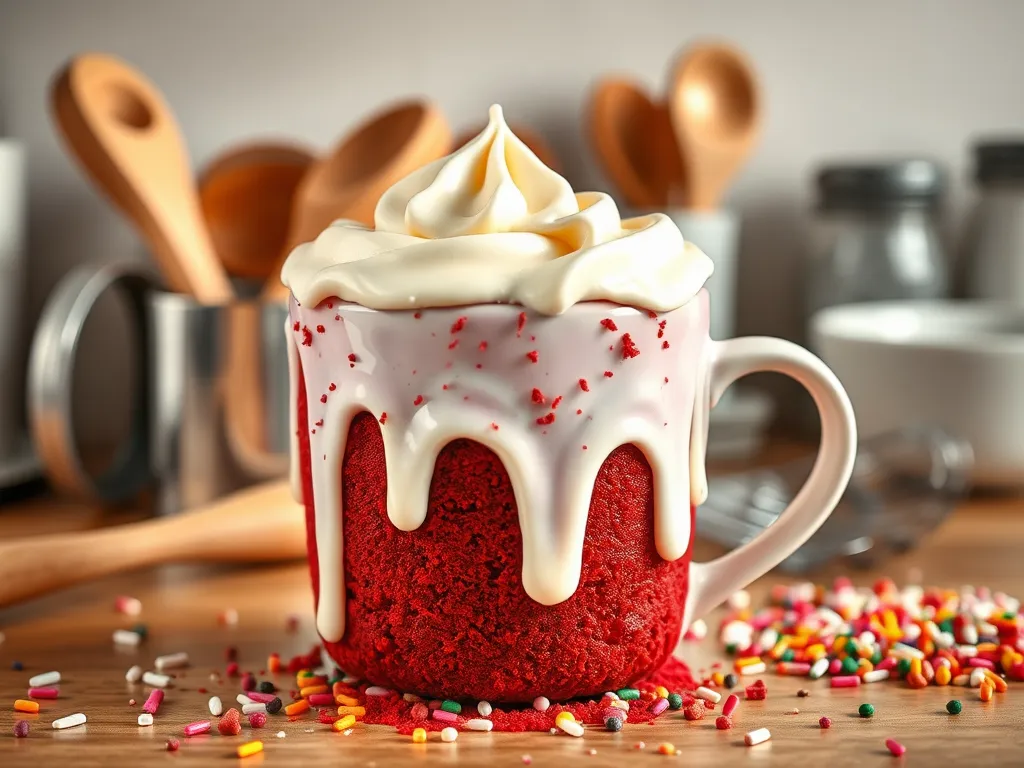
Step 5: Frosting Application Tips
Let the cake cool 2 minutes – frosting melts faster than snowmen in July otherwise. Swirl on toppings with a butter knife or spoon. For Instagram-worthy drips, thin frosting with ½ tsp milk and drizzle vertically. If you’re in a hurry, microwave frosting can offer a quick and easy solution for achieving that perfect melt. This method allows you to save time while still creating a delightful treat that’ll impress everyone.
Also See: Microwave Asparagus Recipe – 5 Variations, Tips, Tools, FAQs & More
Why Microwave a Red Velvet Mug Cake?
Because life’s too short to preheat ovens for single servings. Microwaves steam the batter from all sides, creating that signature velvety softness in ¼ the time. Our tests show 800W microwaves yield moister crumbs than conventional baking (no dry edges!). In fact, there are many foods that benefit from microwave cooking, often tasting better than when baked. It’s surprising how certain dishes can be elevated simply by using a microwave instead of a traditional oven.
It’s also portion-controlled decadence. No staring at a whole cake whispering “eat me” all week. Though let’s be real – we’ve all made second mugs.
Ready to troubleshoot? Let’s tackle common mug cake mishaps before they sabotage your sweet victory. With the right approach, making a delicious treat in just a couple of minutes can become your new go-to. For a quick and satisfying option, try a 2-minute microwave coffee cake mug recipe that guarantees a sweet finish to your day.
Common Mistakes and How to Fix Them
We’ve all been there – staring at a microwave disaster that resembles Chernobyl more than cake. Let’s salvage your red velvet dreams with these fixes.
Overflowing Batter
Your mug isn’t a TARDIS – it can’t magically expand. Use a 12-oz mug and fill it only halfway. Batter doubles in volume as it cooks. My neighbor once used a teacup “for aesthetics” – let’s just say her countertop wore more cake than she ate.
Too much leavening agent (baking powder) also causes volcanic eruptions. Measure precisely – no eyeballing!
Dry or Rubbery Texture
Over-microwaving is the usual culprit. Set timers religiously – even 5 extra seconds can turn velvet into vinyl. If your cake’s drier than a British comedy, sprinkle 1 tsp milk over it post-cooking. Let it sit 1 minute to absorb. For a quick dessert idea, consider baking a cake in the microwave. Cooking cake in a microwave can save time without sacrificing flavor.
Egg whites cause rubberiness. Use only the yolk – save the white for omelets. My cousin’s “healthy” egg-white version once bounced off a wall. Not recommended. A quick and tasty alternative is to make an omelet in the microwave, which can yield fluffy results in just a few minutes. All you need is a bowl, some eggs, and your favorite toppings for a delicious meal.
Uneven Cooking
Microwaves have hot spots. If your cake’s lava on one side and iceberg on the other, lower the power to 70% and increase time by 20 seconds. Rotate the mug 180° halfway if your microwave lacks a turntable. A fun and delicious way to utilize your microwave is by making a simple microwave mug cake. This quick treat allows you to enjoy a warm dessert in just a few minutes.
Dense batter layers also cook unevenly. Whisk thoroughly – no flour pockets allowed. We’re making cake, not a treasure hunt.
Mastered these fixes? Let’s talk about keeping your leftover cake (if such a thing exists) tasting fresh.
Now It’s Your Turn to Indulge!
With just a few pantry staples and 90 seconds in the microwave, you’ve got a rich, velvety dessert that’ll satisfy any cocoa craving. We love how the tangy cream cheese frosting plays off the cake’s subtle chocolate flavor – it’s like having a bakery treat without leaving your kitchen.
Don’t be surprised if this becomes your go-to midnight snack or emergency dessert solution. Once you nail the perfect microwave time (usually between 1:30-2:00 minutes at 1000W), you’ll be whipping up these ruby-hued beauties on autopilot. Just remember: when life gives you microwaves, make mug cakes!