Craving that buttery Starbucks vanilla scone but don’t want to leave your house? We’ve hacked the recipe to bake it in your microwave in 90 seconds.
Yes, you read that right—no oven, no long wait, just crumbly, vanilla-kissed perfection with your morning coffee.
This article cracks the code on ingredients, microwave settings, and how to avoid hockey puck scones (we’ve all been there).
Jump To:
Copycat Starbucks Vanilla Scone (Microwave Bake)
Course: BreakfastCuisine: American2
5
minutes1
minute220
kcal6
minutesIf you've craved a sweet and buttery vanilla scone but didn't want to leave the house, this microwave recipe is for you! These scones are perfect for those moments when you need a quick indulgence without sacrificing flavor or texture. The microwave method is a game changer, allowing you to enjoy fresh-baked scones in a fraction of the time it takes in a traditional oven.
Ingredients
all-purpose flour
granulated sugar
baking powder
salt
cold butter
heavy cream
vanilla extract
powdered sugar for glaze
milk . for glaze
Directions
- In a mixing bowl, combine the flour, sugar, baking powder, and salt.
- Cut the cold butter into small pieces and mix it into the dry ingredients until it resembles coarse crumbs.
- Stir in the heavy cream and vanilla extract until the dough forms.
- Shape the dough into a round disc about 1 inch thick.
- Cut the disc into 4 equal wedges.
- Place the wedges on a microwave-safe plate.
- Microwave on high for 1 minute.
- Let the scones cool for a minute.
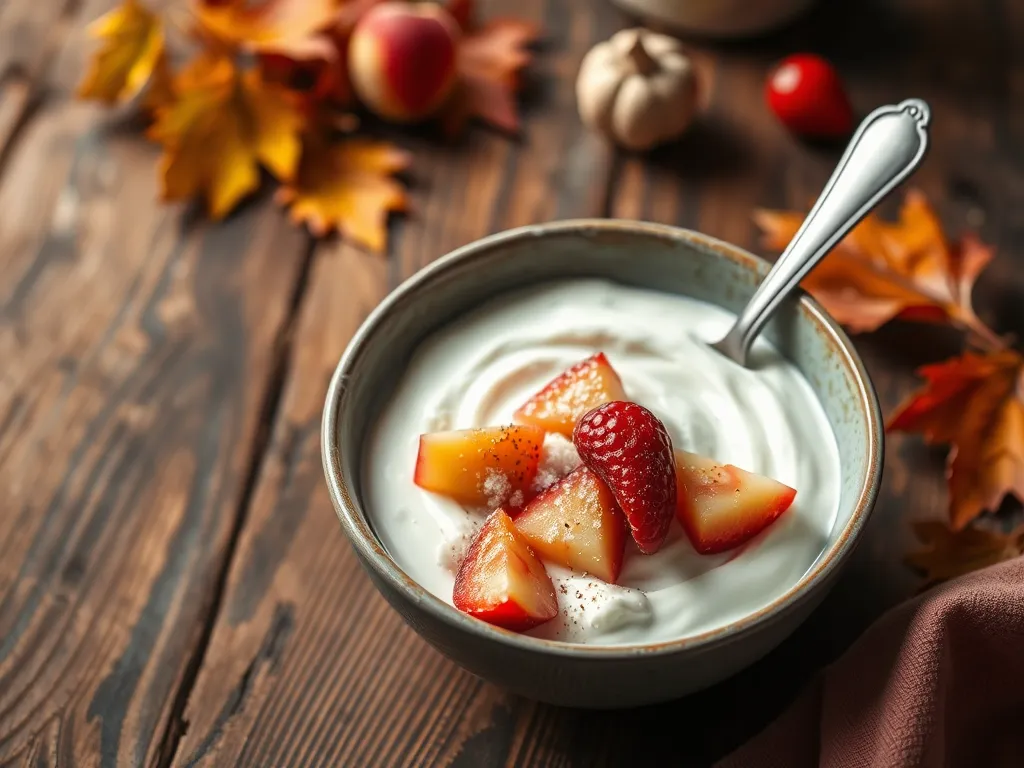
- In a small bowl, mix the powdered sugar with milk to create a glaze.
- Drizzle the glaze over the cooled scones before serving..
Notes
- For a richer flavor, you can add a few chocolate chips or almond extract to the dough. If you prefer, substitute the heavy cream with a non-dairy alternative to make these scones dairy-free. Enjoy them warm for the best experience!
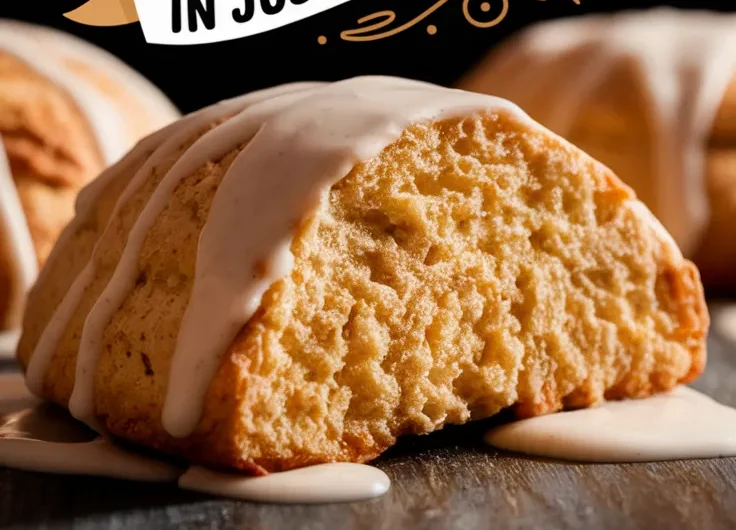
What Are Vanilla Scones?
Vanilla scones are Starbucks’ tender, crumbly pastry stars with a sweet vanilla glaze. They’re denser than British cream tea scones but lighter than shortbread. Think buttery layers with a delicate vanilla sugar crunch.
Traditional recipes use cold butter, flour, sugar, and vanilla extract or bean paste. The magic happens when butter melts mid-bake, creating air pockets for that signature flake.
Last holiday party, my sister Candice attempted oven scones… and set off the smoke detector. Our microwave version saved the day (and the fire department a trip). Now we get that same bakery texture in 90 seconds—no burnt edges.
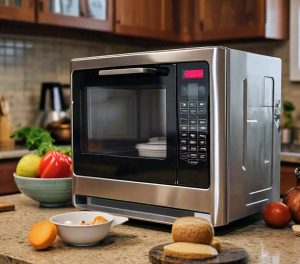
Why Bake Scones in the Microwave?
Microwaves excel at quick, even heating when you nail the technique. Our tested method uses 50% power to mimic oven baking without drying out the dough. No preheating, no 20-minute wait—just a microwave-safe mug or silicone mold. A simple trick to microwave corn on the cob also highlights how effective this appliance can be for cooking. It helps in achieving perfectly tender corn in just minutes.
Wattage matters here. Most home microwaves range from 700-1200W. We’ve calibrated our recipe for 1000W. If yours is weaker, add 10-15 seconds. Stronger? Subtract 5. Keep in mind that a 1000W microwave may experience power loss, making it cook more like a 700W model, which can impact cooking times and food texture.
Candice’s first microwave batch resembled hockey pucks. Turns out, she used melted butter instead of chilled. Lesson learned: keep ingredients cold, bake in bursts, and let the residual heat finish the job. For a delicious alternative, consider making microwave cookie dough mug treats. They’re easy to whip up and perfect for satisfying a sweet tooth in no time.
Ready to taste that vanilla-kissed magic? Let’s break down how these microwave scones mirror Starbucks’ iconic flavor.
What Do Copycat Starbucks Vanilla Scones Taste Like?
Biting into our microwave version feels like stealing happiness from a bakery display case. You get that signature Starbucks contrast – crisp sugar crust giving way to tender, vanilla-speckled crumbs. The buttery richness lingers just long enough to make you side-eye your coffee mug for a refill. Interestingly, this delightful texture is why some foods taste even better when microwaved. In fact, there are 9 foods that truly shine in the microwave rather than the oven, enhancing flavors and maintaining moisture in ways baking can’t match.
Texture-wise, ours land between shortbread and classic scones. Microwaving creates a softer interior than oven baking, but we combat sogginess with a pro trick: letting steam escape by cracking the microwave door post-cook. The result? No sad, doughy centers. With these techniques, even a delicate copycat Starbucks vanilla scone can turn out just right.
Also See: Quick Microwave Parmesan Broccoli: A Tasty Side!
Ingredients for Copycat Starbucks Vanilla Scones
We’ve streamlined Starbucks’ 14-ingredient monstrosity into 7 pantry staples. No pastry chef diploma required – just these: You might also enjoy making a quick, microwave version of this lemon loaf. A copycat Starbucks lemon loaf microwave quick bake is perfect for satisfying cravings in no time.
Essential Ingredients &Amp; Substitutes
- Flour: All-purpose works best, but 1:1 swap with cake flour for extra tenderness
- Butter: Freeze for 15 minutes before grating (trust us, it’s worth the arm workout)
- Vanilla: Extract works, but bean paste mimics Starbucks’ tiny black specks
Out of heavy cream? Full-fat coconut milk or Greek yogurt adds similar richness. For sugar, vanilla sugar (hello, leftover bean pods!) amplifies flavor without extra extract. Exploring alternative uses for yogurt can lead to interesting discoveries, such as making microwave yogurt at home. This quick and simple method allows you to enjoy fresh yogurt without the need for complicated processes.
Dairy-free &Amp; Gluten-free Alternatives
- Flour: Bob’s Red Mill 1:1 GF blend mimics regular flour’s chew
- Butter: Frozen Miyoko’s vegan butter grated like Parmesan
- Cream: Canned coconut cream chilled overnight (discard watery layer)
Our gluten-free tester Rachel insists these tweaks fooled her pastry-obsessed mom. High praise from a woman who detects xanthan gum at 20 paces.
Also See: Quick & Easy Microwave Garlic Green Beans in Minutes!
How to Make Copycat Starbucks Vanilla Scones in the Microwave
This isn’t a drill – we’re 7 minutes from scone nirvana. Use a 12-oz microwave-safe mug or silicone scone mold (our secret for perfect triangles). Glass mugs that are microwave-safe are an excellent choice for quickly heating beverages or preparing single servings of different foods without compromising on taste.
Step 1: Mixing Dry Ingredients
Whisk ½ cup flour, 1 tbsp sugar, and ¼ tsp baking powder. Add a pinch of salt – it’s the backstage crew that makes vanilla shine. Aerating flour prevents cement-like density.
Step 2: Combining Wet Ingredients
Toss 2 tbsp grated frozen butter into dry mix. Drizzle 3 tbsp cream and ½ tsp vanilla. Mix until shaggy dough forms – overworking = hockey pucks. It should look like damp sand with pebble-sized butter bits. If your butter isn’t grated, it may be harder to incorporate, making it crucial to soften butter quickly without melting it for the right texture. A quick method for softening butter is to cut it into small pieces and let it sit for a moment, or even gently heating it for just 20 seconds.
Step 3: Shaping and Microwaving the Dough
Press dough into mug, forming a 1-inch thick disk. Microwave at 50% power for 90 seconds. If top looks wet, add 10-second bursts at 30% power. Let rest 2 minutes – residual heat firms it up sans rubberiness. This quick process allows for a delicious treat in no time. You can enjoy a warm cookie dough mug in just 2 minutes, perfect for satisfying late-night cravings.
Tips for Avoiding Dry or Dense Scones
My first batch could’ve chipped a tooth. Turns out, microwaves vary more than British weather. If your scone feels heavy: Cooking food can lead to uneven heating, especially if it’s dense. Hot microwaves get significantly hotter than the surrounding air, which can lead to unexpected results when warming various foods.
- Check butter temp – frozen prevents premature melting
- Reduce flour by 1 tsp if dough feels stiff
- Wrap mug in a damp paper towel during baking
Now that you’ve nailed the basics, let’s troubleshoot those “why is my scone…” panic moments.
Common Microwave Baking Mistakes (and Fixes)
We’ve all faced the heartbreak of a rock-hard scone. Overmixing is public enemy #1 – it activates gluten, turning fluffy dreams into doorstops. If your dough resembles Play-Doh, stop. Those butter flecks? They’re your flaky lifeline.
Microwave wattage confusion causes more kitchen drama than burnt popcorn. Our recipe uses 50% power on 1000W models. At 700W? Add 15 seconds. At 1200W? Subtract 10. Write your microwave’s wattage on its forehead with a dry-erase marker. Future you will high-five past you. When it comes to frying food, higher wattage can make a significant difference in cooking time and texture. Knowing how to adjust your microwave’s power settings can help achieve that crispy finish without compromising the quality of your dish.
Ever bite into a warm scone… only to taste rubber? Steam trapped during cooking is the culprit. Leave the microwave door slightly ajar for 30 seconds post-bake. This releases moisture without cooling your treat. No more gym-sock texture!
How to Store Microwave-baked Vanilla Scones
Fresh scones sing best within 2 hours. Store leftovers in an airtight container with parchment between layers. Room temp keeps them happy for 8 hours – beyond that, they morph into sweetened hockey pucks.
For longer storage, freeze unglazed scones wrapped in foil. Reheat frozen scones at 30% power for 45 seconds. Add glaze after reheating – microwaved icing becomes a sticky science experiment.
Candice once left hers out overnight. The result? Scone-shaped paperweight. If your kitchen feels humid, pop them in the fridge. The cold prevents sugar crust from dissolving into sad dampness.
Now that your scones are perfected and properly stored, let’s play flavor mad scientist. (Lavender-lemon? Salted caramel drizzle? Oh yes.)
Now It’s Your Turn to Bake!
We’ve covered everything from ingredients to microwaving techniques for these buttery, vanilla-kissed scones. The best part? You’re just minutes away from enjoying a warm, bakery-style treat without leaving your kitchen.
Give this recipe a whirl and let us know how your microwave scones turn out. Whether you stick to the classic version or experiment with add-ins, we’re confident you’ll love this shortcut to Starbucks-worthy goodness.